Replacing the brake pads
Bremsbeläge bzw. Bremsklötze zu wechseln ist im Prinzip nicht schwierig, sollte aber sehr sorgfältig erledigt werden. Diese Anleitung deshalb bitte genau studieren.
Note: The videos are in German.
- Changing brake pads on a motorcycle
- Use a micrometer to check the brake disc
- The 5 deadly sins when changing the brake pads
- Replacing the brake pads – now let's get started
- 01 – Suction out some brake fluid
- 02 – Remove brake caliper
- 03 – Remove guide pins
- 04 – Clean brake caliper
- 05 – Push back brake piston
- 06 – Installing brake pads
- 07 – Place the new pads in the caliper
- 08 – Tighten
- 09 – Servicing a single-disc brake
- Our recommendation
Important: You should only replace brake pads yourself, following the instructions below, if you are an experienced DIY mechanic. Don't put your safety at risk! If you're not sure you're able to do the job, definitely leave it to the professionals!
Changing brake pads on a motorcycle
Disc brakes were originally developed for use in aircraft wheels, and the concept was adopted by the Japanese motorcycle industry at the end of the 60s. The principle of this type of brake is as simple as it is effective: when the brake pedal is applied, pressurised hydraulic fluid squeezes two opposing brake pads against the surface-hardened, metal disc in between.
The advantage of a disc brake over a drum brake is that the system can be ventilated and cooled more effectively, combined with more effective pressure of the brake against the rotor.
Both brake pad and brake disc are subject to frictional wear and tear, the degree of which will depend on your riding style and braking habits. So regular visual checks on the state of the brake pads are essential for your own safety. They can usually be inspected by lifting a cover on the brake caliper. You will now be able to see the pads: they consist of a friction lining which is adhesively bonded to a base plate. The lining often has a groove to indicate the service limit of the brake pads, which is usually a thickness of 2 mm.
Please note: Over time, a ridge will form on the upper edge of the disc, which is itself indicative of considerable wear. However, if you measure the disc using a caliper gauge, this ridge can falsify the reading! Compare your measurement with the service limit, which is generally stamped on the base of the disc, or look it up in the workshop manual. Make sure that you always replace the disc in good time. Allowing the disc to fall below the minimum allowed thickness may result in brake fade and simultaneous overheating in the system, as well as irreparable damage to the brake caliper! Also replace the disc if it is deeply scored.
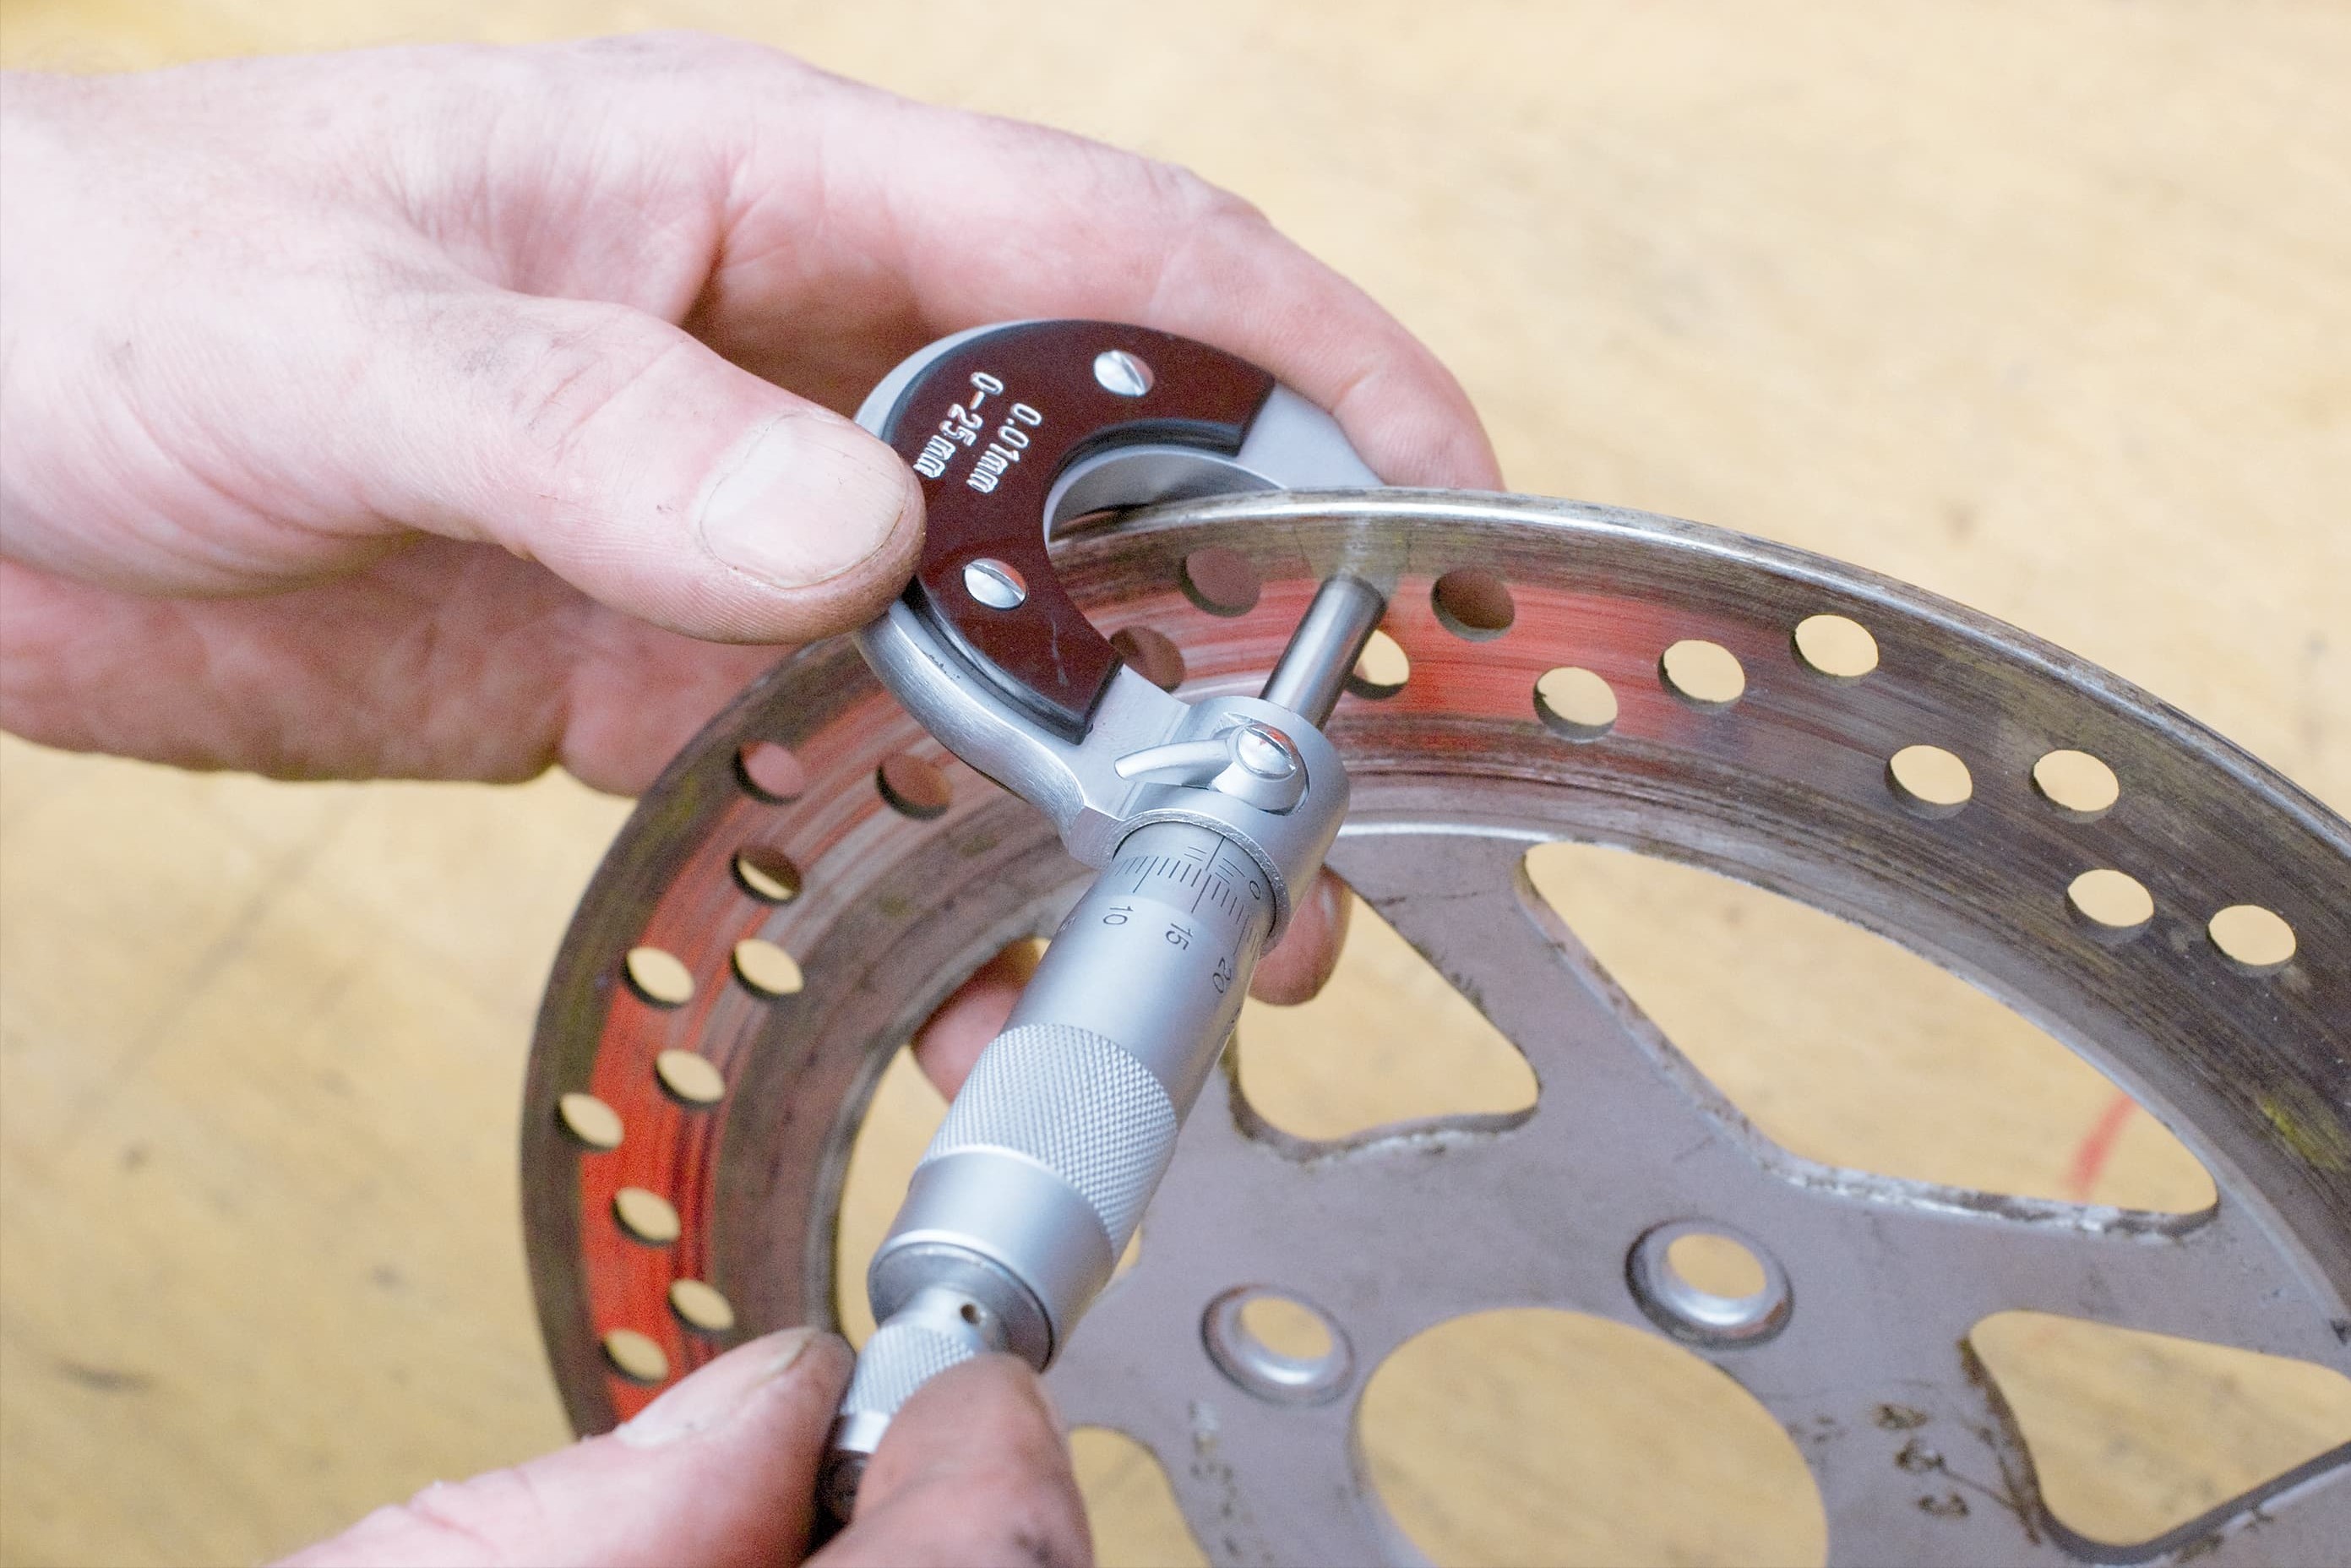
Use a micrometer to check the brake disc
Use a micrometer to check the brake disc
Please also inspect the brake pad from the side and from underneath. Uneven wear indicates incorrect mounting of the caliper, and can cause premature damage to the brake disc! If you're planning a long tour, it's always wise to replace the brake pads, even if they still seem to have some wear left before they reach the service limit. Older brake pads, or ones that have frequently run hot, can also become less effective due to vitrification of the material they are made of. In this case, they should be replaced. You should also check the brake disc every now and then. Modern lightweight brake discs, especially, are subject to considerable wear and tear from the "bite" of the four- or six-piston brake caliper. You can measure the residual thickness of the disc using a micrometer.
The 5 deadly sins when changing the brake pads
- DO NOT: leave hands unwashed after cleaning the brake caliper.
- DO NOT: lubricate moving brake components with grease.
- DO NOT: use copper paste for lubrication when using sintered-metal brake pads.
- DO NOT: spill brake fluid on the new brake pads.
- DO NOT: push back brake pads with a screwdriver.
Replacing the brake pads – now let's get started
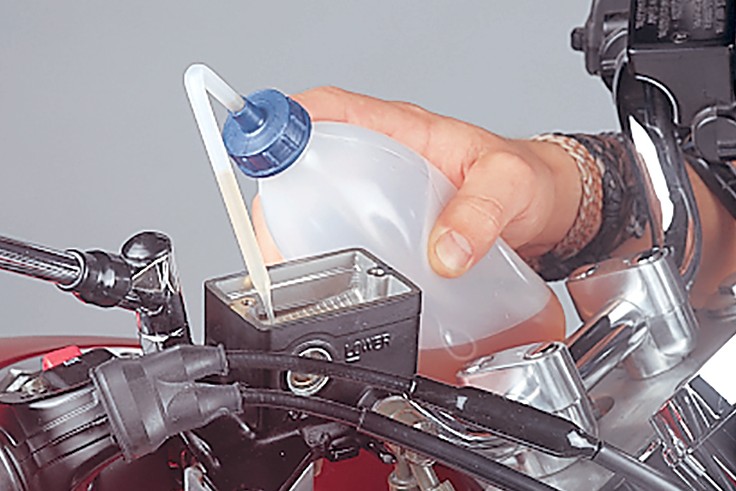
Step 1: It may be necessary to suction out some brake fluid
01 – Suction out some brake fluid
First of all, cover up the tank and any other paintwork near the brake fluid reservoir to prevent brake fluid overflowing and damaging the paintwork when you retract the brake piston. Brake fluid leakage can make a mess of your paintwork, so it must be washed off immediately with plenty of water (not just wiped off with a cloth). Jack the motorcycle up so that the fluid reservoir is positioned horizontally and the fluid does not run out as soon as it is opened.
Now open the cap, remove it with a cloth, and suction out roughly half of the fluid from the reservoir. The most professional way to draw out the fluid is to use a Mityvac brake bleeder or a pump bottle.
If the fluid has been in the reservoir for more than two years, it's best to change it completely; if the fluid is brownish in colour, that is an indication that it is due for replacement see DIY tip Brake Fluid Basics!
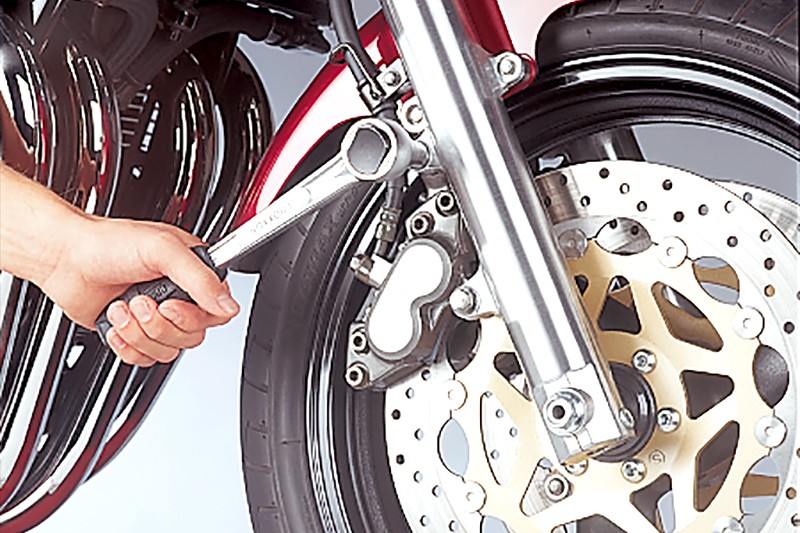
Step 2: Remove brake caliper
02 – Remove brake caliper
Release the brake caliper bracket from the fork and lift the caliper off the disc so that you can get to the brake pads.
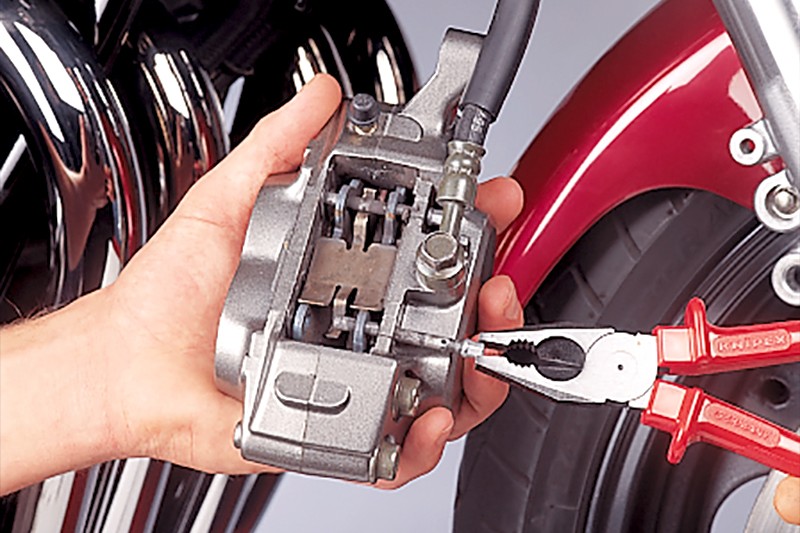
Step 3: Remove guide pins
03 – Remove guide pins
The actual removal of the brake pads is very easy. Our illustration shows brake pads that are guided by two holding pins and held in place by a spring. Remove the securing clips from the pad retainers, and then take off the retainers. If the pins are jammed, drive them out with a suitable punch.
Caution: the spring has a tendency to jump out of its position accidentally and end up in some corner or other of the workshop. You should therefore always make a note of its installation position so it can be subsequently reinstalled – take a photo with your mobile phone if required. Once you have removed the pins, you can take out the brake pads.
Please note: Bear in mind that your bike may be fitted with "anti-squeal plates", which are located between brake pad and piston. They must be correctly re-installed in the same position in order to do their job! A photo with the mobile phone can also come in handy here.
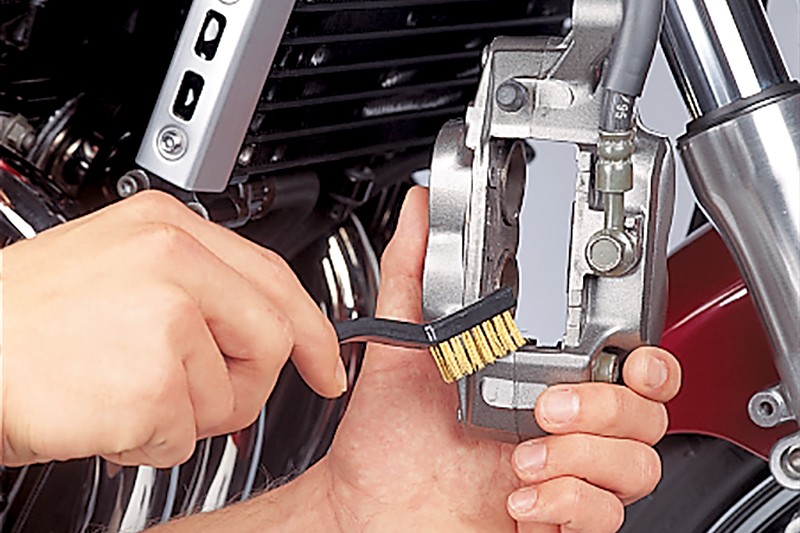
Step 4: Clean brake caliper
04 – Clean brake caliper
Thoroughly clean and inspect the brake calipers. In particular, check that they are dry on the inside, and if dust sleeves are installed on the brake piston, make sure that this has been done correctly. Any moisture would indicate that the piston is not properly sealed. The dust sleeves must not be brittle or porous, as this would allow moisture to penetrate the piston. The dust sleeve (if installed) is easy to replace externally, but you will need to refer to the repair manual for replacement of the seals. Now clean the brake caliper, as shown in the illustration, with a soft brass wire brush or plastic brush and PROCYCLE brake cleaner. Whenever possible, avoid spraying the cleaner directly on the dust sleeve. Do not brush the sleeve!
Now also clean the brake disc with a clean cloth soaked in brake cleaner.
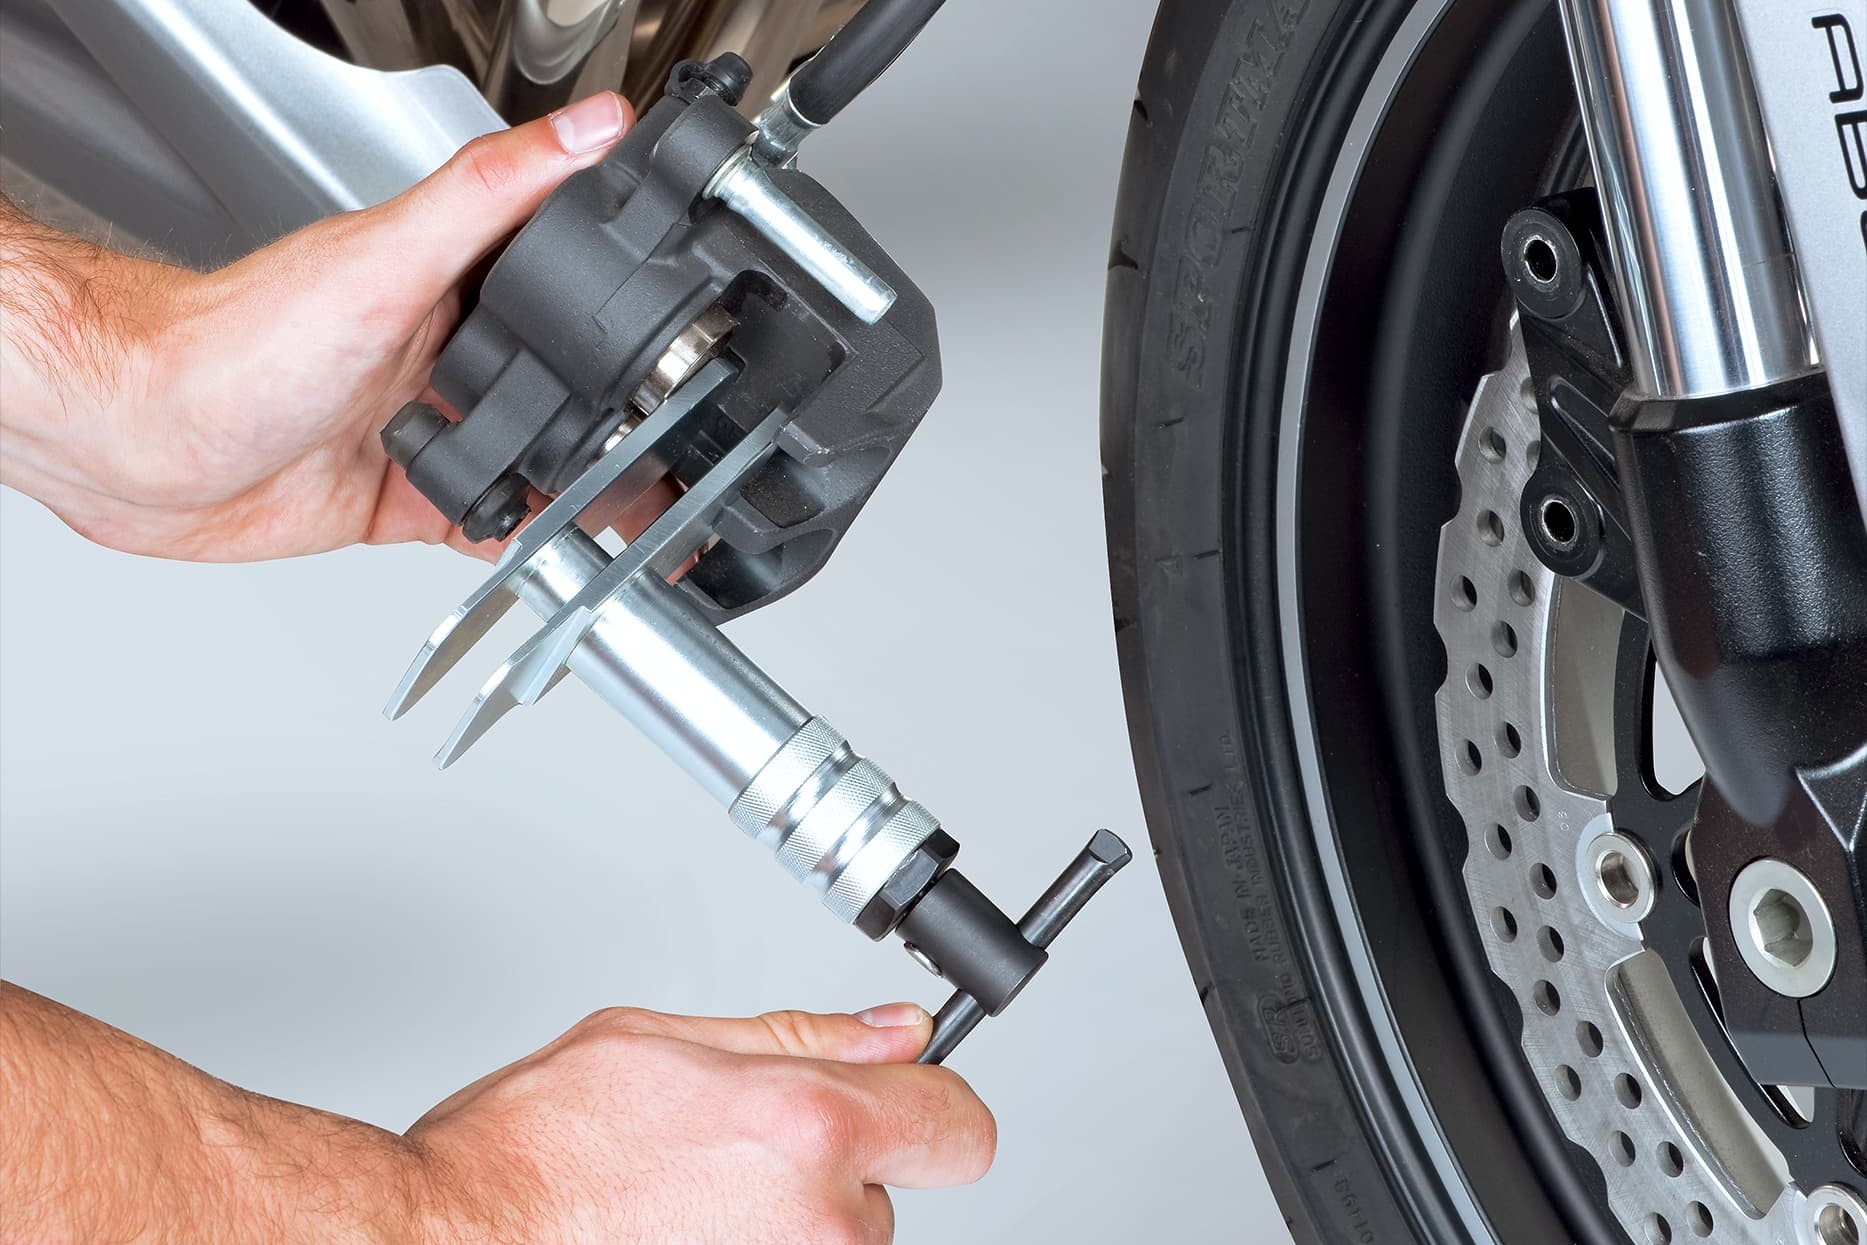
Step 5: Push back brake piston
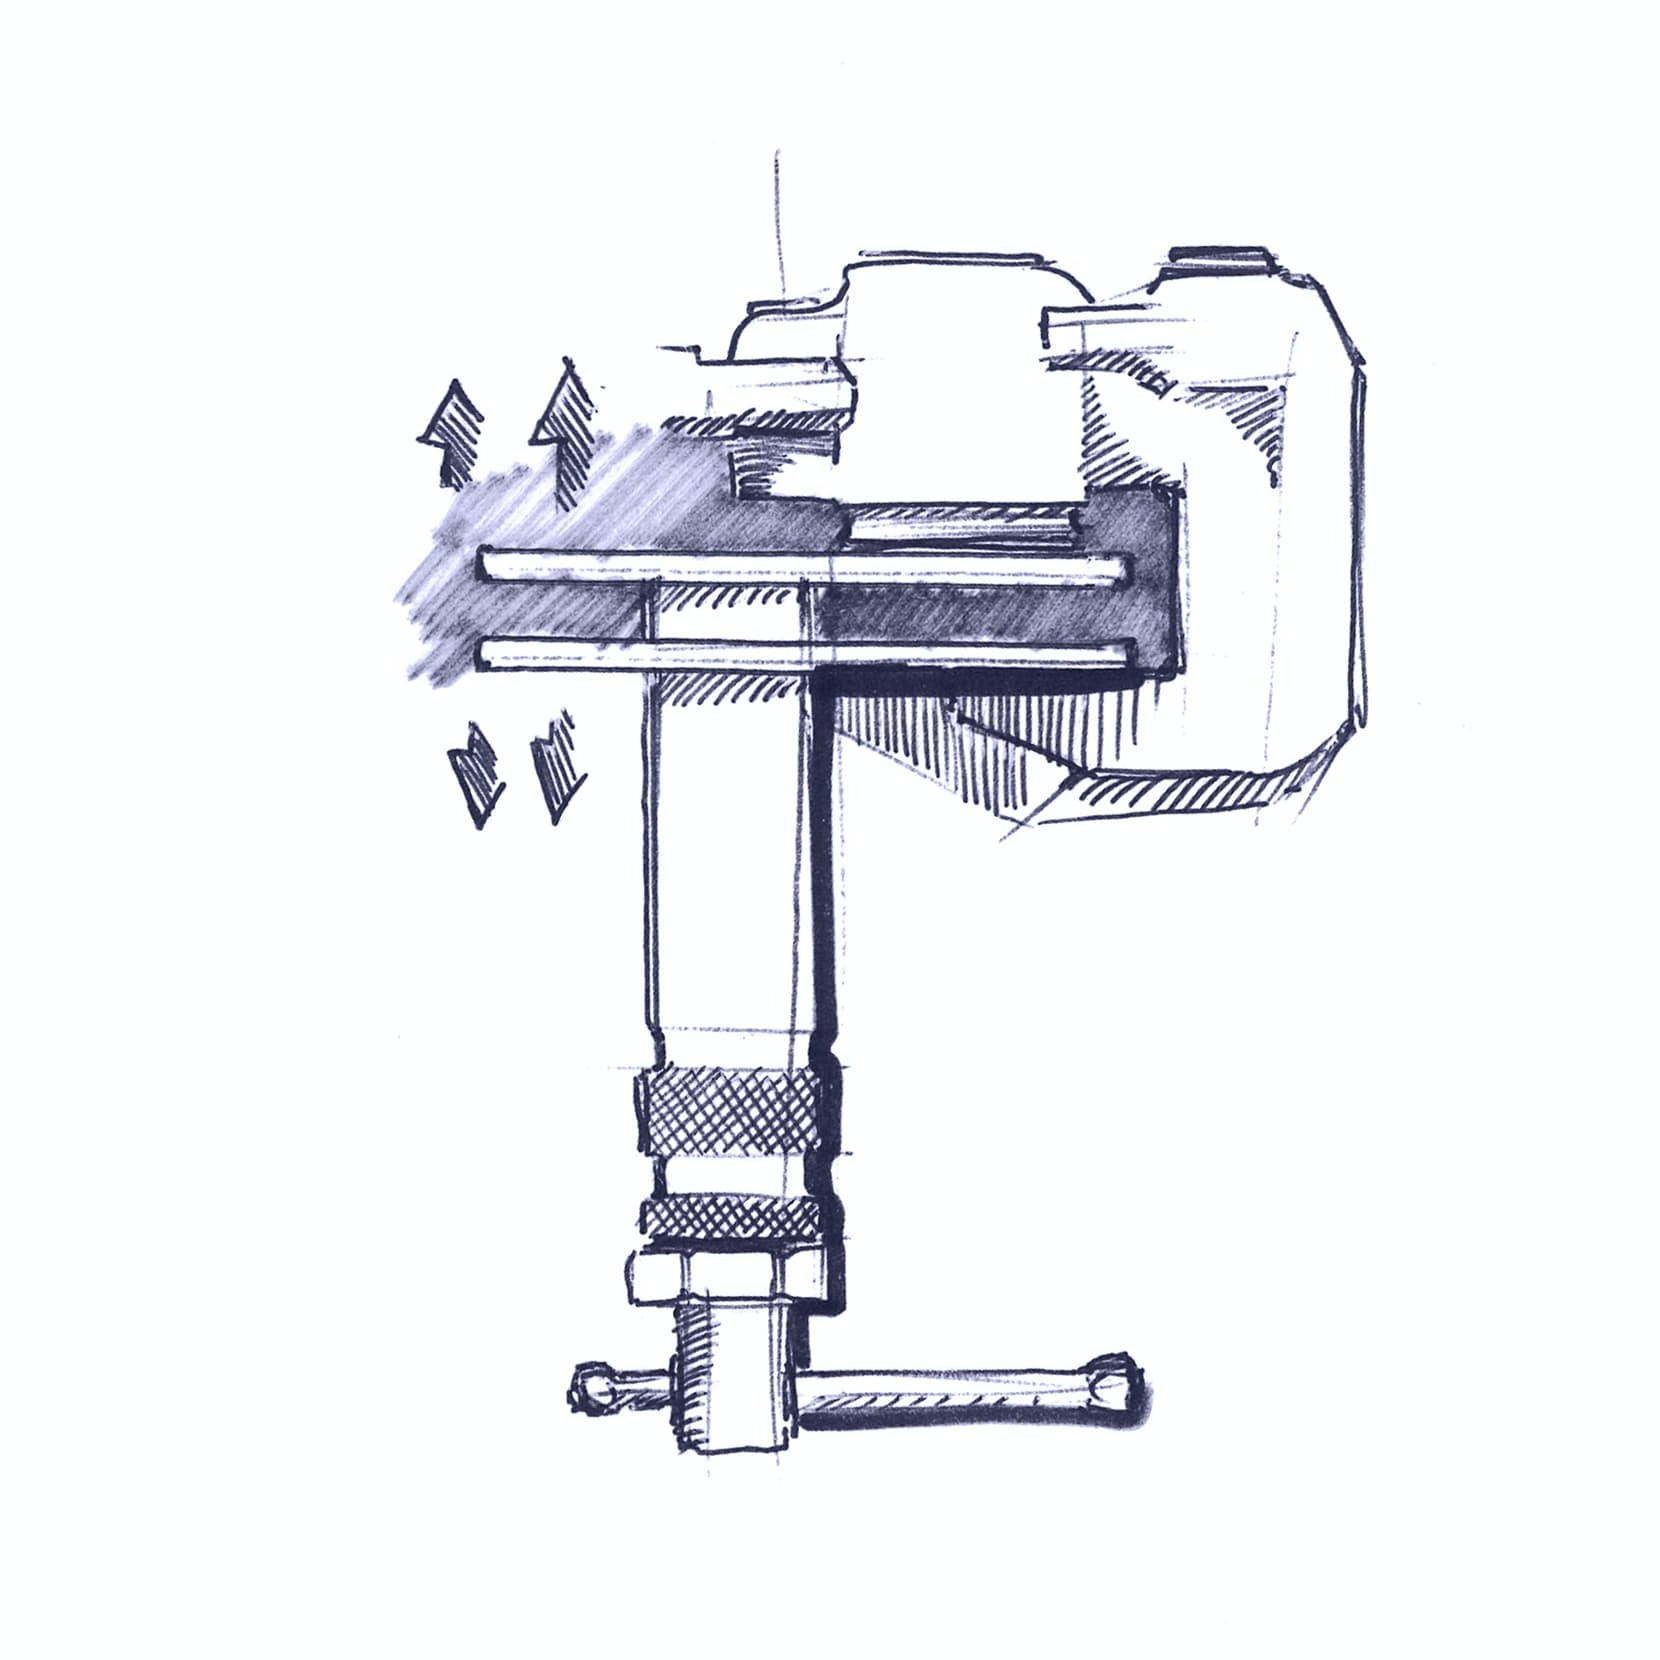
05 – Push back brake piston
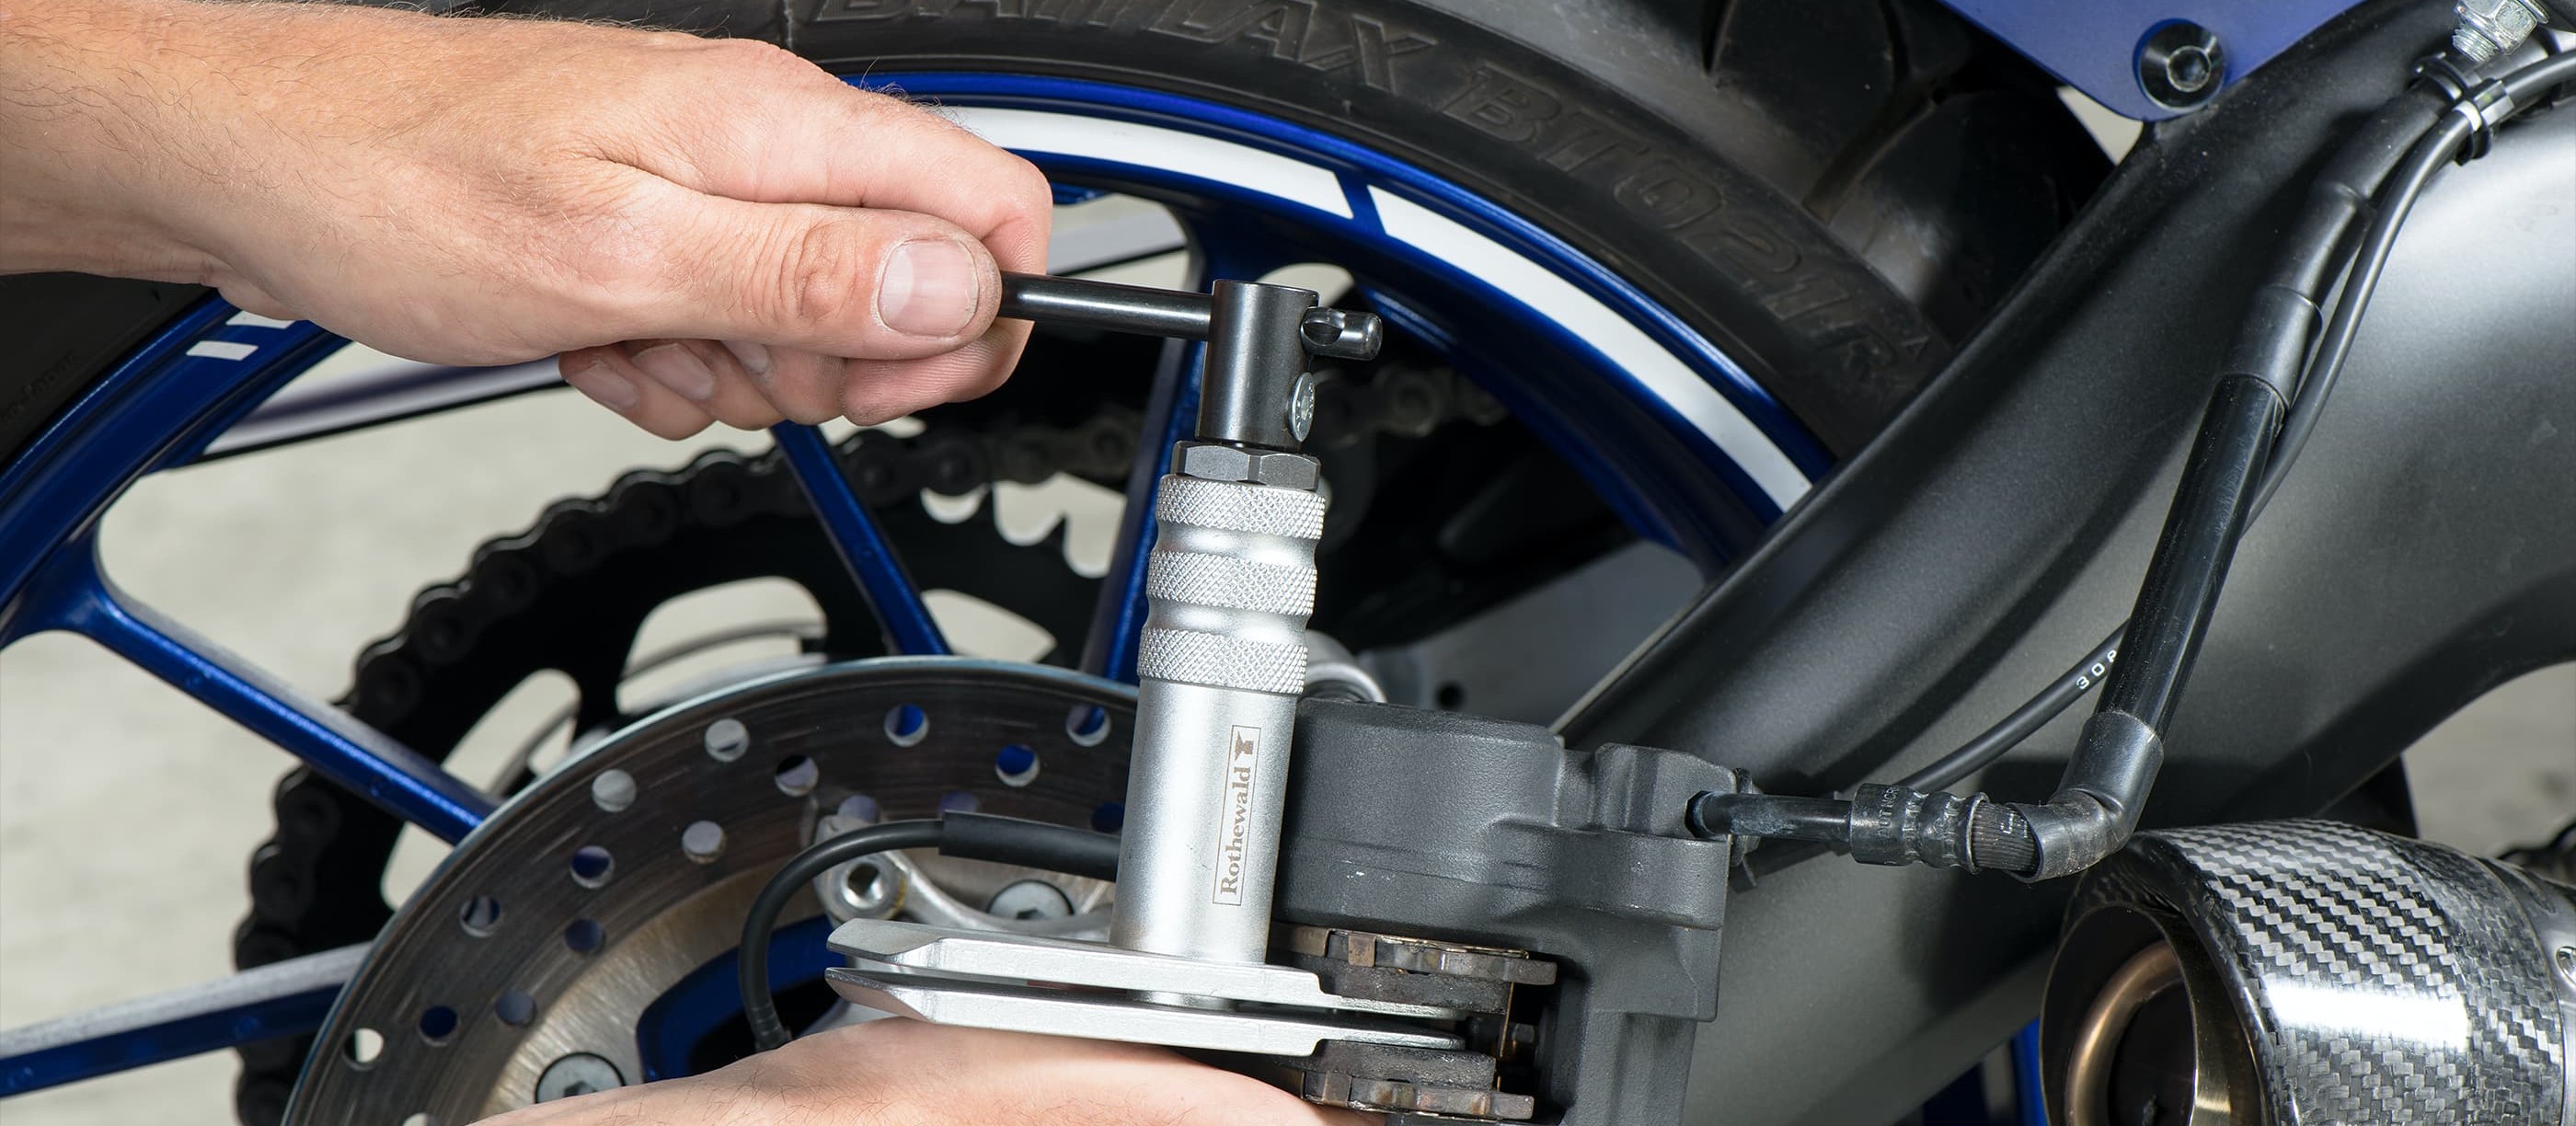
Coat the cleaned brake piston with a little brake cylinder paste. Push back the brake piston with a disc brake piston spreader in order to create space for the new thicker pads.
Please note: do not use a screwdriver or similar tool to reset the brake piston. With these kind of tools, there is a risk of tilting which causes the brake piston to jam slightly askew in its seat and would subsequently cause rubbing of the brake. Also keep an eye on the brake fluid in the reservoir when spreading the pistons, as the reverse movement of the piston causes the fluid level to rise!

Step 6, Fig. 1: Coat reverse side with ceramic or copper paste …
06 – Installing brake pads
So that the new pads do not squeal following installation, coat the metallic reverse side and, if necessary, the edges and also the cleaned holding pins of organic brake pads, thinly with copper paste (e.g. by PROCYCLE). Ceramic paste is used for sintered brake pads that could become hotter and also vehicles with ABS for which copper paste is not suitable because it is conductive. Always make sure that no paste comes into contact with the pad(s)!
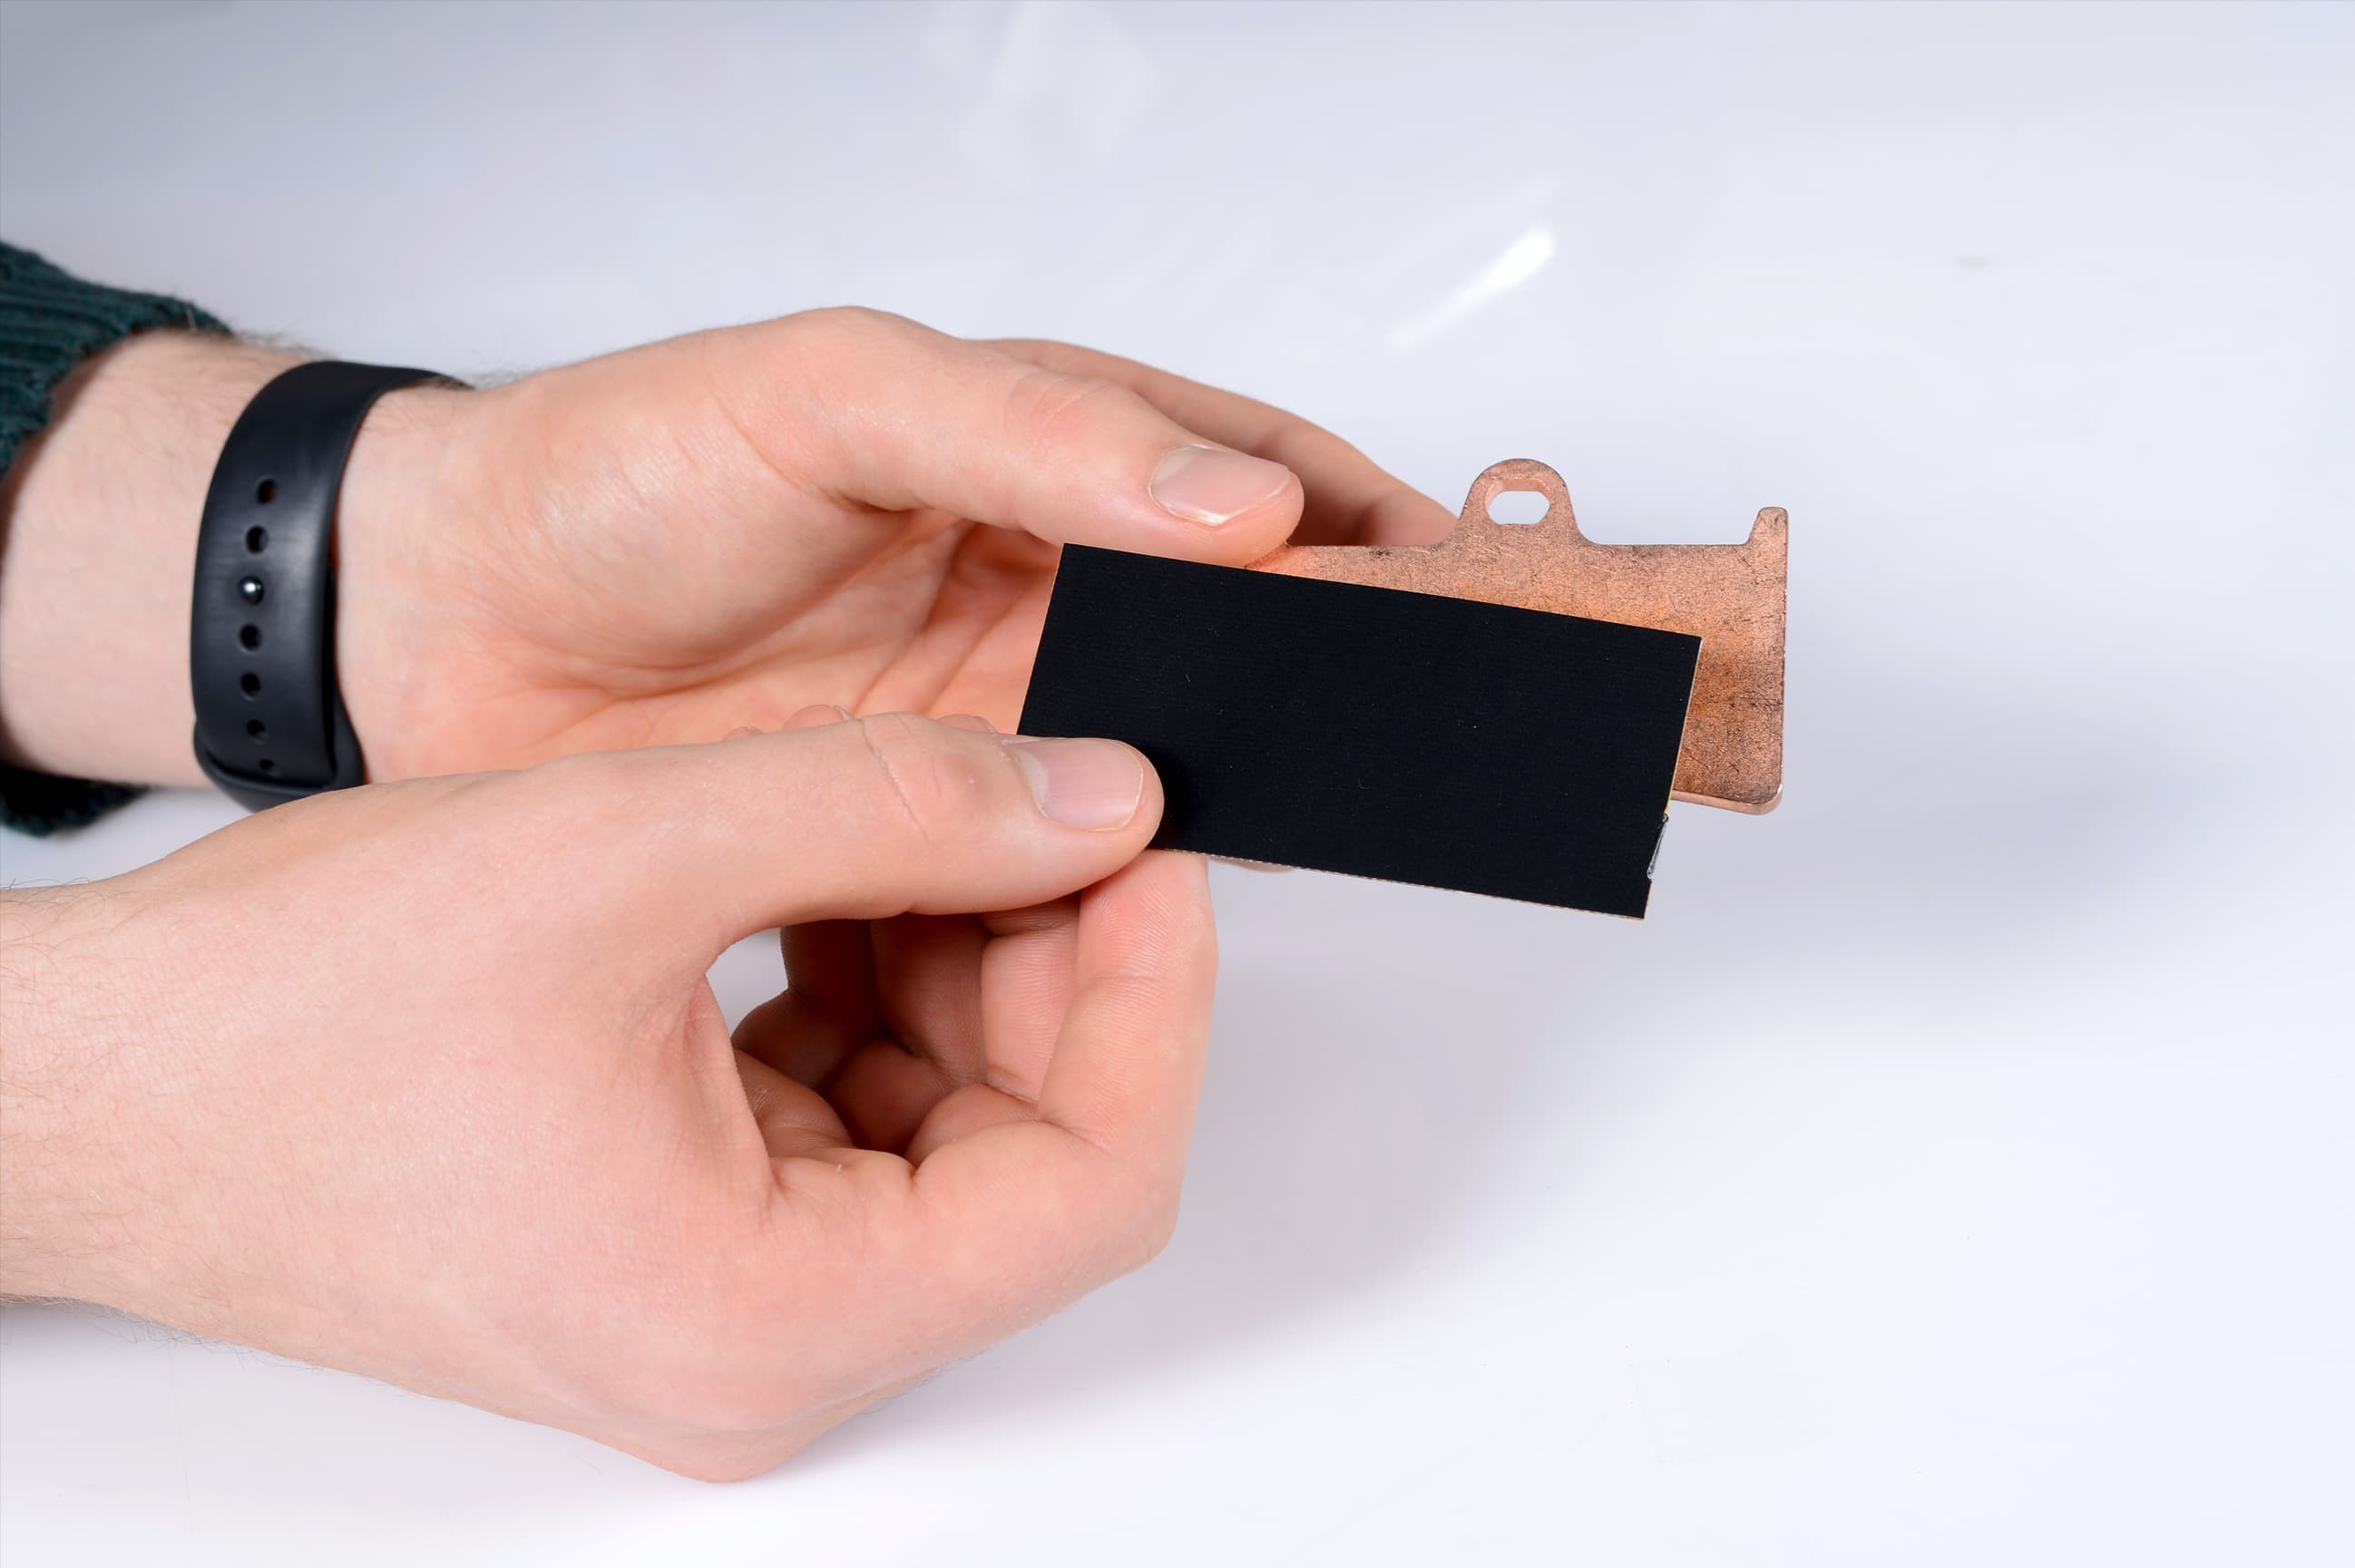
Step 6, Fig. 2: … or use anti-squeal film
Anti-squeal film by TRW, which is simply affixed to the reverse side of the pad, is more effective and cleaner than copper or ceramic paste. It is suitable for brake pads with and without ABS and also for sintered and organic pads, providing sufficient space is available in the brake caliper for the roughly 0.6 mm foil when applied.
07 – Place the new pads in the caliper
Now place the new pads in the caliper with the inner surfaces facing each other. If your brakes have anti-squeal plates, position them correctly. Insert one holding pin and place the spring on top. Press the spring down and insert the second holding pin. Insert new retaining clips. Make sure you have done everything correctly before moving on to the final step of this job.
Step 8: Tighten
08 – Tighten
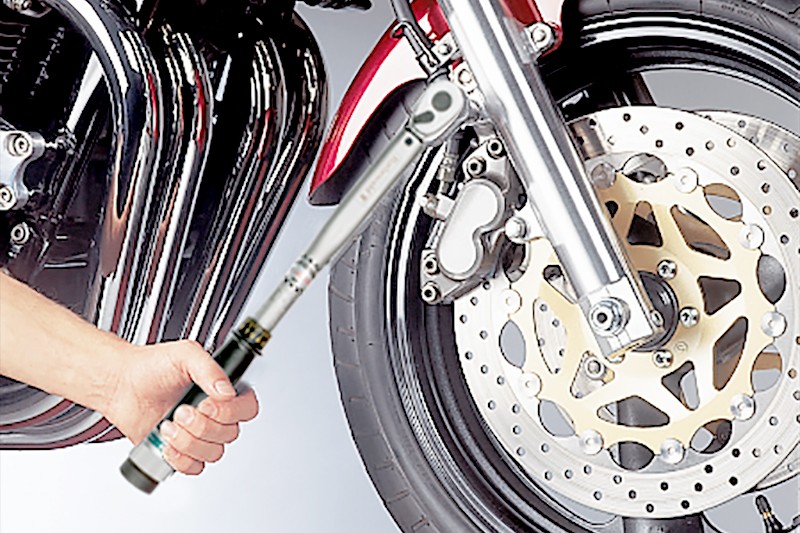
To position the brake caliper over the disc, you need to move the pads as far apart as possible in order to create enough space. Now place the caliper over the disc at the fork. If you are unable to do this, the brake piston has probably shifted slightly away from its retracted position and you will need to push it back. Use the disc brake piston spreader for this whenever possible. When the brake caliper is in position, tighten to the specified torque.

Step 9: Servicing a single disc brake
09 – Servicing a single-disc brake
If your bike has a single-disc brake, you can now refill the brake fluid in the reservoir up to the "Max." mark and close the cap. If your bike has a dual disc brake system, you will first need to re-engineer the second brake caliper. Before taking a test ride, "pump" the brake lever a few times in order to push the brake piston into the correct operating position. This is very important, as otherwise your first braking attempts would have no effect! Avoid braking with force, braking continuously and riding the brake for the first 200 km to allow your brake pads to bed in on the brake discs without vitrifying.
Important: Check whether the discs run hot, the brake pads squeal or whether there are any other problems that may indicate that the brake piston is jamming. In this case, follow the steps described above to push the piston back into its retracted position while at the same time taking care not to tilt it. This will generally fix the problem.
Our recommendation
The Louis Technical Centre
If you have a technical question about your motorbike, please contact our Technical Centre, where they have endless experience, reference books and contacts.
Please note!
These tips for DIY mechanics contain general recommendations that may not apply to all vehicles or all individual components. As local conditions may vary considerably, we are unable to guarantee the correctness of information in these tips for DIY mechanics.
Thank you for your understanding.


