Making your own paper gaskets
Your local motorcycle dealer may not be able to stock every gasket for every bike all the time, but fortunately, you can make many gaskets quite simply yourself (except for the cylinder head gasket, for example).

Note: The videos are in German.
Gaskets for motorcycles
Don't let something as basic as a small paper gasket ruin your tour. Your local motorcycle dealer doesn't have the space to keep every type of gasket in stock at all times, but luckily, you can make many gaskets simply and effectively yourself (except for the cylinder head gasket, for example), and not just in an emergency.
In less than half an hour, you can make the gasket you need and save yourself a lot of money. If you have an Elring Gasket Repair Kit or a sheet of gasket paper, there's no problem even when the shops are closed. The repair kit is very practical because it contains four different gasket materials covering all temperature ranges.
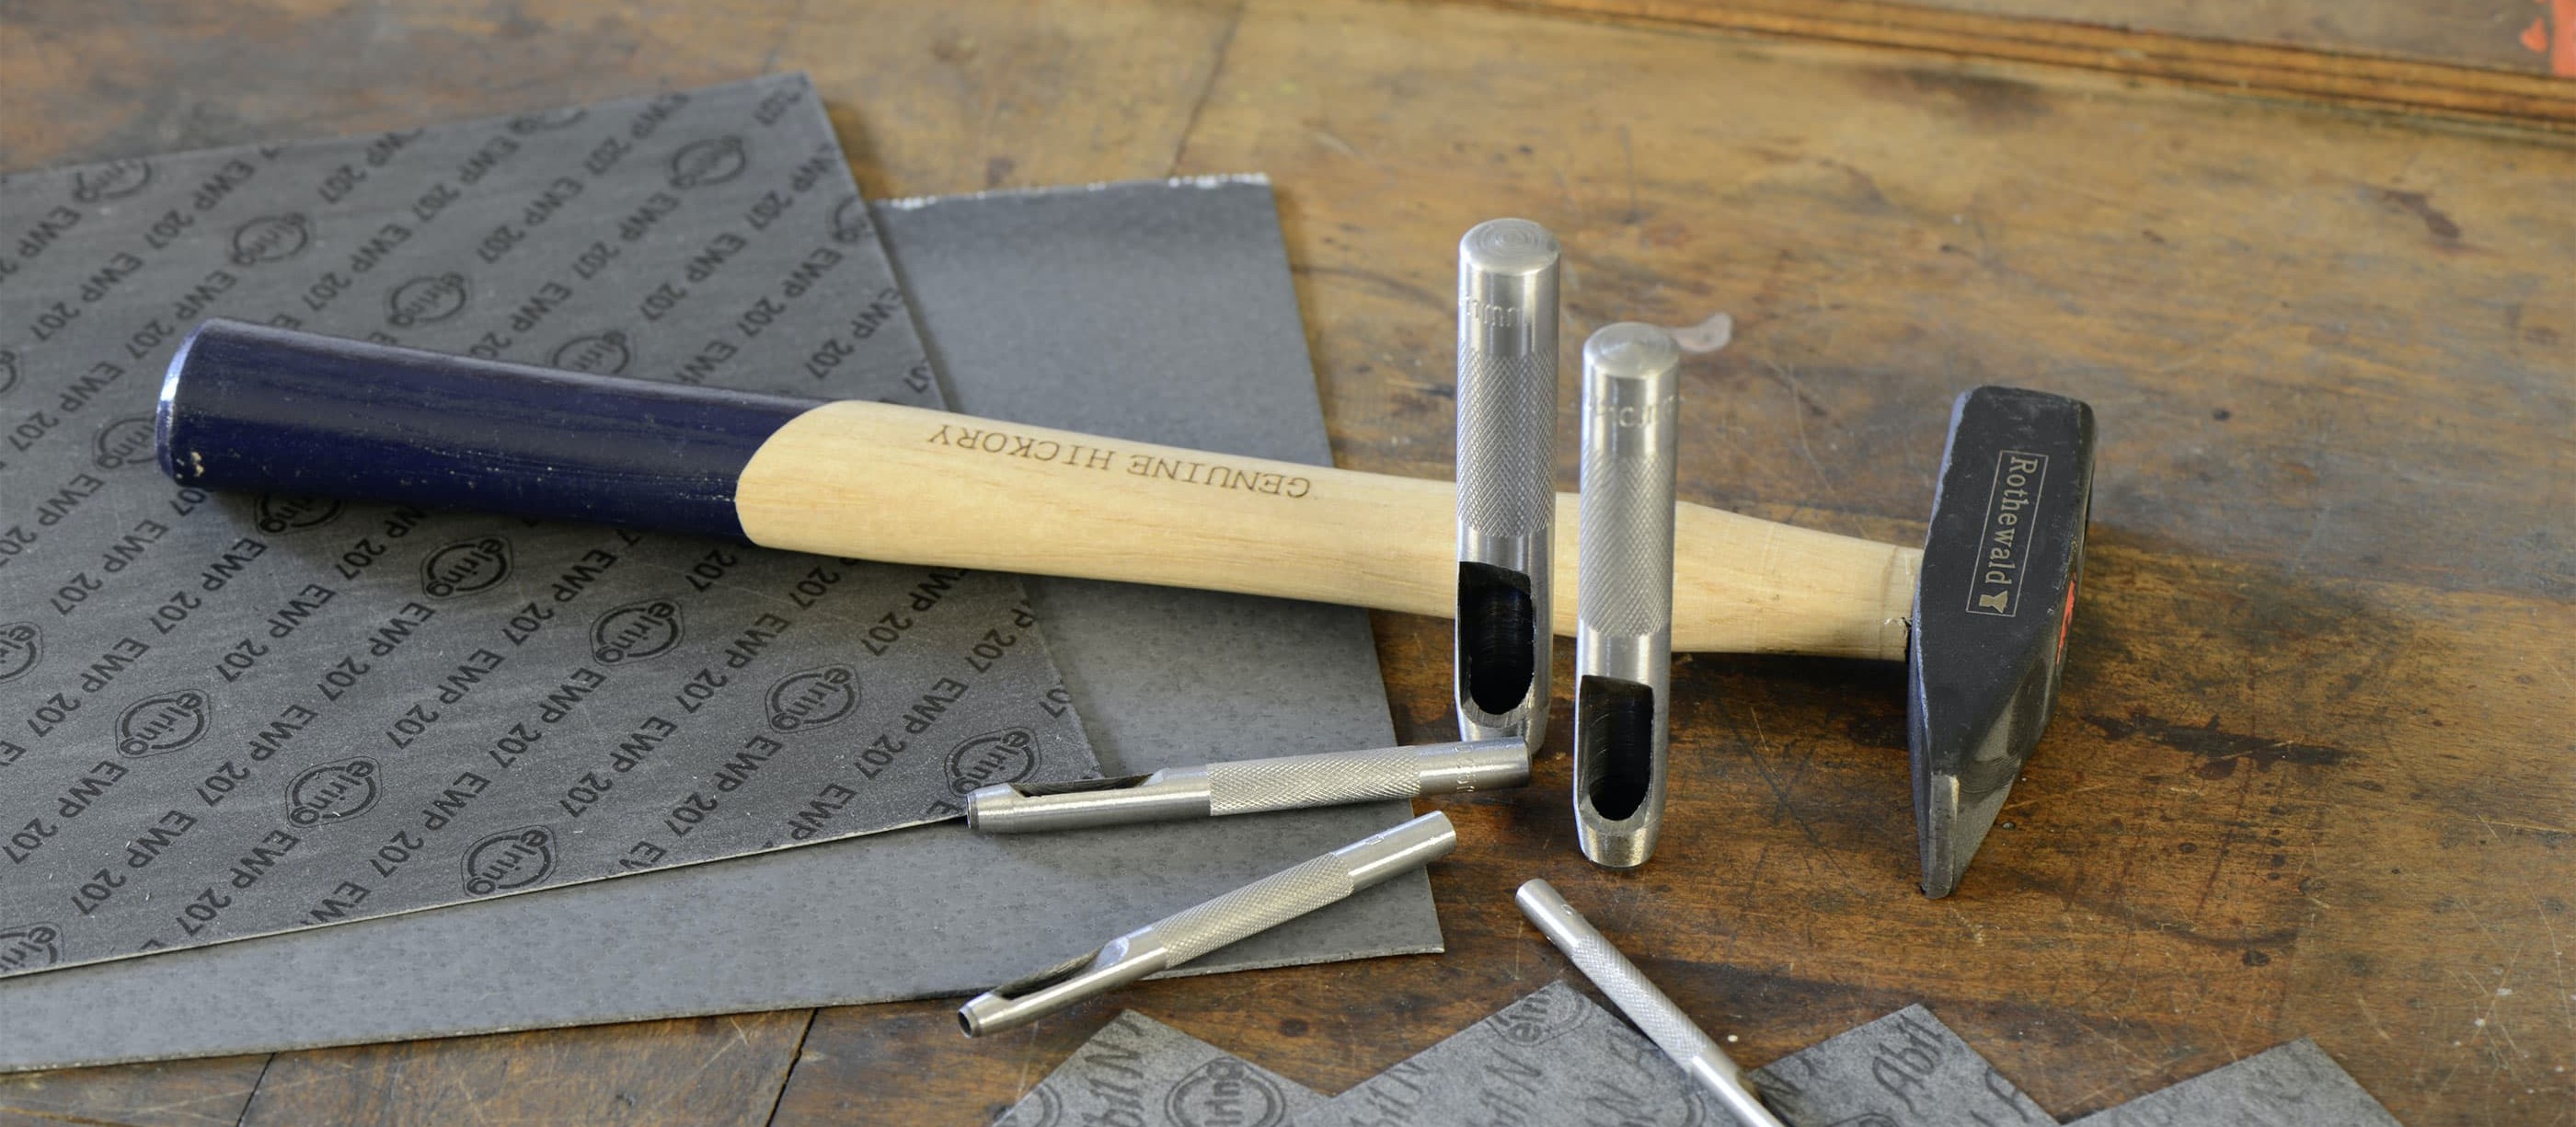
With a selection of gasket scrapers, an ink pad or spray paint and a couple of punches, you've got everything you need. Whenever you replace a gasket, you should be sure to use not only the same type of gasket paper, but also the same thickness. If, for example, you use too thick a gasket for the oil sump, there's a risk that, to overstate it slightly, the oil level display will be wrong, and you'll end up overfilling.
It's also essential to make all the same holes in the new gasket, even if the reason for them isn't immediately obvious. A hole in the gasket isn't always for a screw; it may be intended for an oil passage.
Producing of gaskets – now let's get started

Step 1: Remove all remnants of the old gasket
01 – Prepare carefully
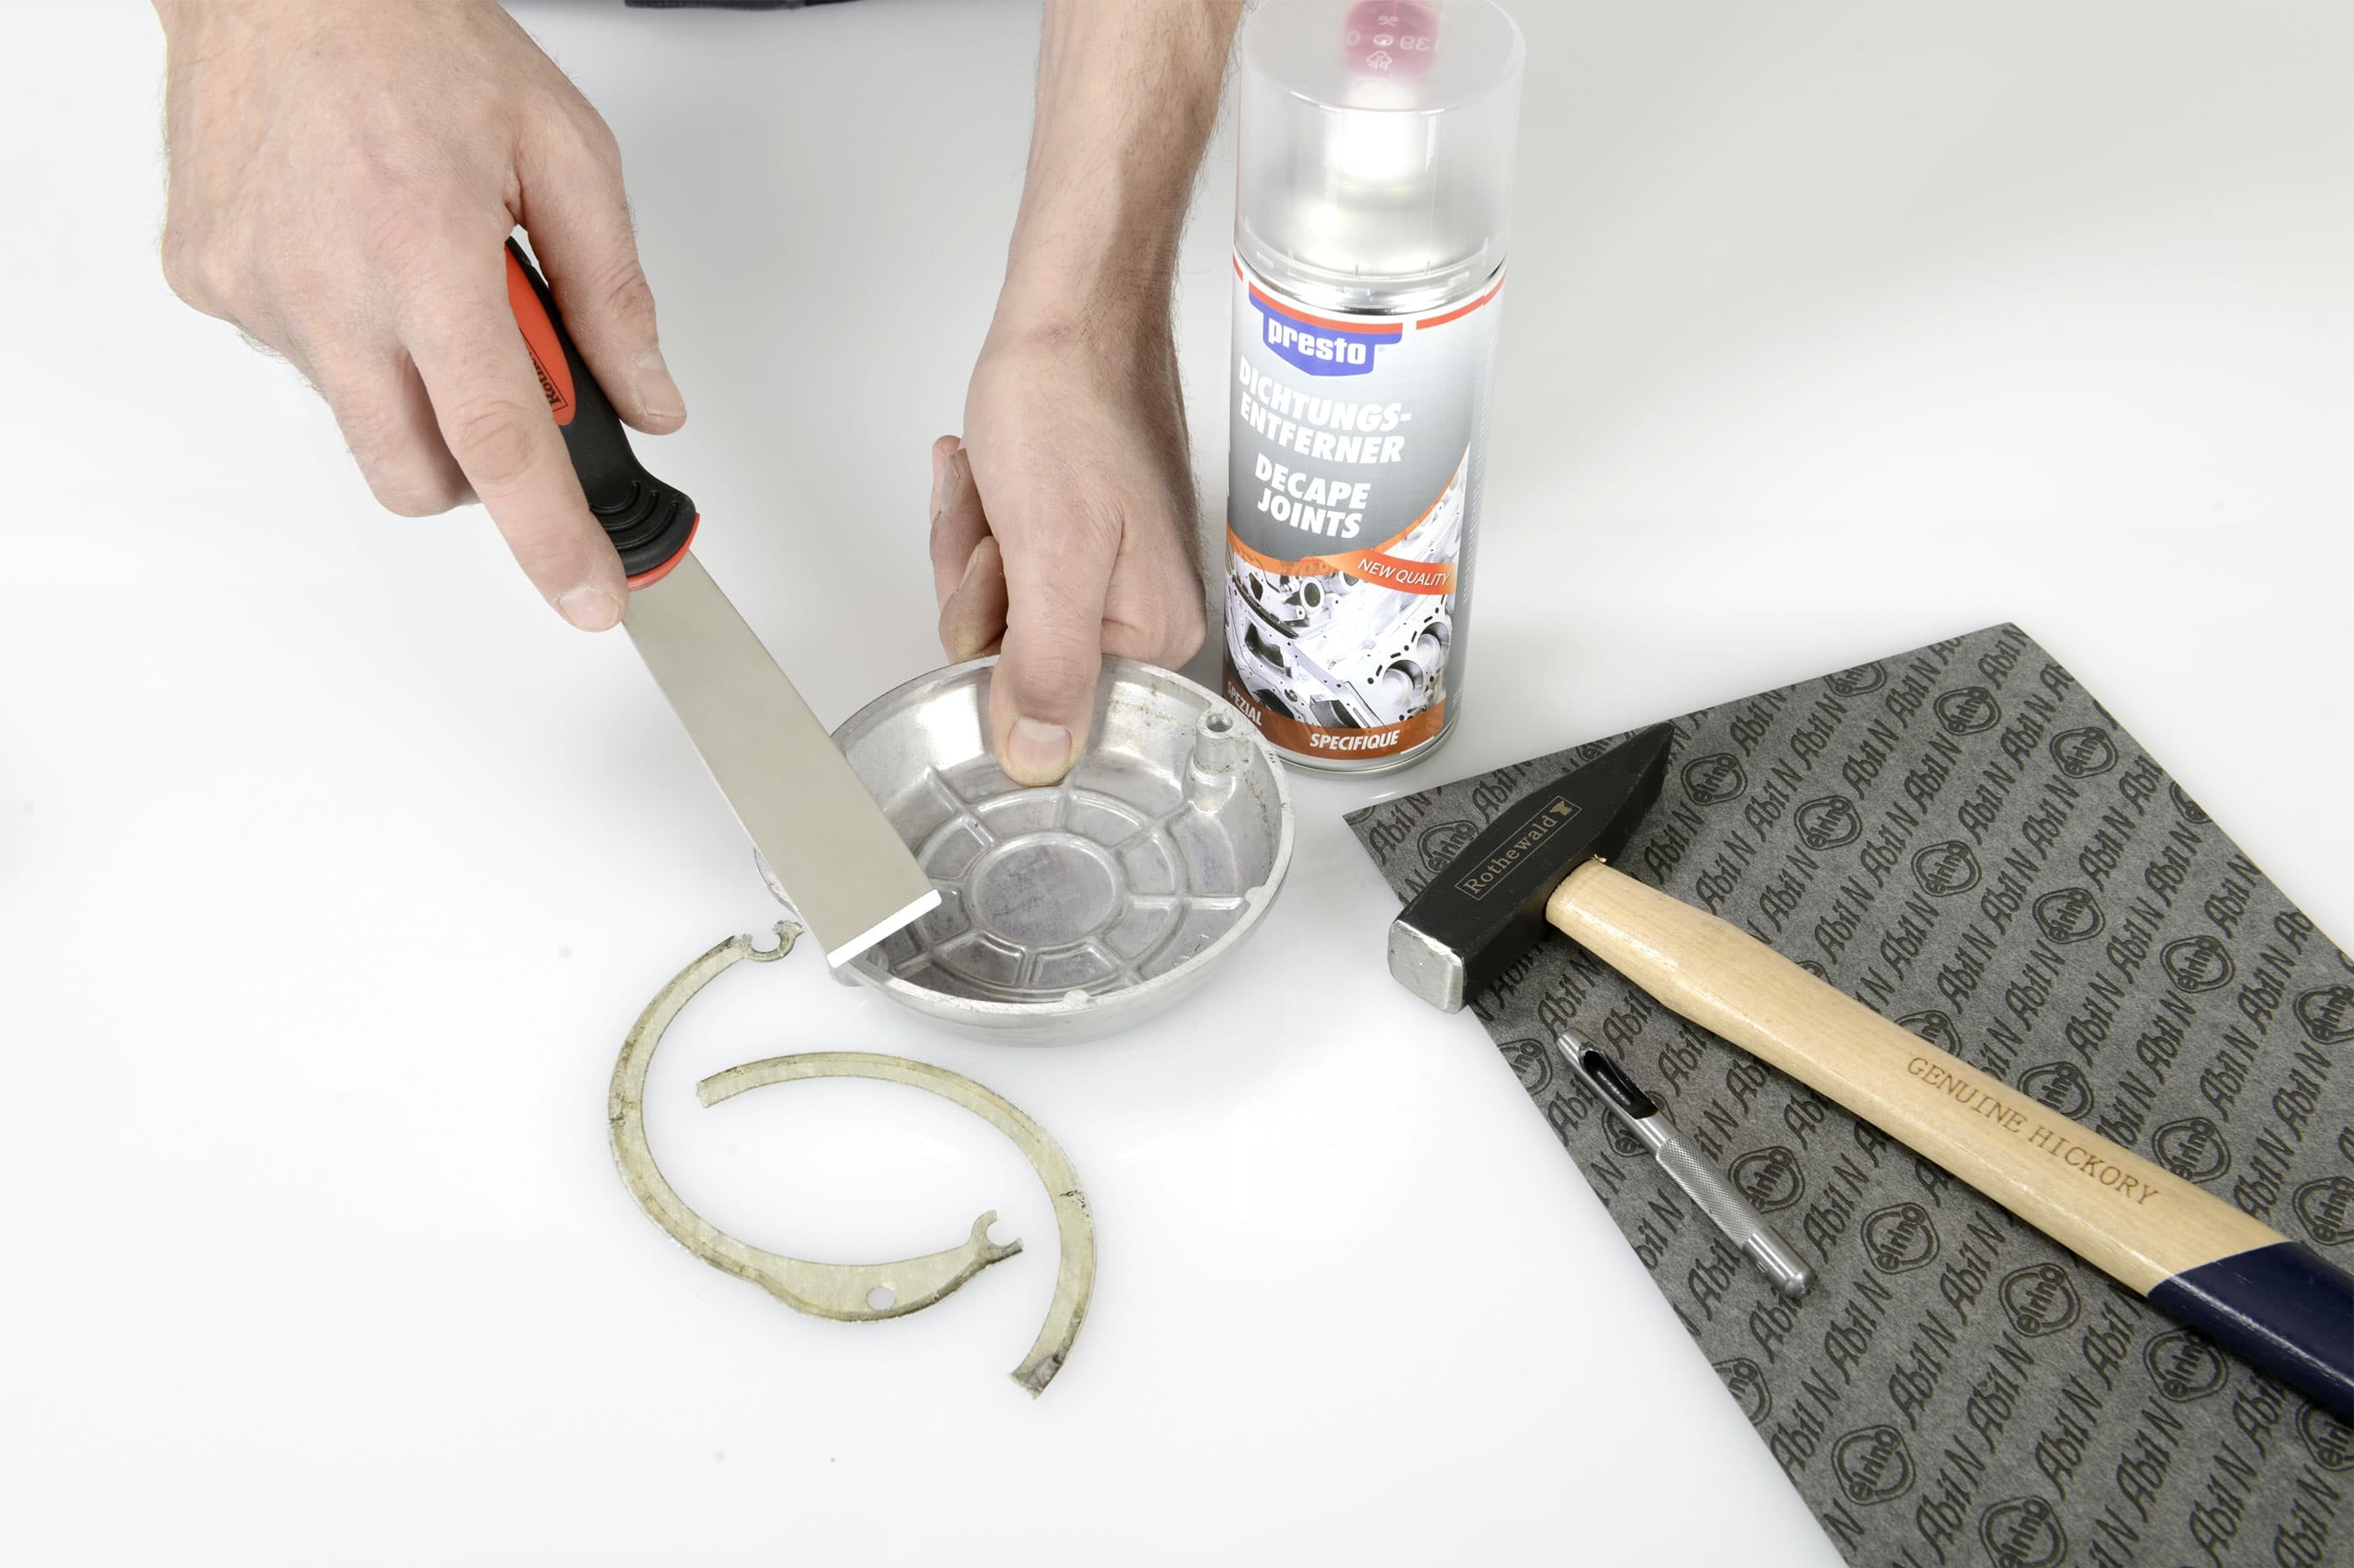
The cover must be absolutely clean and free of grease. All remnants of the old gasket must be removed with a scraper (you may need a gasket remover spray to shift obstinate residues). Use Procycle Brake Cleaner to de-grease the sealing surface.

Step 2: Make an outline with ink pad or spray paint
02 – Make an outline
Now you need to transfer the outline of the sealing surface of the cover onto the gasket paper. There are two ways of doing this. The first is used if the old gasket is partially or completely missing. Ink the sealing surface of the cover with an ink pad, and press the cover down firmly on the gasket paper, making sure it doesn't slip sideways. Cut out the inked area to make the new gasket.
The second method is used when the gasket is still essentially complete. If the gasket has been torn in three, for example, simply stick it back together with adhesive tape. Then lay the reassembled gasket on the gasket paper and thinly spray it with paint. After a few minutes lift off the old gasket and you will see the contours of the new gasket.

Step 3: Punch holes slightly larger than screw diameter
03 – Make the holes
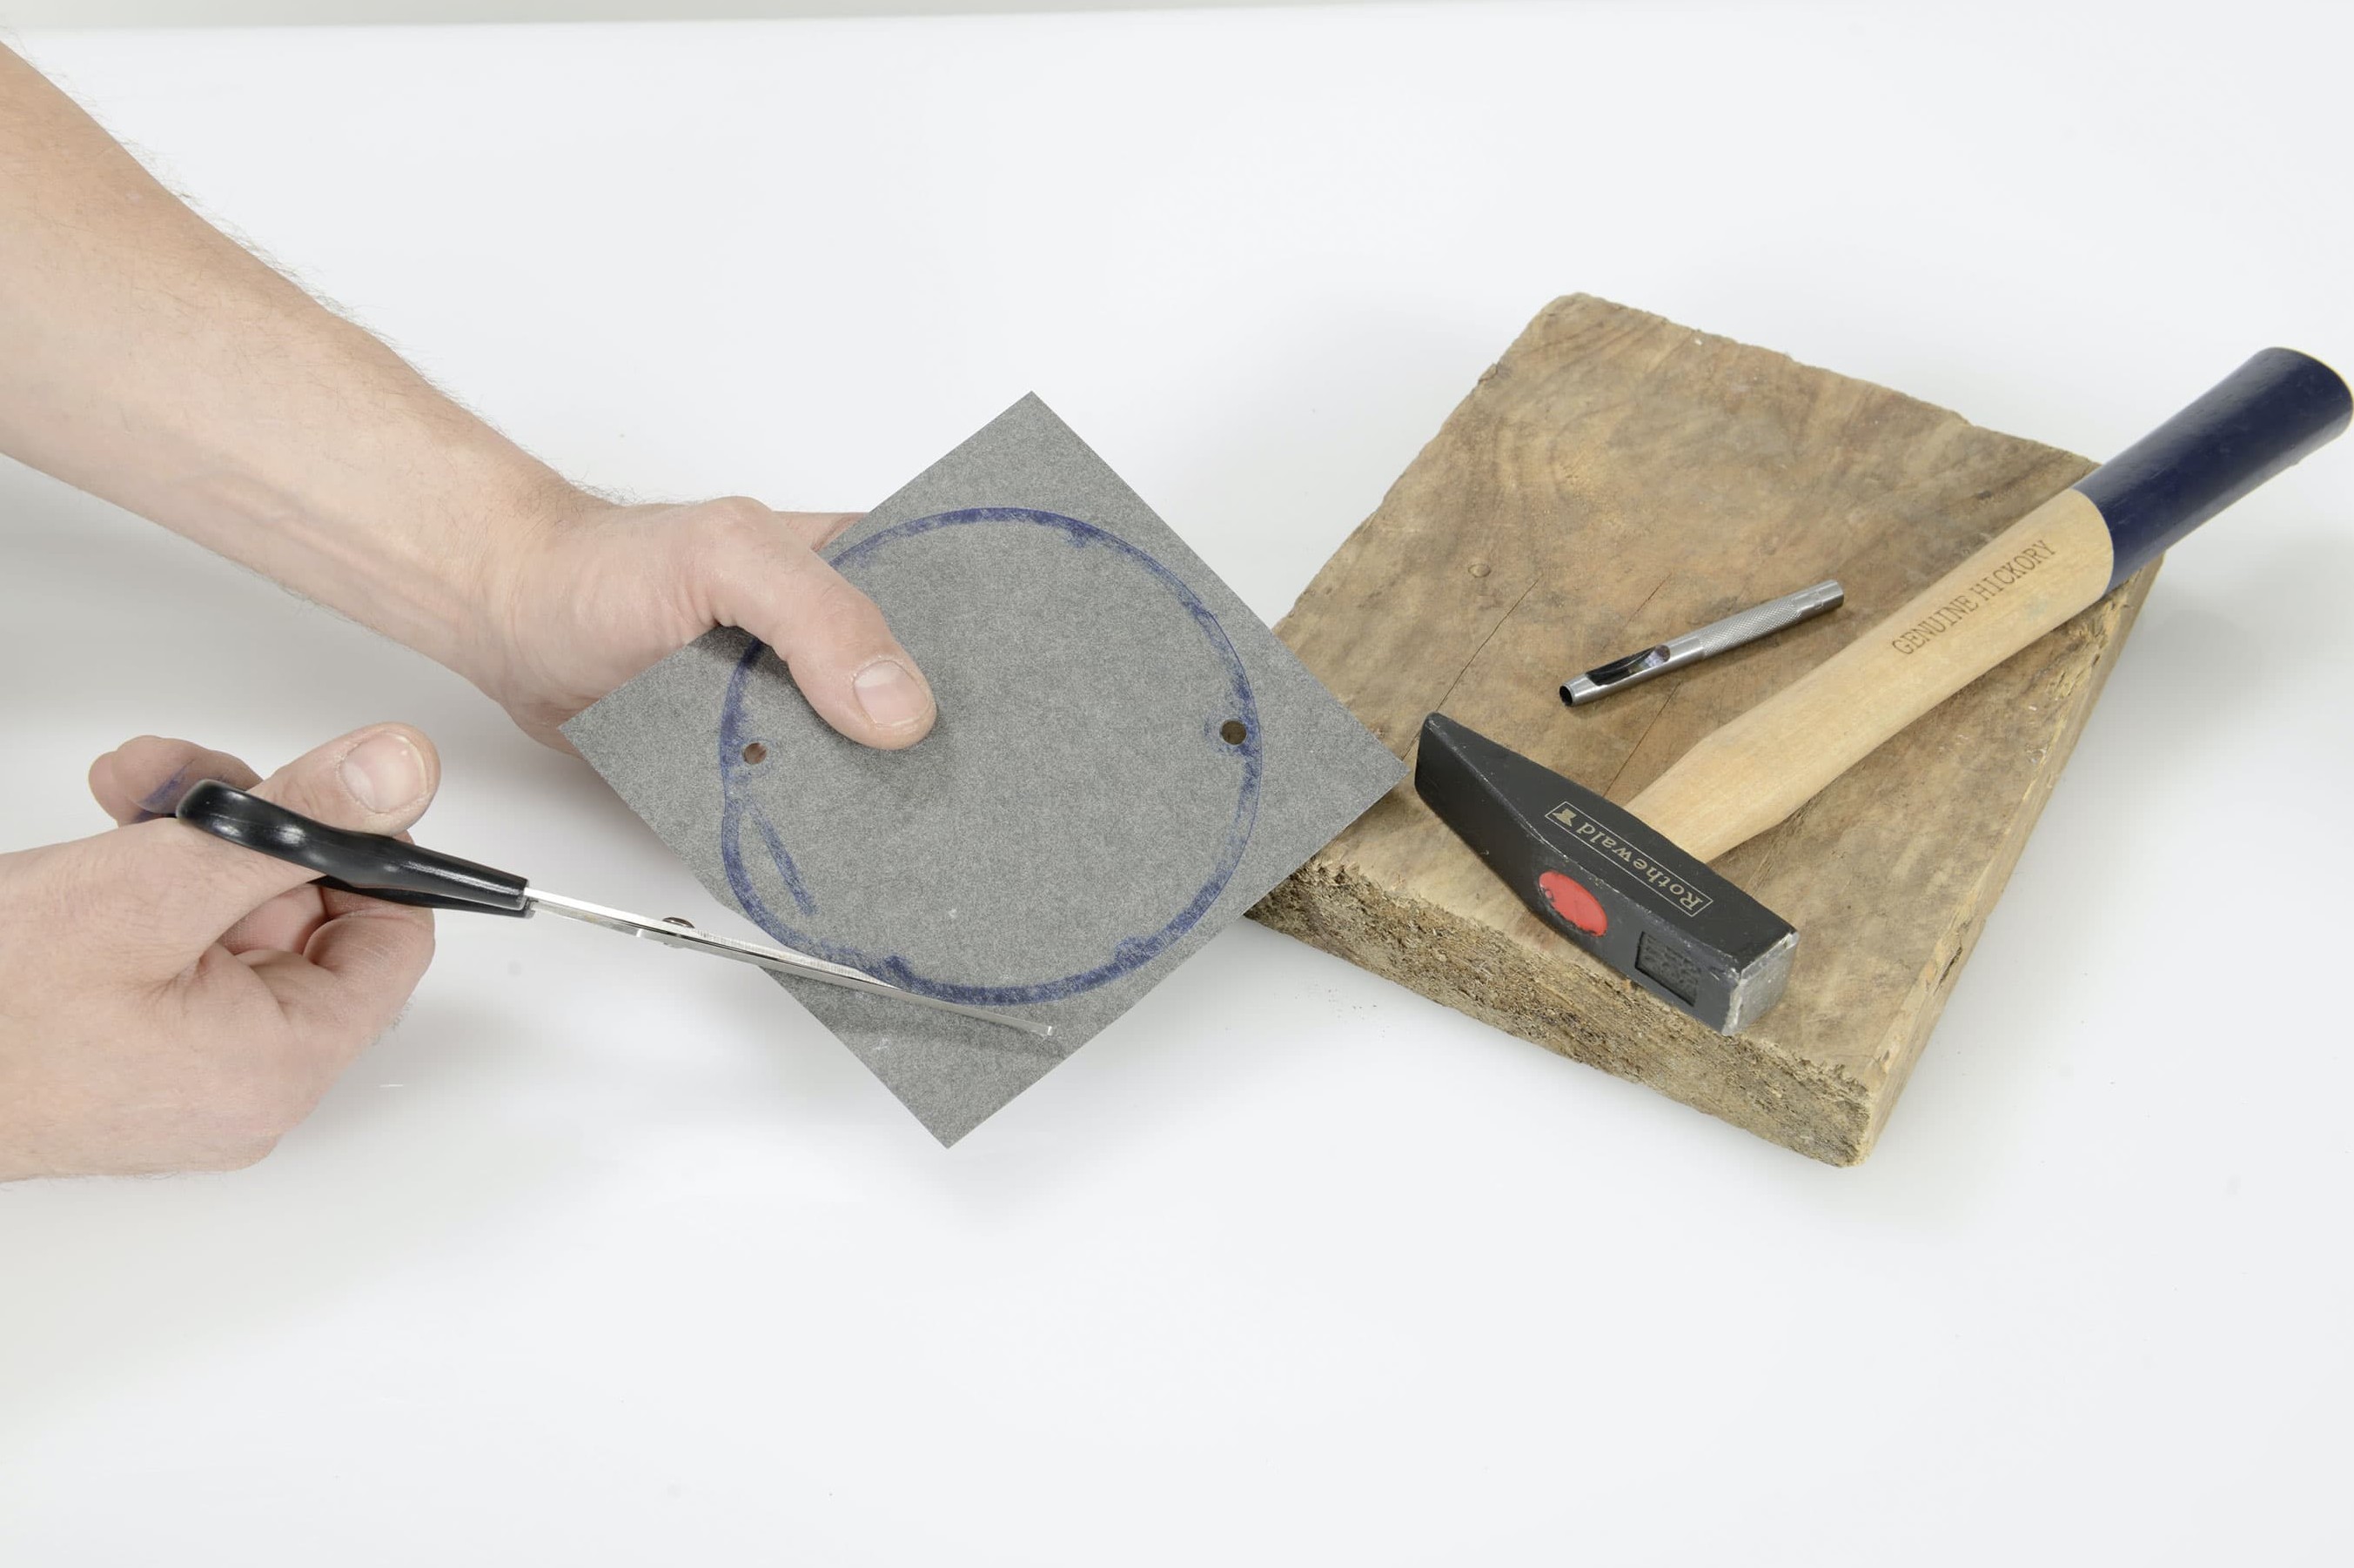
Before you cut out the new gasket with scissors, first punch the holes. The best way to make holes for screws and bolts is with a suitable punch (e.g. from the Punch Set). Note that the screw holes must be a bit bigger than the diameter of the screw, otherwise the gasket would get damaged when the screws are inserted into the cover. A piece of soft wood makes the best support. A hammer-blow on the punch creates a perfectly circular hole and prevents the gasket from tearing due to irregularities.

Step 4: Cut out gasket neatly with scissors
04 – Cut out the gasket
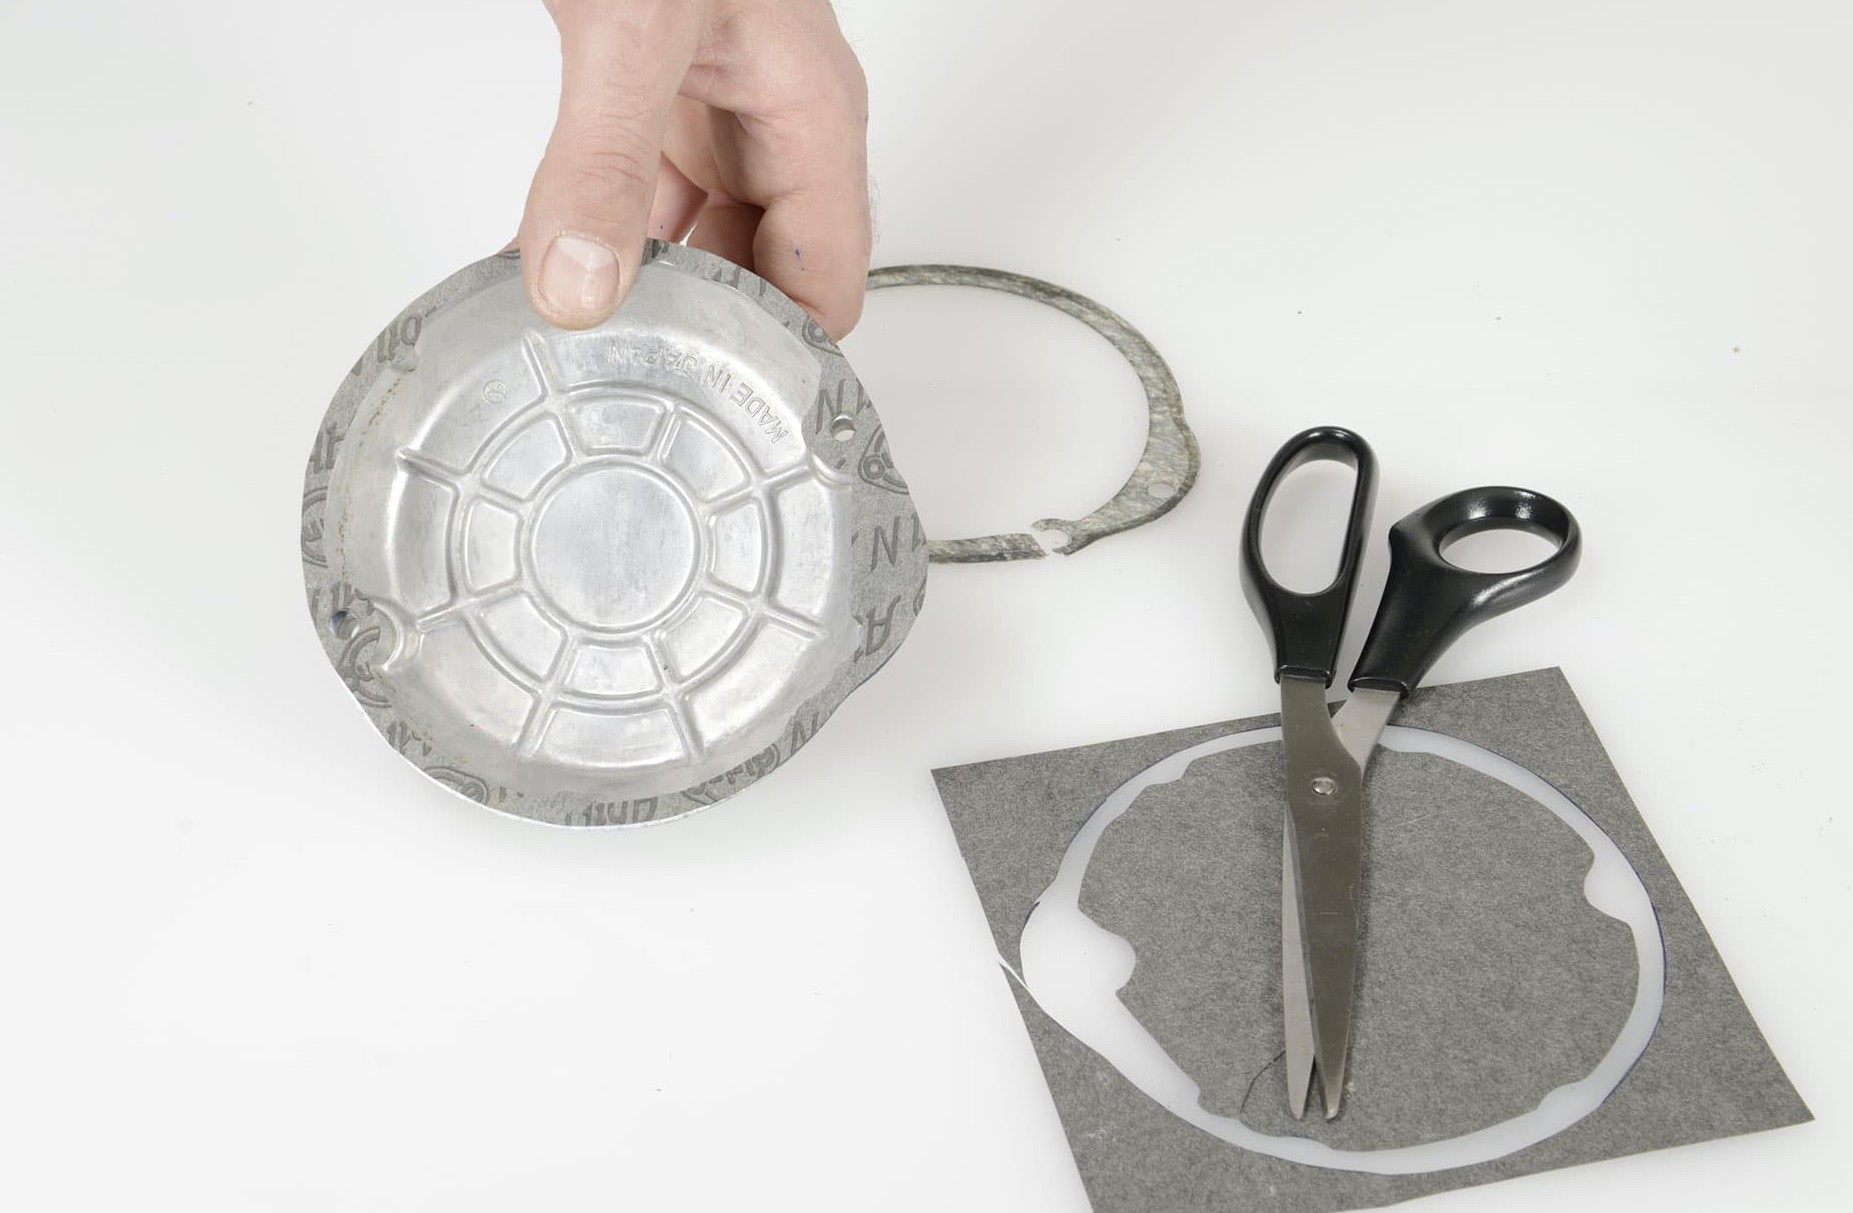
Now cut out the gasket neatly with scissors. If you accidentally cut into the gasket itself, take the time to start again and make a new one, otherwise you may get a nasty surprise later.

Step 5: Check the fit and number of holes
05 – Check the fit
Finally, check that the gasket fits accurately and has the right number of holes.
Important: Use sealant with care, and only apply it thinly because too much sealant can cause major damage. When you tighten the cover, excess sealant oozes out not just on the outside but also inside the engine. If it gets into the oil system, small oil ports may be blocked, resulting in engine damage. There are various sealants for different temperature ranges and purposes.
Our recommendation
The Louis Technical Centre
If you have a technical question about your motorbike, please contact our Technical Centre, where they have endless experience, reference books and contacts.
Please note!
These tips for DIY mechanics contain general recommendations that may not apply to all vehicles or all individual components. As local conditions may vary considerably, we are unable to guarantee the correctness of information in these tips for DIY mechanics.
Thank you for your understanding.


