Thread cutting
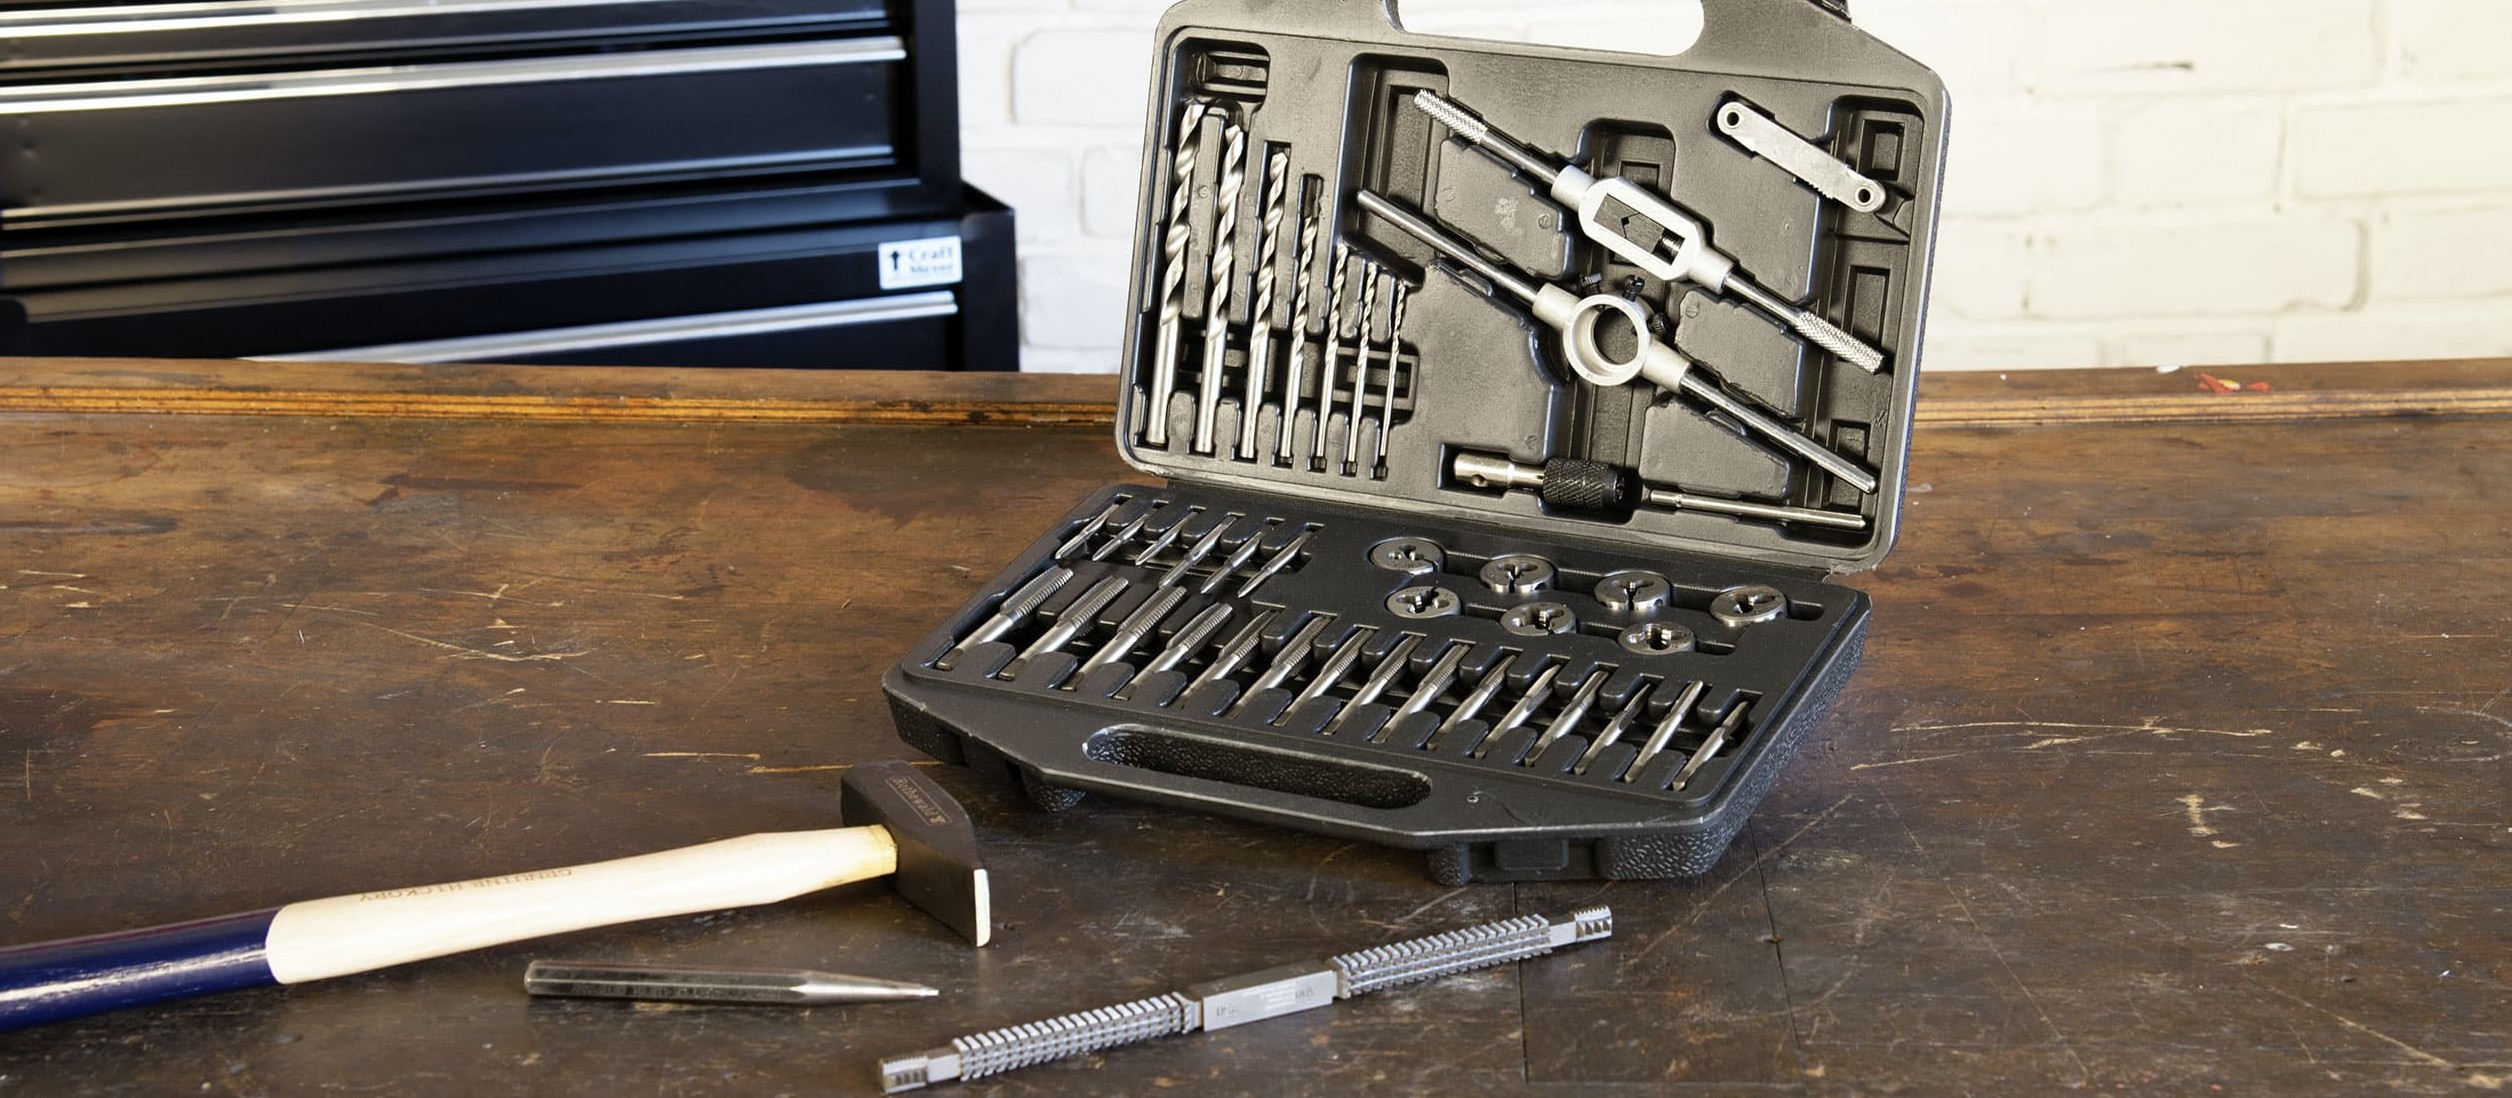
Every well equipped DIY workshop should have a tap and die set for the most commonly used bolt sizes. It's what you need for repairing a damaged thread, or cutting a new, larger thread if the old one is beyond repair. You can also create an internal or external thread on parts that you make yourself. A good tap and die set contains three-stage taps for each size plus various dies so that you can cut both external and internal threads. Simple single-stage taps are suitable for rethreading or for soft material.
The key requirement for achieving a durable new thread is to drill a pilot hole with the correct diameter.
| Nom. dia. mm | Pitch mm | Pilot hole mm |
|---|---|---|
| M3 | 0,5 | 2,5 |
| M4 | 0,7 | 3,3 |
| M5 | 0,8 | 4,2 |
| M6 | 1 | 5 |
| M7 | 1 | 6 |
| M8 | 1,25 | 6,8 |
| M10 | 1,25 | 8,8 |
| M10 | 1,5 | 8,5 |
| M12 | 1,5 | 10,5 |
| M12 | 1,75 | 10,2 |
Important: The jobs described here are really something for the professional vehicle mechanic. So if you're not qualified to do the job, we recommend leaving it to a specialist motorcycle workshop.
Part 1: Cutting an internal thread (tapping) – now let's get started
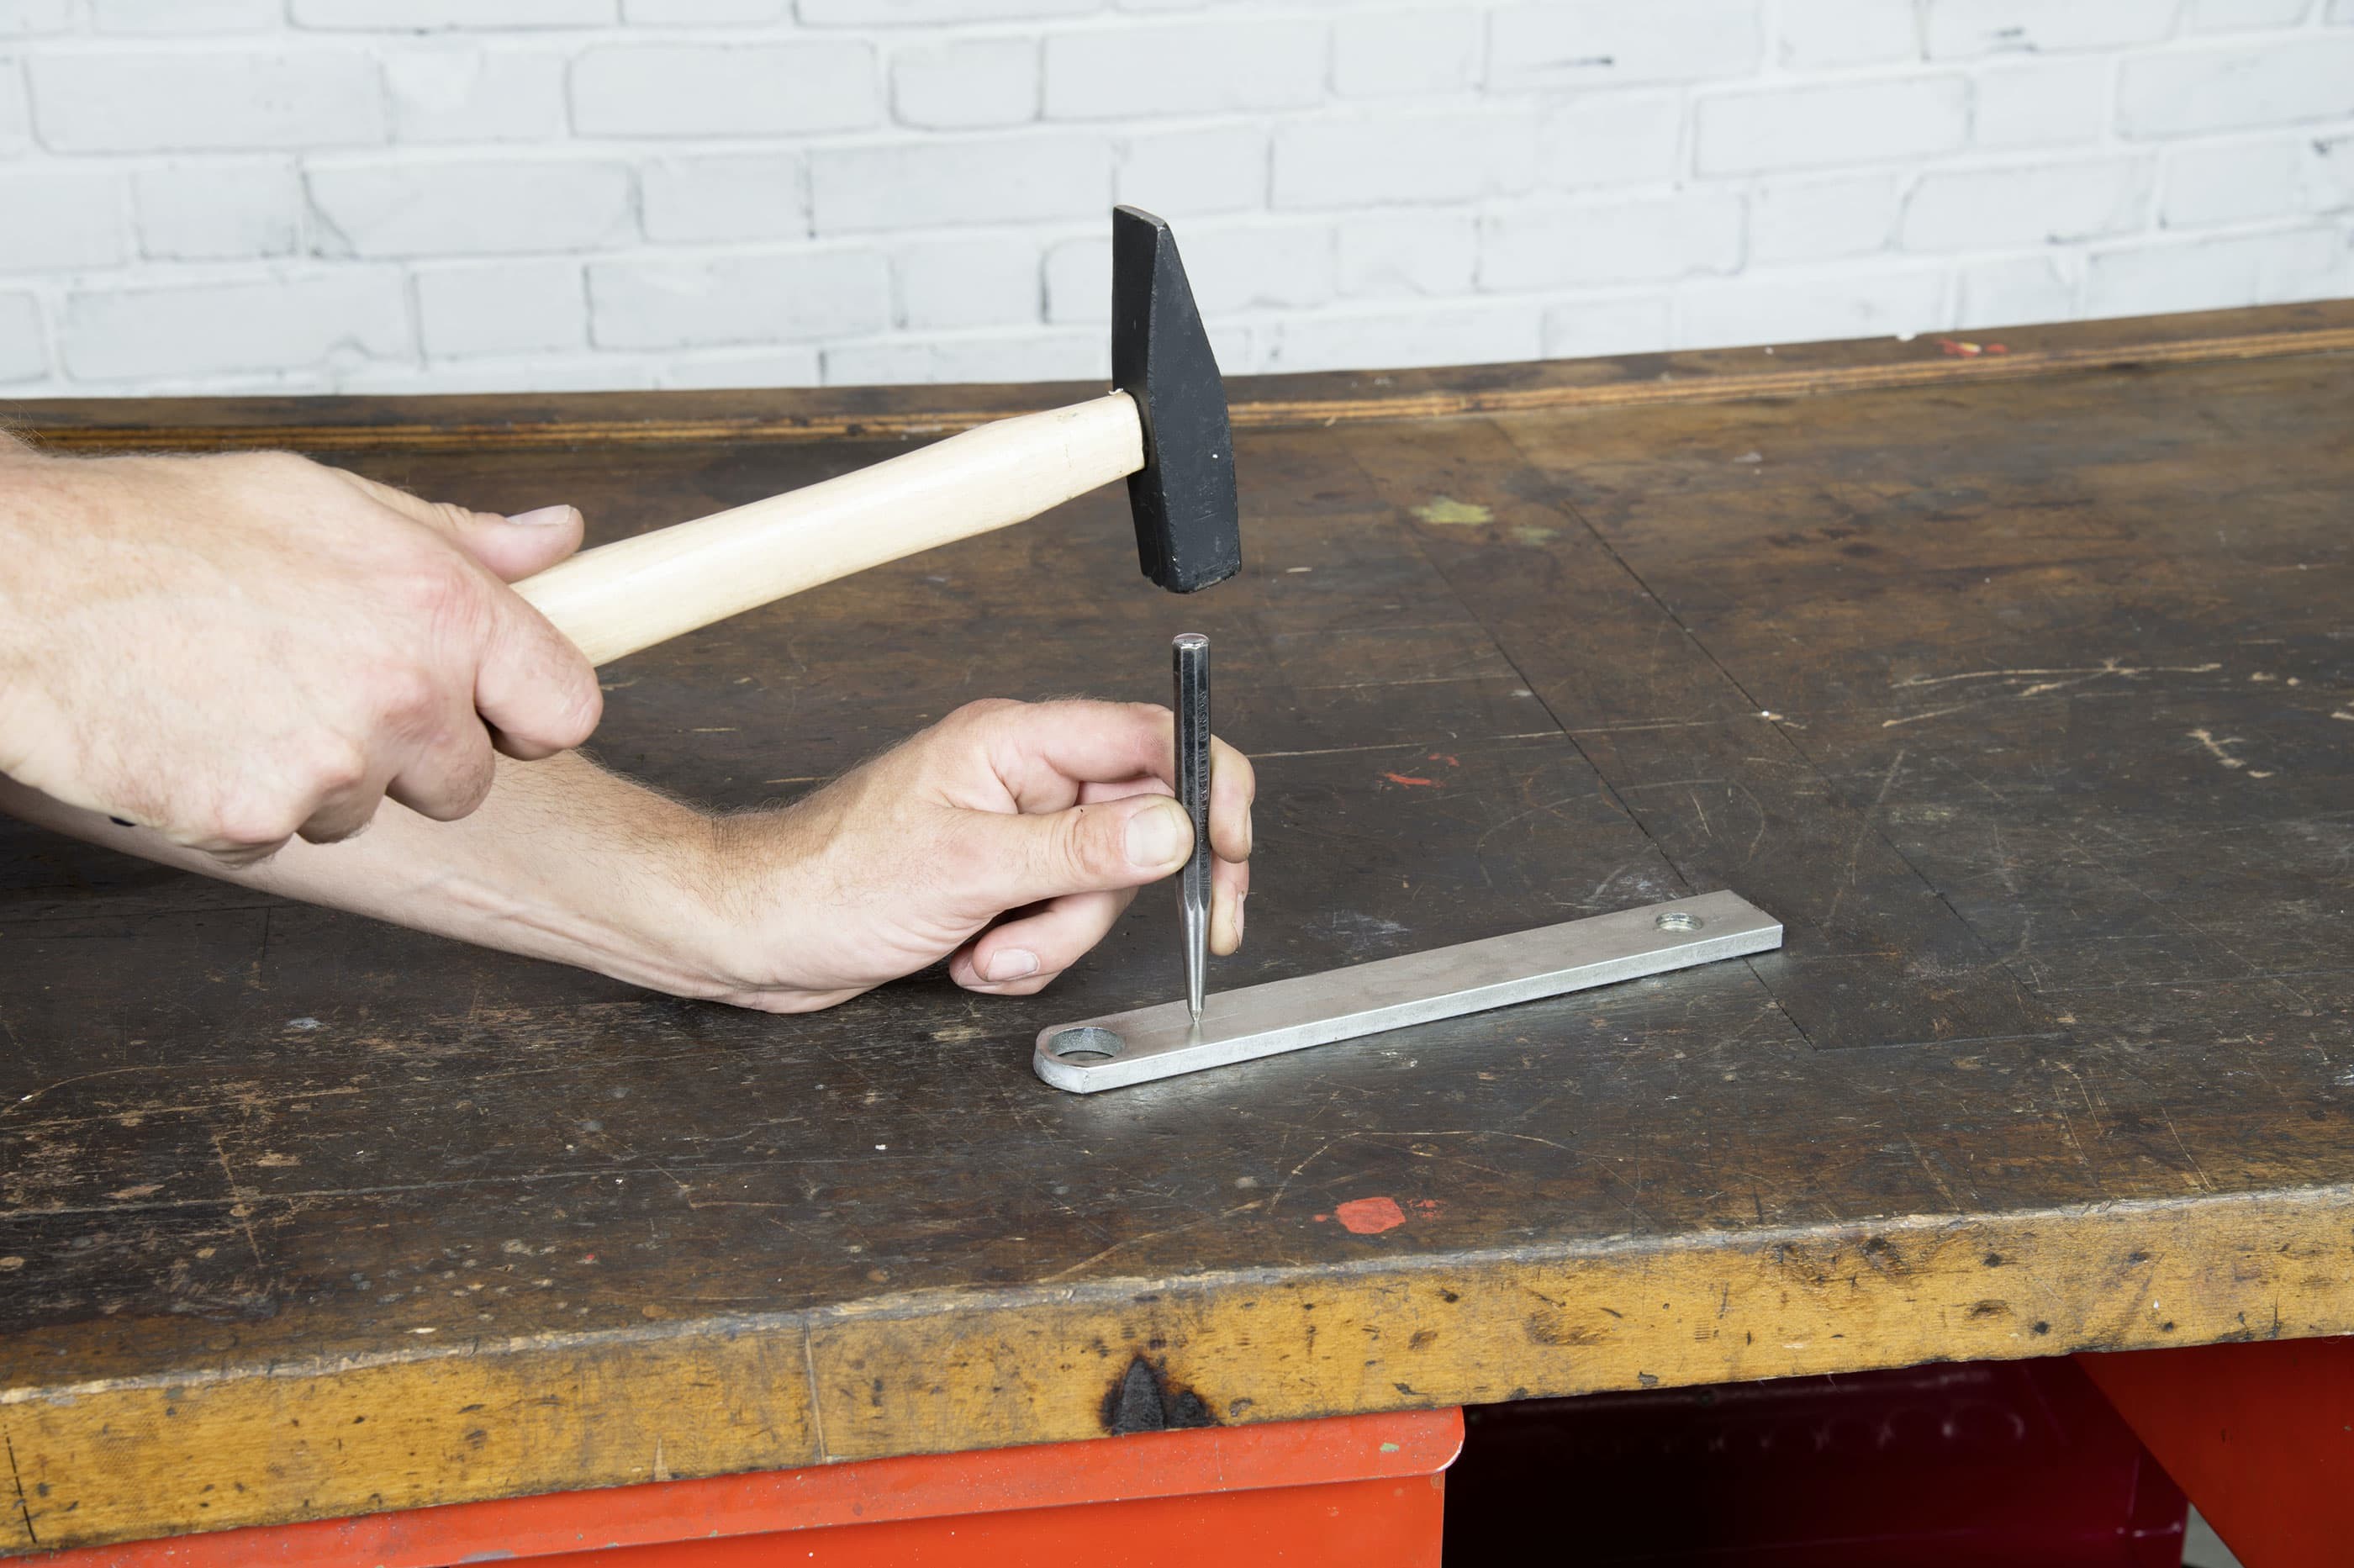
Part 1, Step 1: Mark the centre of the hole with a centre punch
01 – Mark the bore hole
Before you start drilling, you must first mark the centre of the hole with a centre punch. To do this, place the part you are going to drill on a firm, flat surface.
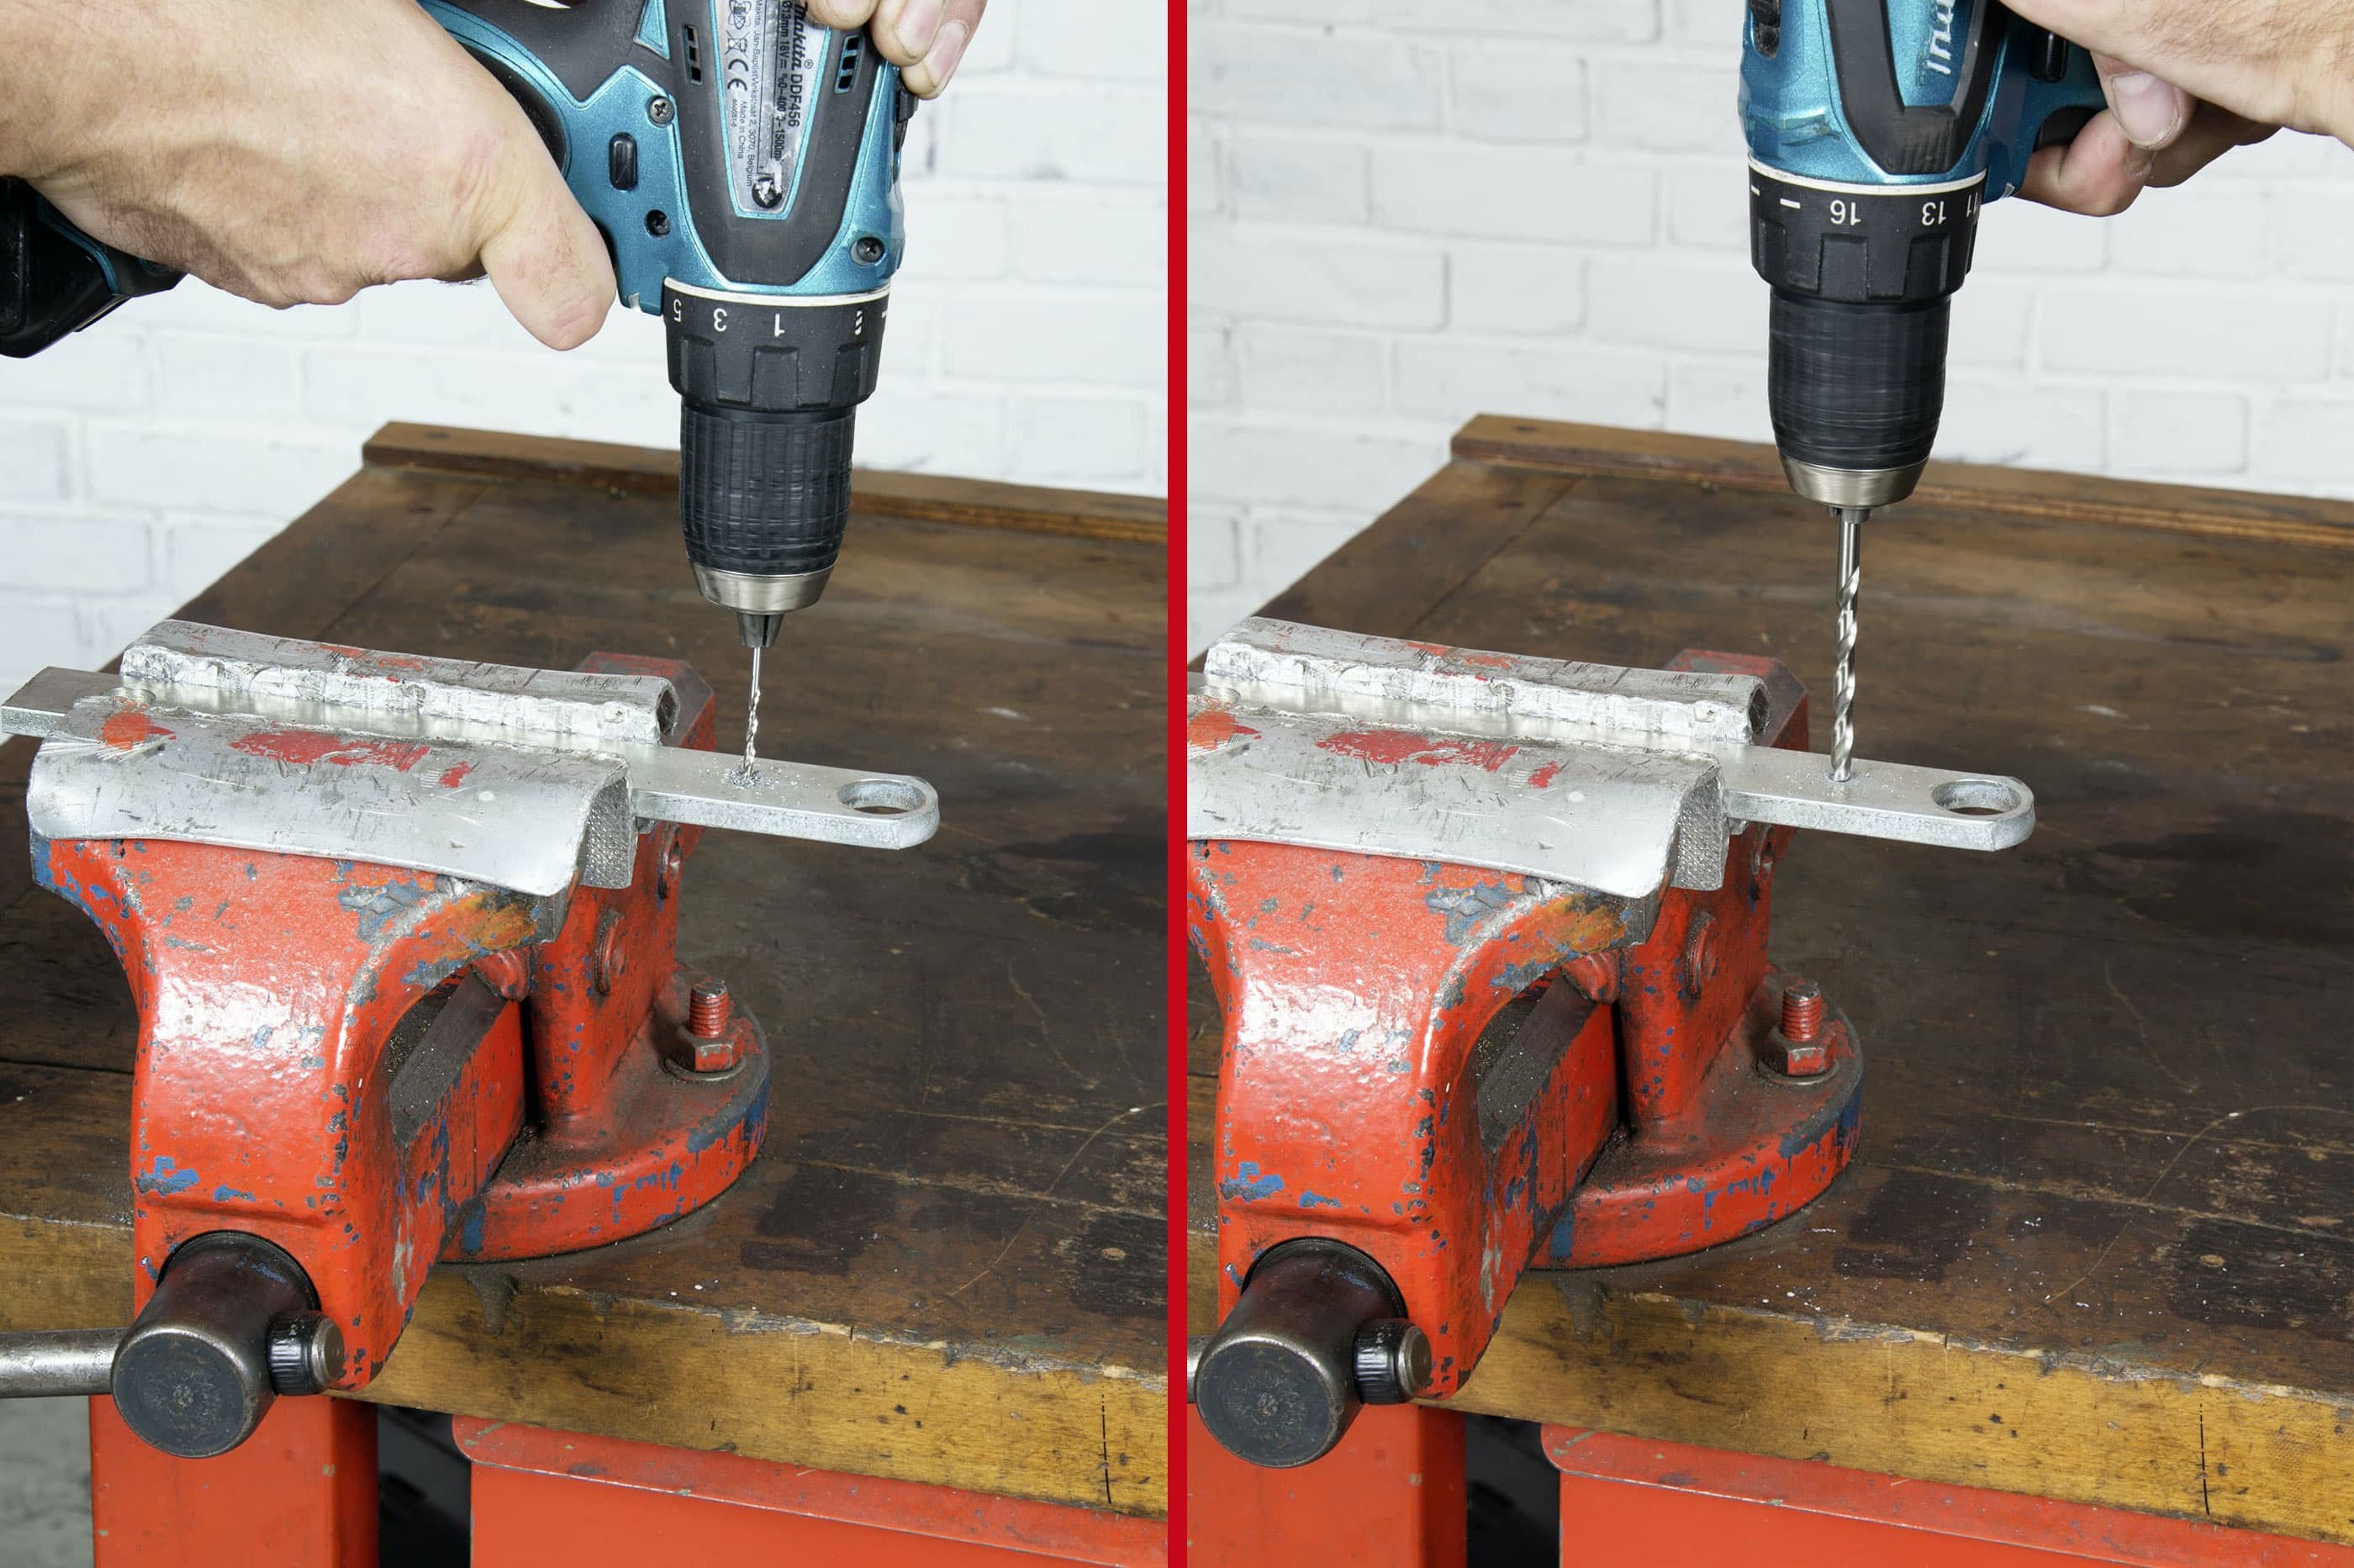
Part 1, Step 2: It's essential to drill the pilot hole very precisely
02 – Drill the core hole
Now you can drill the hole. Take care to align the drill perfectly straight. If you drill at an angle, the part may be ruined. So, to be safe, it's advisable to secure the part in a vice or bench drill, making sure it's exactly horizontal. When drilling a relatively large new hole, start with a smaller drill or a step drill. Clamp the drill bit in the drill and lubricate it with cutting oil (or spray oil) to prevent it from overheating or seizing. Start drilling at slow speed. If necessary, tidy up the hole with a countersink, but do not countersink too deep, especially on thin metal.
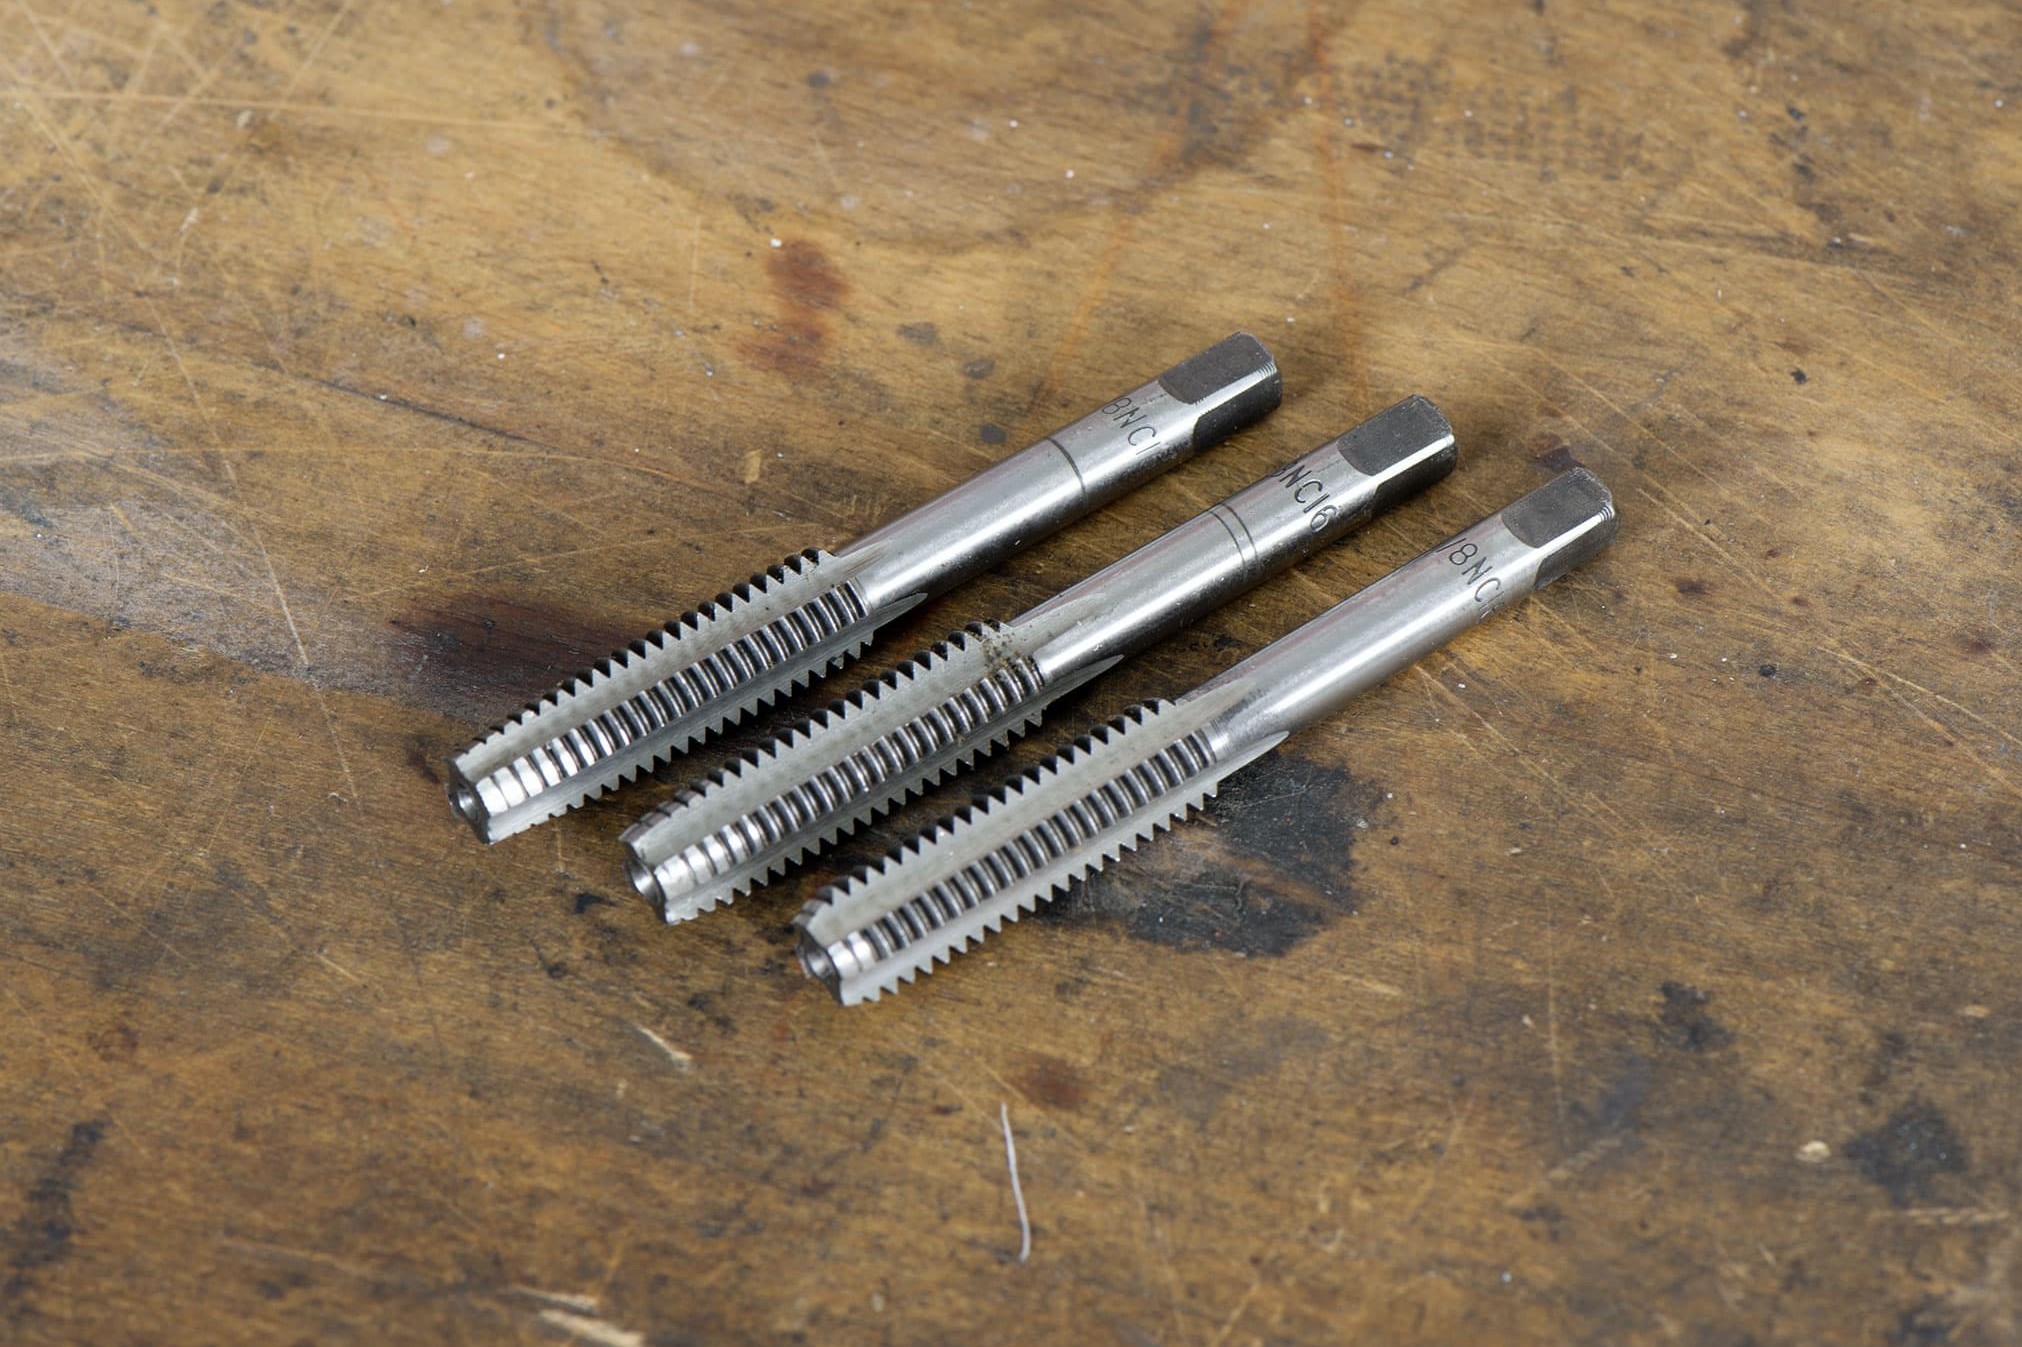
Part 1, Step 3, Fig. 1: The new thread is created in three steps using a sequence of taps
03 – Thread cutting
Select the correct size of tap for the pilot hole. Three-stage taps are marked with rings on the shank. Stage 1 (one ring - taper tap). Stage 2 (two rings) and bottoming tap (no ring).
Screw the tap into a suitable tool holder, lubricate it with cutting oil (or spray oil) and insert it vertically into the drill hole.
Then cut the thread slowly. In soft material (e.g. aluminium). you can cut continuously. But in hard metal (steel, stainless steel), you should slowly screw the tap in by one full turn of the thread, then break the chip (swarf) by screwing the tap out again a quarter turn. Continue like this until the tap has advanced as far as possible into the pilot hole.
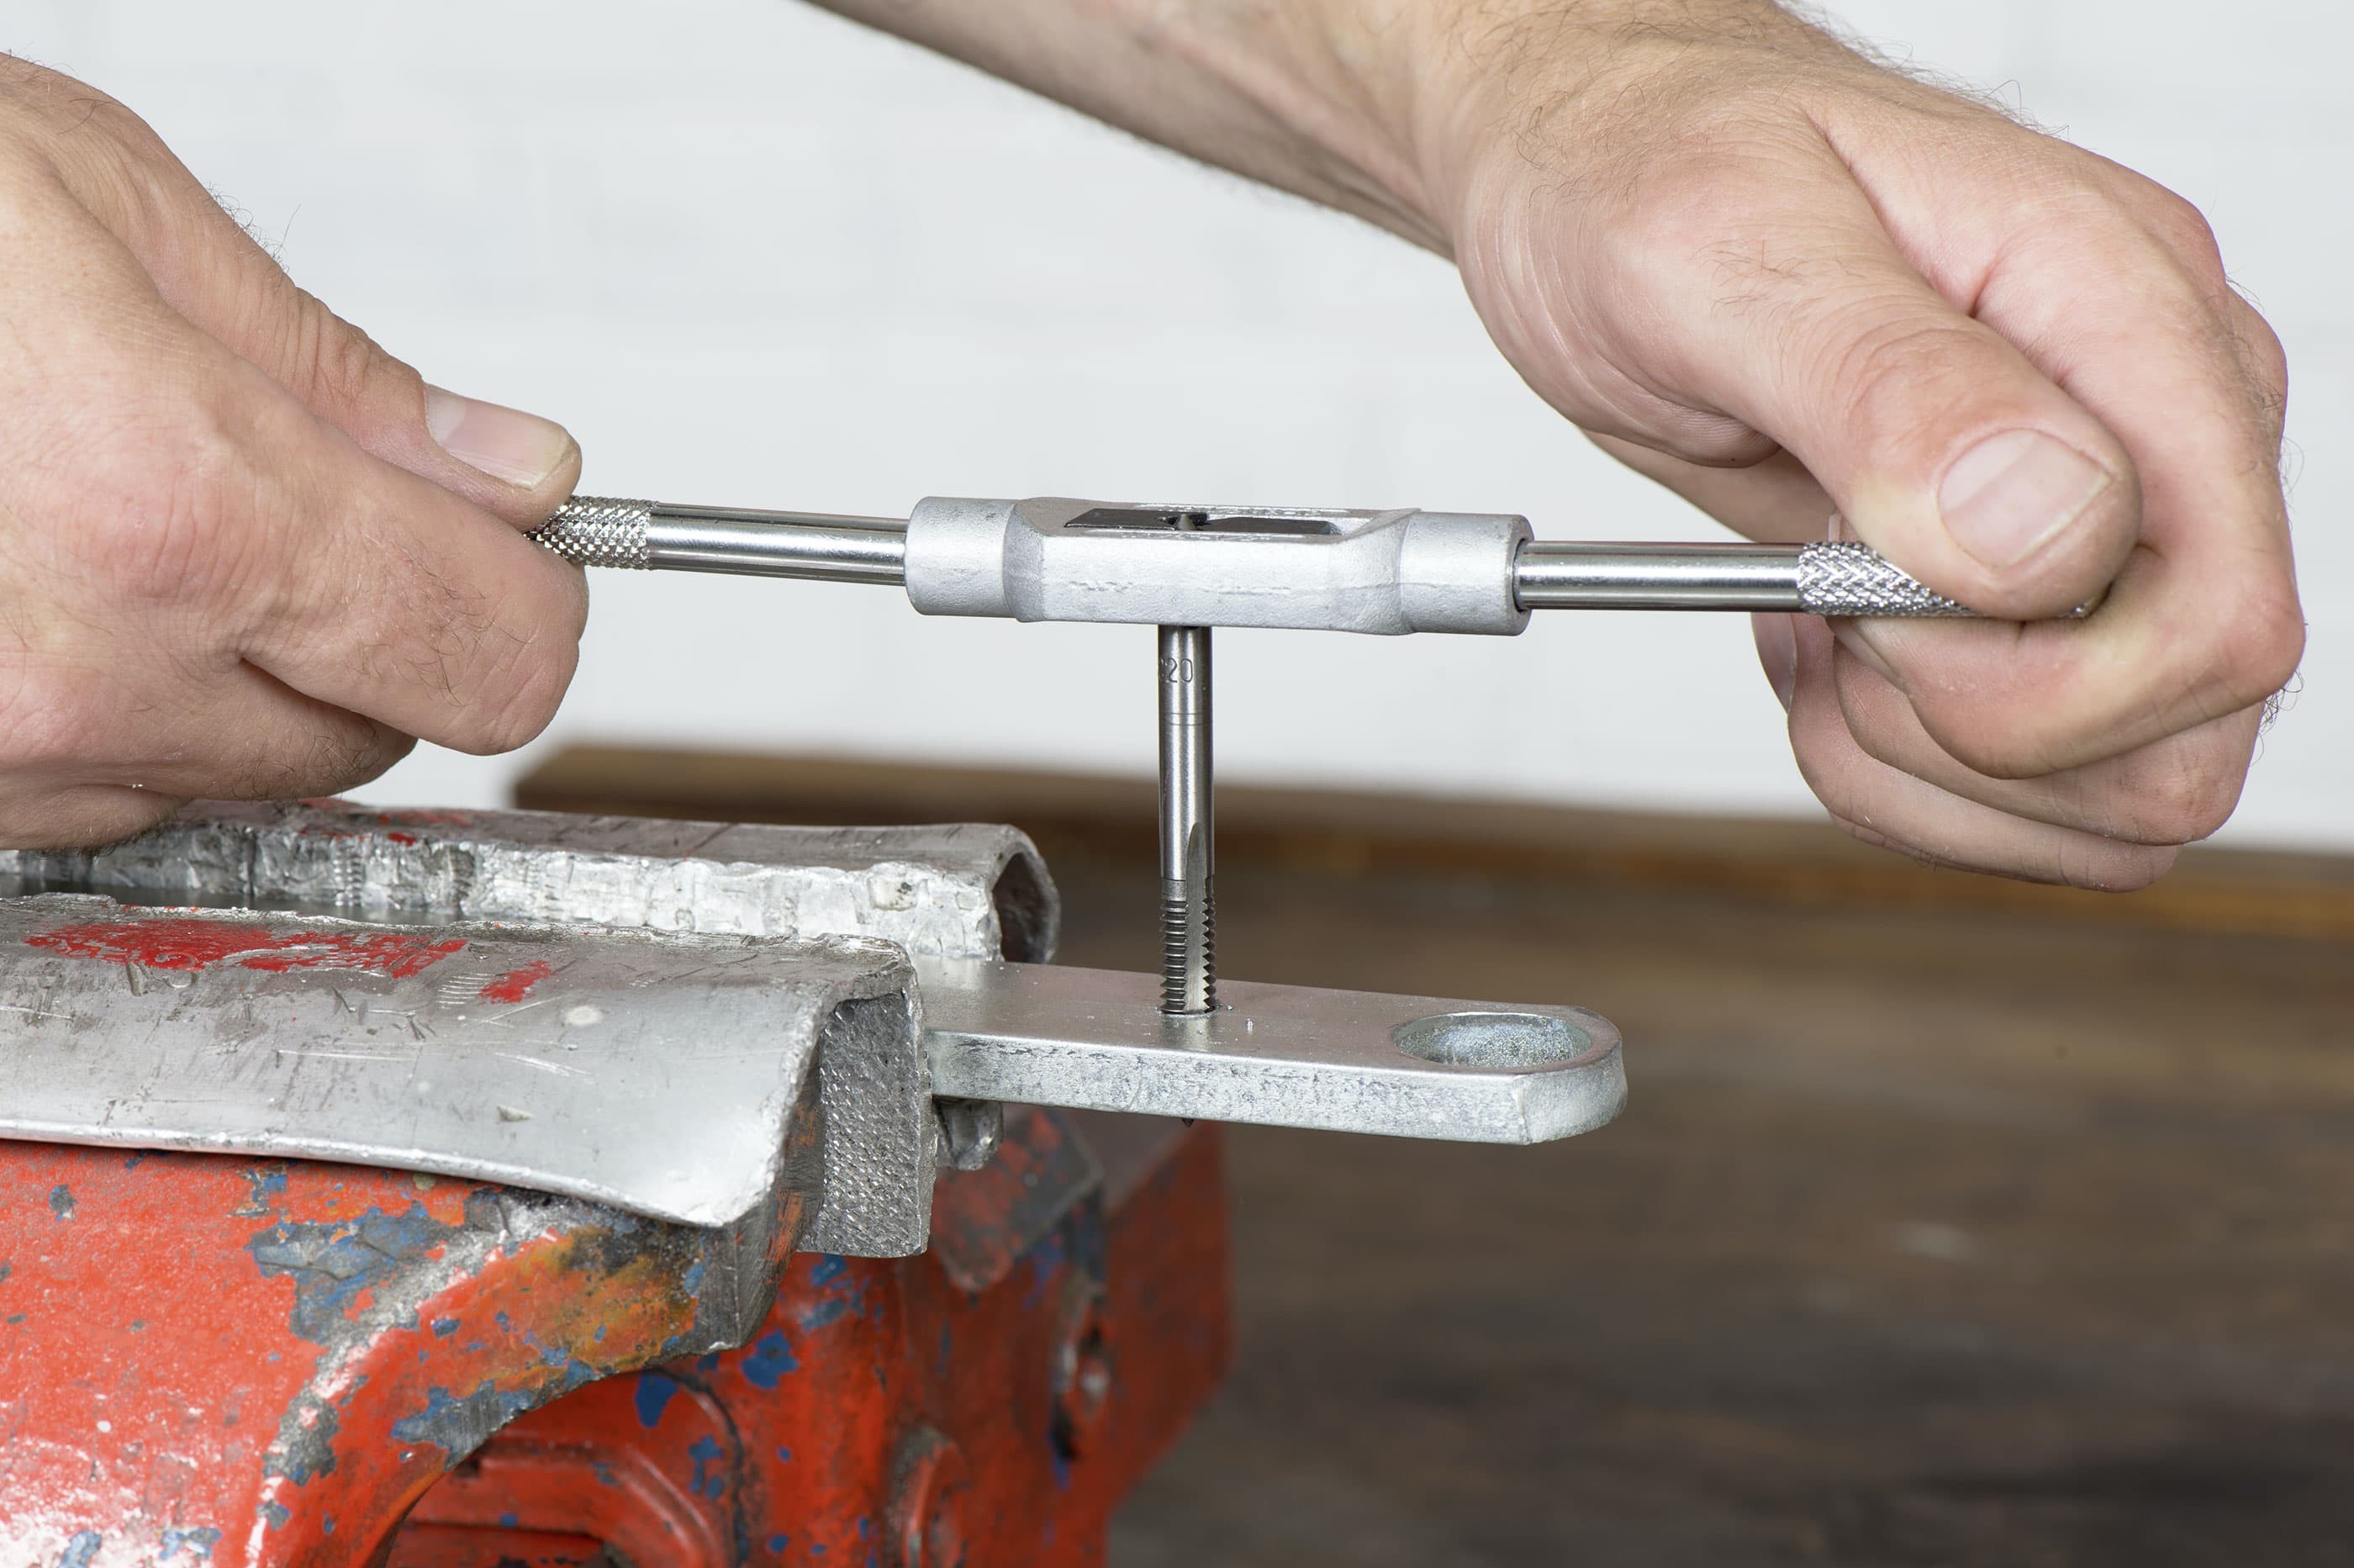
Part 1, Step 3, Fig. 2: Always work slowly, smoothly and gradually
Fluid and controlled working
If you're drilling a blind hole (i.e. a hole that does not go all the way through the material), you may not need to cut to the end. Always work slowly, smoothly and gradually, making sure you keep the tap vertical in the pilot hole.
When the first step is complete, unscrew the taper tap, wipe away the metal chips and blow the thread clean with compressed air. Lubricate the second tap (two rings) and screw it in the same way. Clean the drill hole again and finish the thread with the lubricated bottoming tap (no rings).
Now you can try the bolt in the threaded hole. If it doesn't turn smoothly and easily, do a bit more work with the bottoming tap.
In our DIY tip Undoing Screws, we explain how to repair a thread using a “V-Coil” thread repair kit.
Part 2: Cutting an external thread (threading)
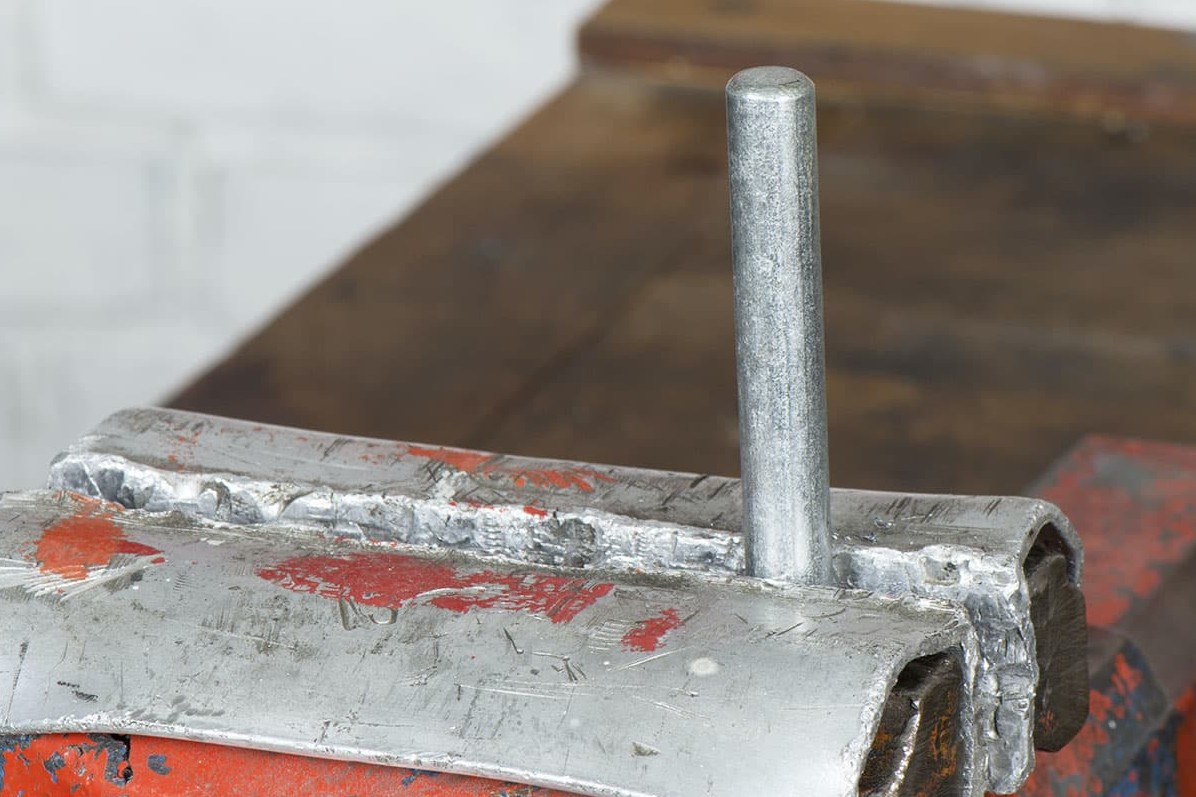
Part 2, Step 1: The bolt must be chamfered so the die can be positioned straight
01 – Thread tap
Cutting a new external thread demands a degree of skill and practice. The key requirement is a perfectly cylindrical bolt with a suitable diameter. For example, the bolt for an M3 thread must be 3 mm in diameter, M4 = 4 mm, M5 = 5 mm ...
You need to give the end of the bolt a slight taper, e.g. using a file. Without a chamfer, it's not possible to position the die properly. It would immediately skew and chew up the bolt.
Oil the die, insert it in a tool holder and position the tool holder with its arms at 90° to the bolt. Now screw the die onto the bolt with slow, steady movements.
Soft metal (aluminium) can be cut in one go, but with hard metal (steel, stainless steel), you need to break the chip (swarf) after one full turn of the thread by reversing the die by a quarter turn.
Important: If the die skews, it will immediately ruin the thread! So concentrate especially hard on the first few turns of the thread.
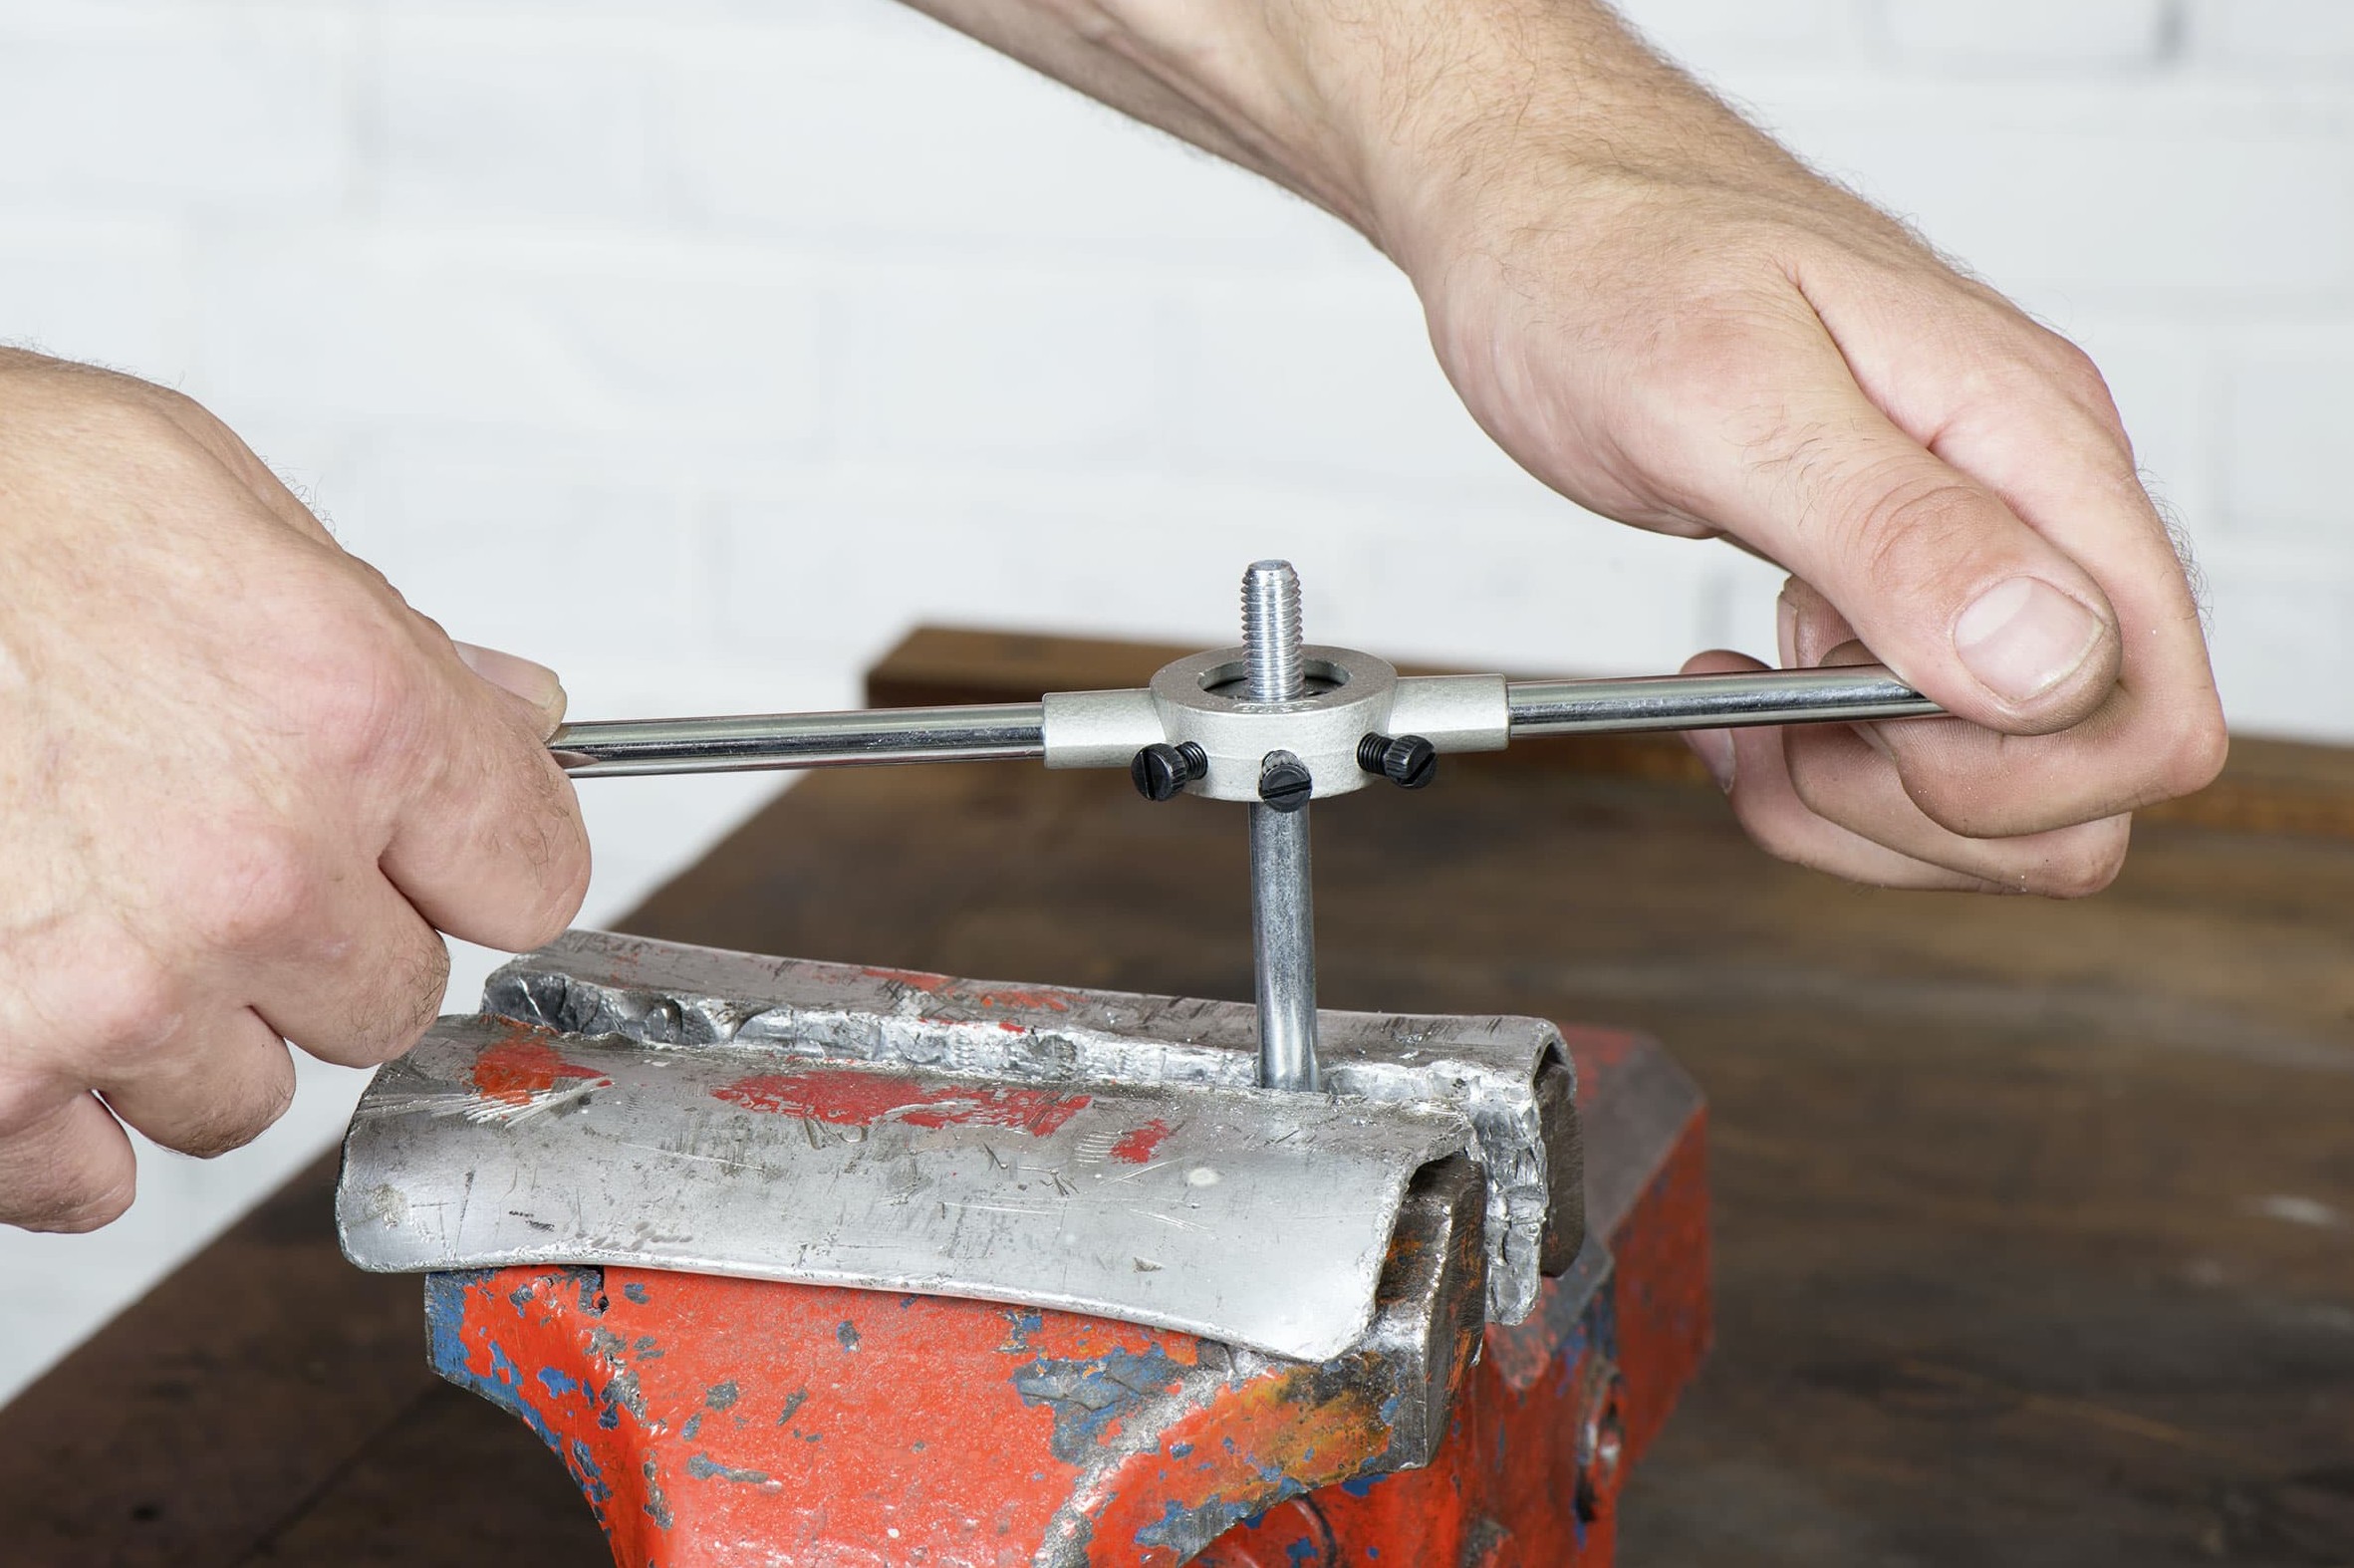
An oiled die can be used to recut a partially damaged external thread
02 – Repairing an external thread
When the die reaches the base of the bolt, apply some spray oil and run the die up and down the bolt a few times to smooth the thread.
A flattened, damaged external thread can be made fully functional again by running a lubricated die up and down it a couple of times. Here too, it's essential to make sure the die is positioned perfectly straight on the thread.
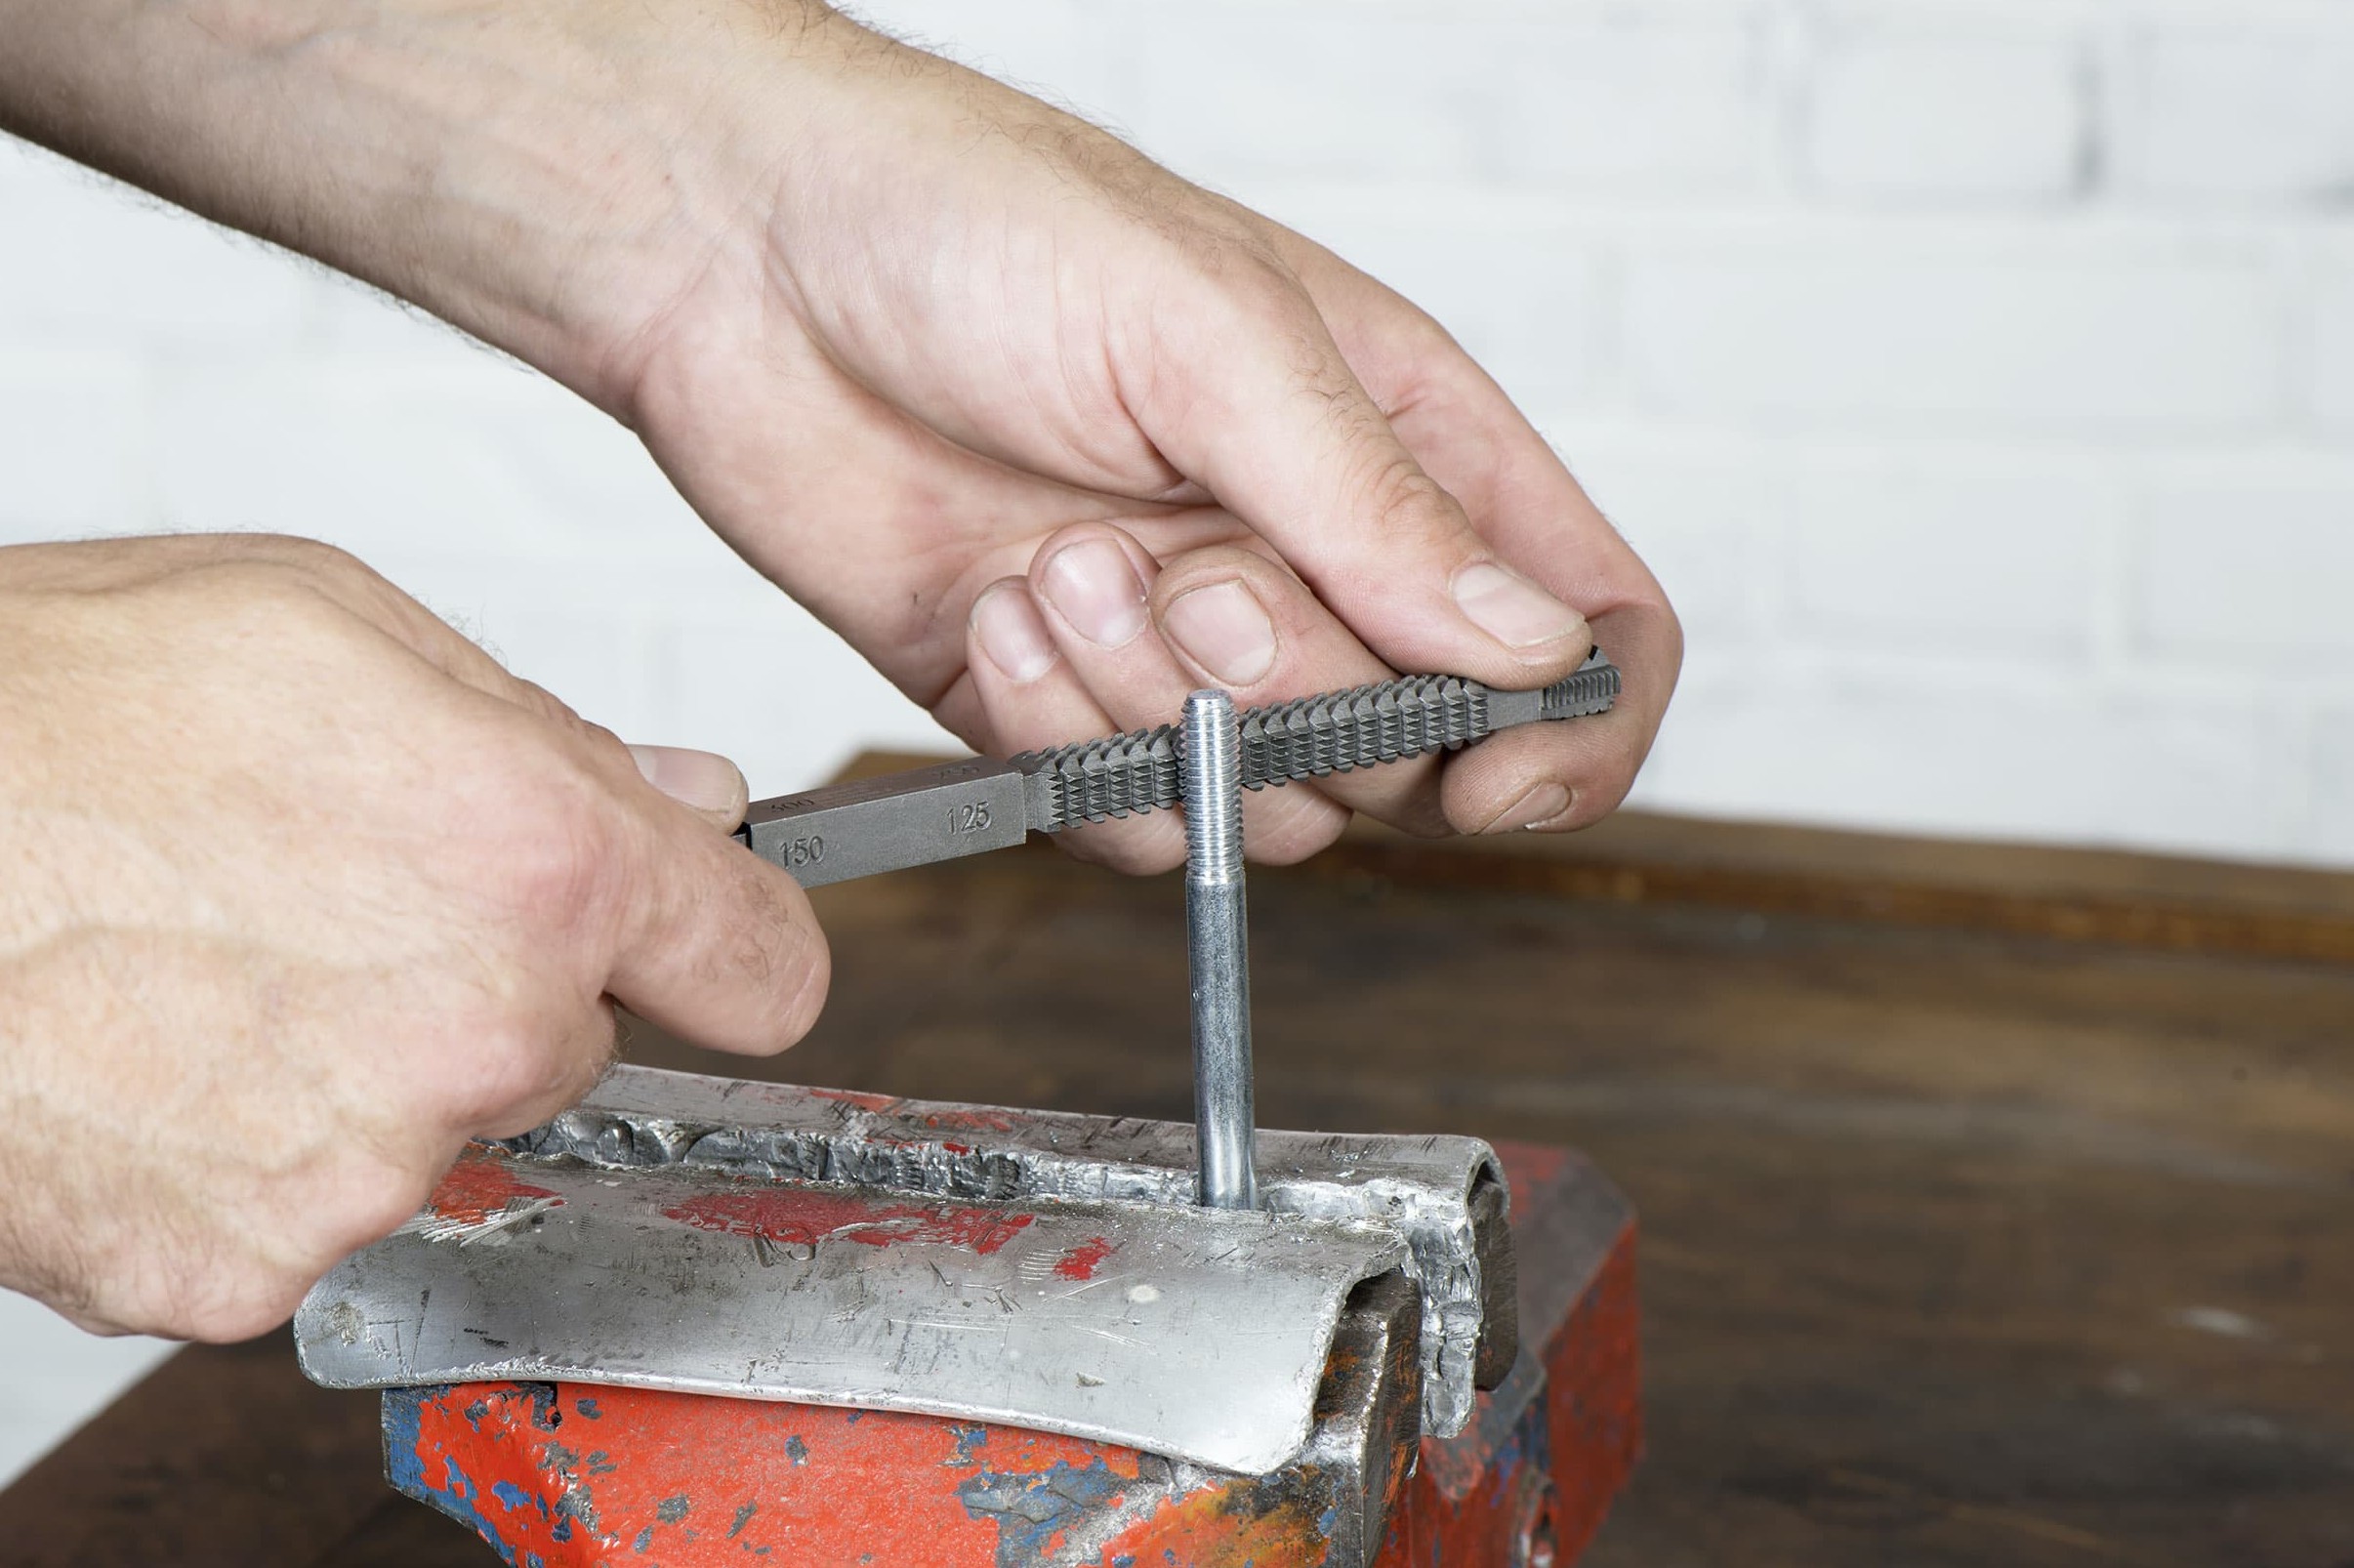
Thread restorer: good for damaged threads
03 – Thread restorer
A flattened, damaged external thread can be made fully functional again by running a lubricated die up and down it a couple of times. Here too, it's essential to make sure the die is positioned perfectly straight on the thread.
Important: For this reason, it's better to use a thread restoring file because it cleans up the old thread, whereas a die always removes metal.
Our recommendation
The Louis Technical Centre
If you have a technical question about your motorbike, please contact our Technical Centre, where they have endless experience, reference books and contacts.
Please note!
These tips for DIY mechanics contain general recommendations that may not apply to all vehicles or all individual components. As local conditions may vary considerably, we are unable to guarantee the correctness of information in these tips for DIY mechanics.
Thank you for your understanding.


