Heat wrapping header pipes
Do you find heat-wrapped header pipes cool? Then why not wrap your own exhaust – following these instructions?
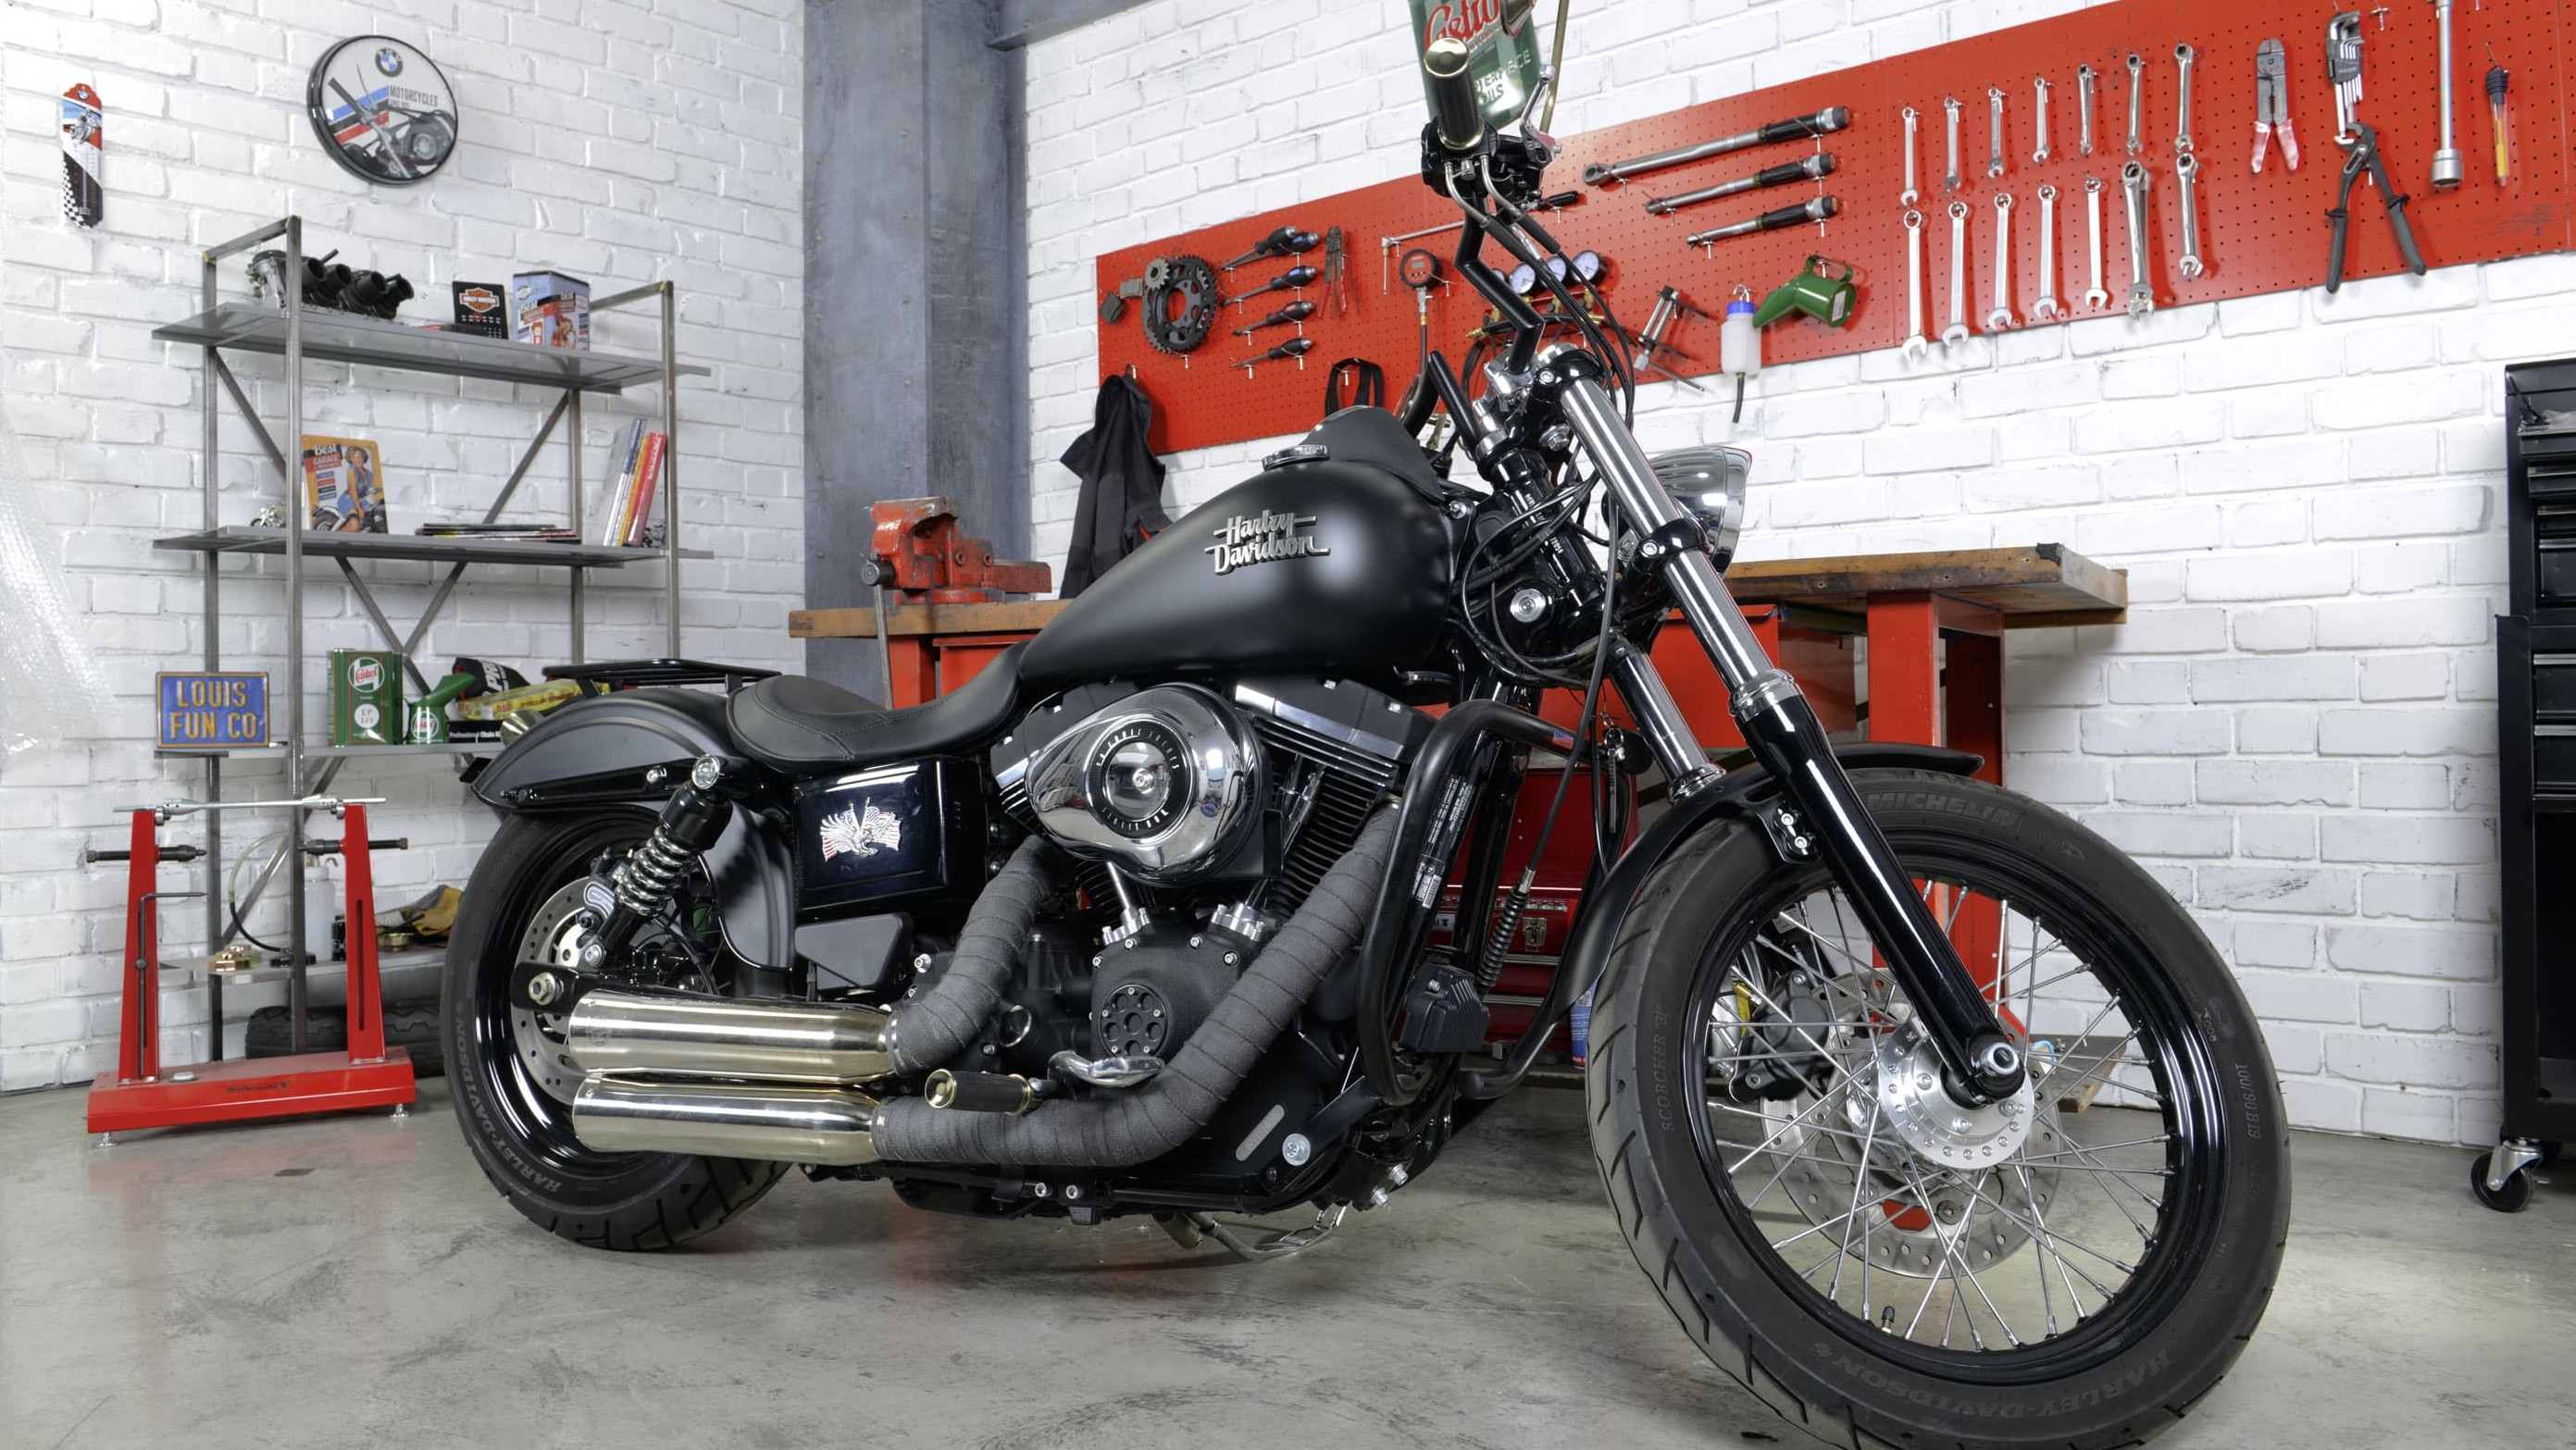
- Heat wrapping exhaust headers
- So what’s the point of heat wrapping your exhaust?
- Preparation
- Now, here’s how to wrap your exhaust expertly – now let's get started
- 01 – Soaking the wrap
- 02 – Marking out
- 03 – Wrapping the pipe
- 04 – Wrapping evenly
- 05 – Finishing off the wrap
- 06 – Attach stainless-steel tie
- 07 – Securing with wire
- 08 – Reinstalling the exhaust
- 09 – Job done!
- Two-colour wrap technique
powered by Silent Sport
Important: If you remove your exhaust, you’ll need new exhaust gaskets.
Heat wrapping exhaust headers
Heat wrapping your header pipes has become an established part of “visual tuning” for customising motorbikes. But it’s not just about looks. There are also good technical reasons for using heat wrap. Here we show you how to wrap your exhaust correctly. It may look simple enough at first sight, but in fact it’s not as easy as you may think if you want to do a tidy job.
Tools: Hexagon key, scissors, socket wrench, side cutters, cable tie pliers
So what’s the point of heat wrapping your exhaust?
Apart from the look, heat wrap also offers several technical advantages. As the name suggests, it acts as an insulating layer which retains the heat of the exhaust gases in the exhaust system. This has the effect of protecting the already hot engine against additional external heating while also improving the removal of combustion residues. At the same time, it protects both you and your clothing in case of accidental contact with the exhaust, which can reach temperatures up to several hundred degrees.
Preparation
Louis supplies Silent Sport heat wrap in four colours, so you can choose the one that best suits your bike. It comes in a generous 10 metre length to ensure you can wrap your exhaust without any unsightly joins.
Before we get started, here are a few useful tips. You’ll need a bowl of clear cold water. Also find yourself some clamps, cable ties and rustproof wire. And, of course, you’ll need tools for removing the exhaust pipes from your bike. That will make the job a whole lot easier because otherwise you have to somehow feed the full length of the wrap through the gap between engine and header. But if removing the exhaust is not an option for any reason, then you will, of course, be able to wrap it while still attached to your machine.
Now, here’s how to wrap your exhaust expertly – now let's get started
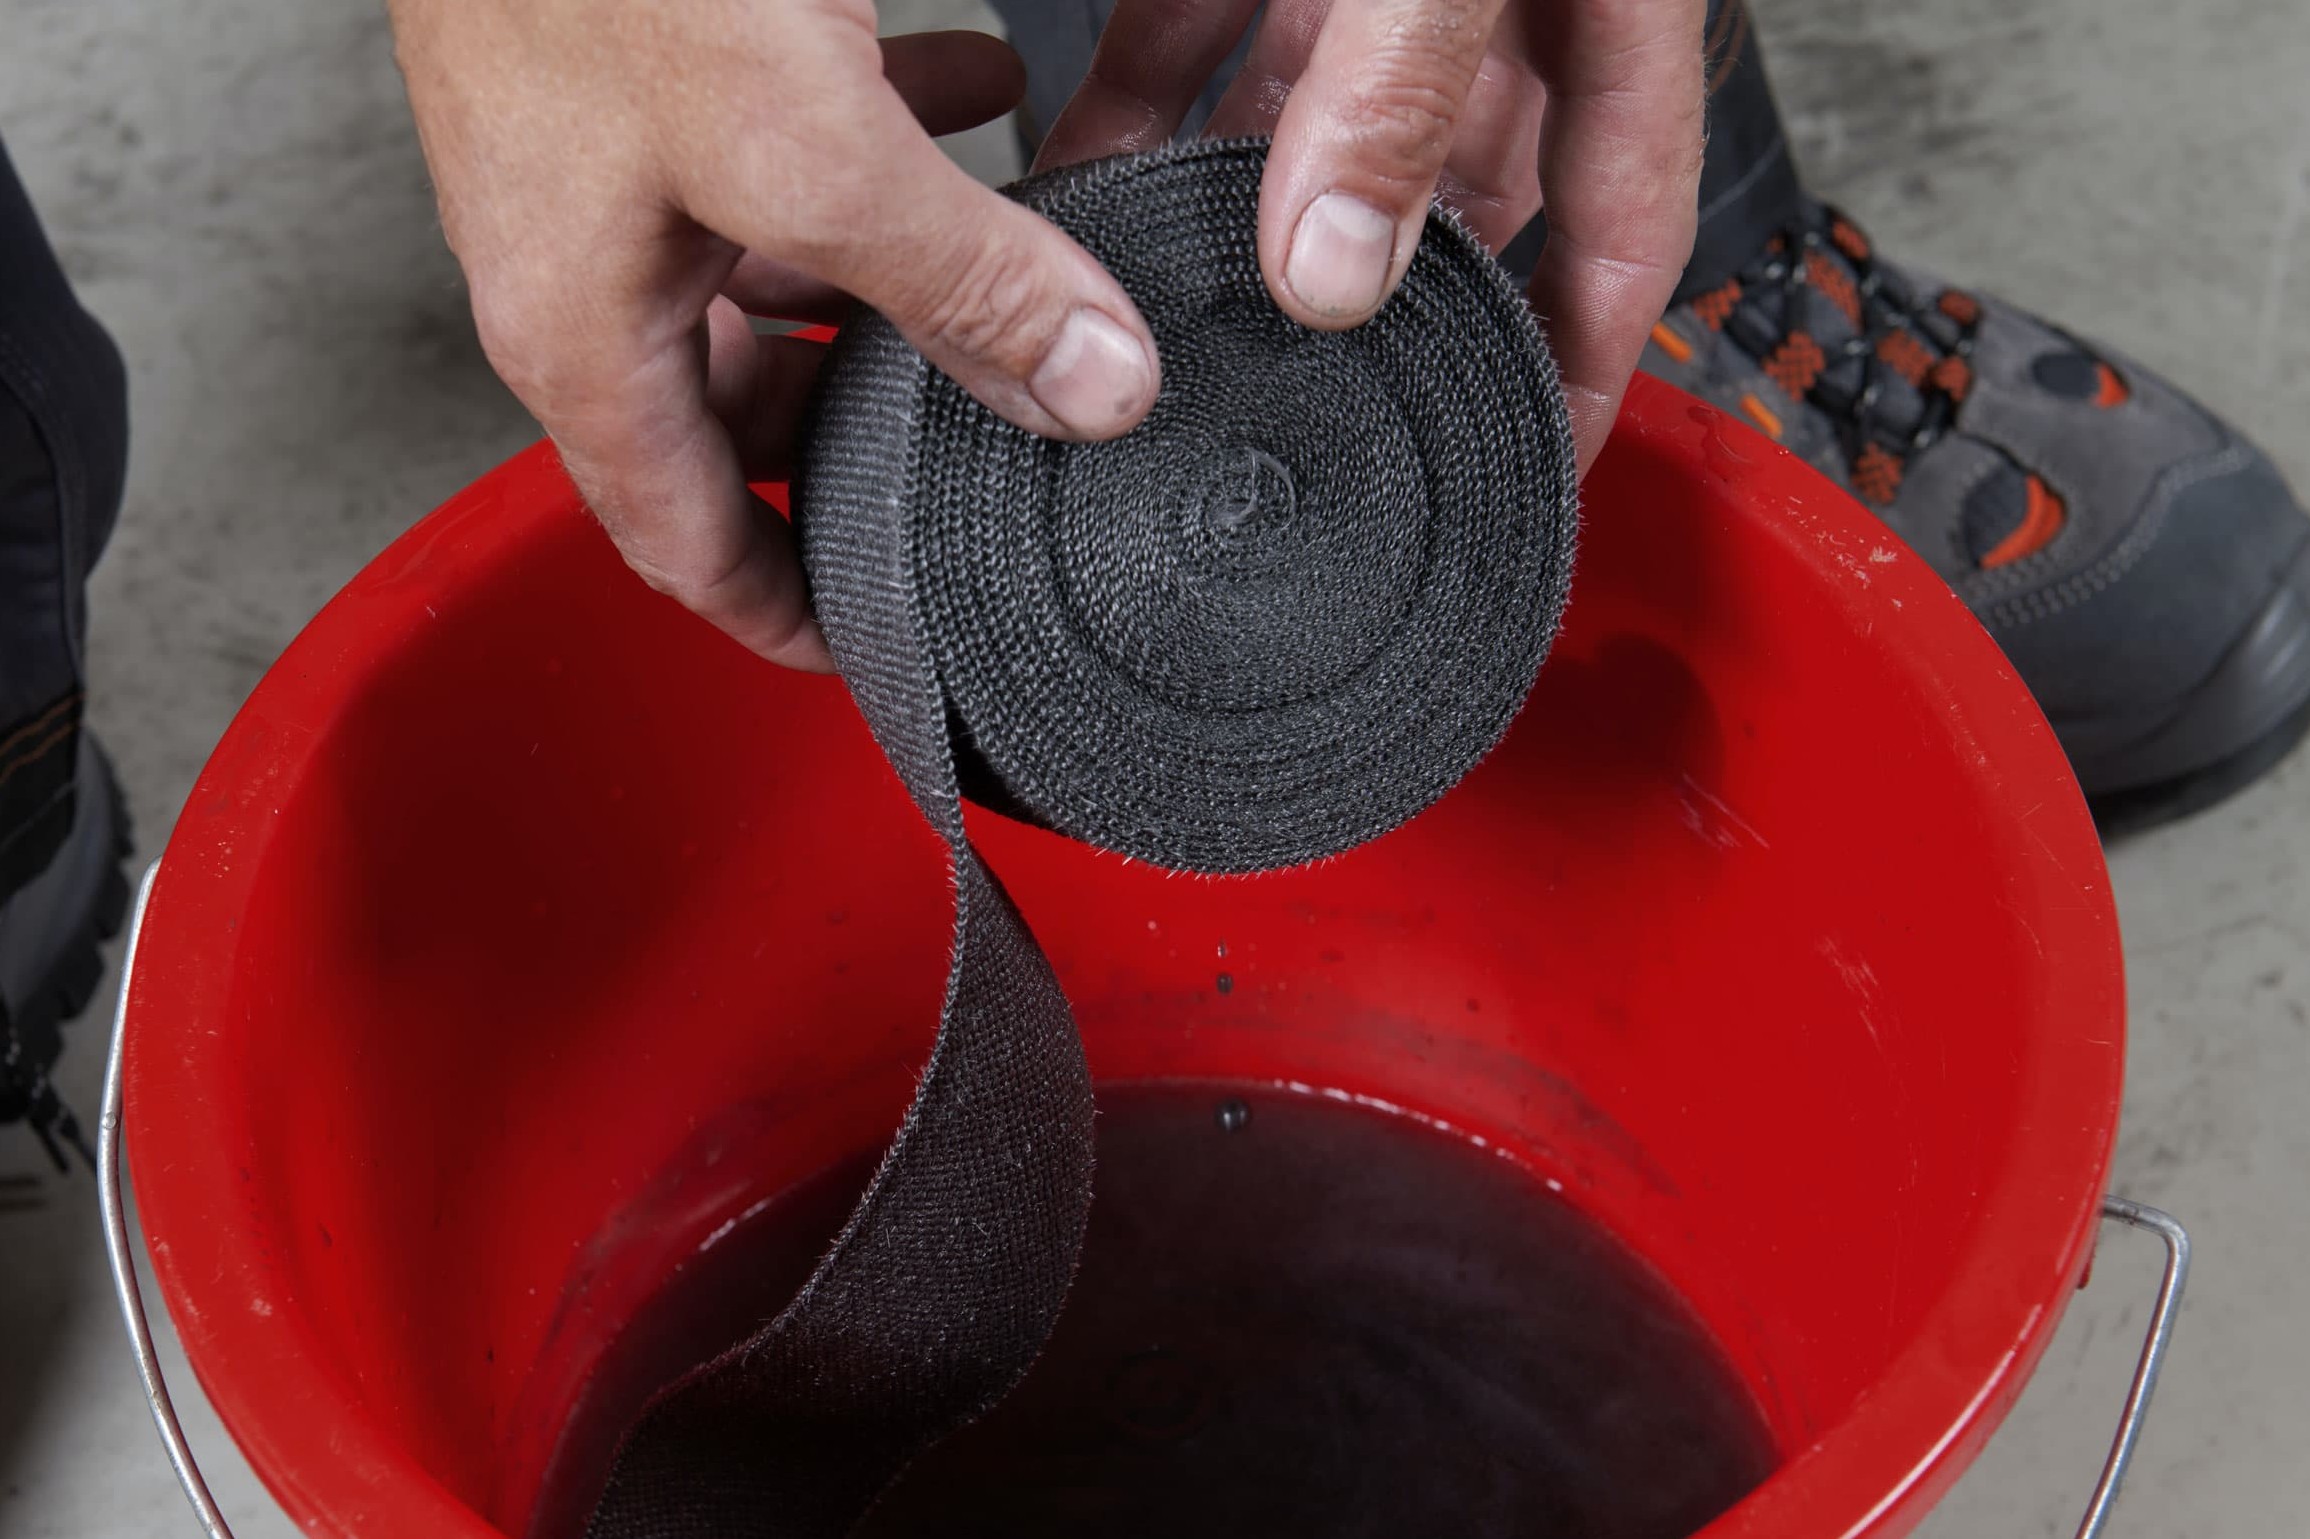
Step 1: Soak the wrap in water overnight
01 – Soaking the wrap
To make wrapping easier, give the wrap a good soak, overnight if you like. This will make it more supple and stretchy, and also less likely to slip. Doing a good job takes a bit of time! But be warned - wet wrapping is a really messy job. A lot of colour may bleed out, so you should wear gloves and work clothes. The wrap can also be applied dry, but you’ll get a better result if you wet it first because the wrap shrinks as it dries, giving a tight fit around the header.
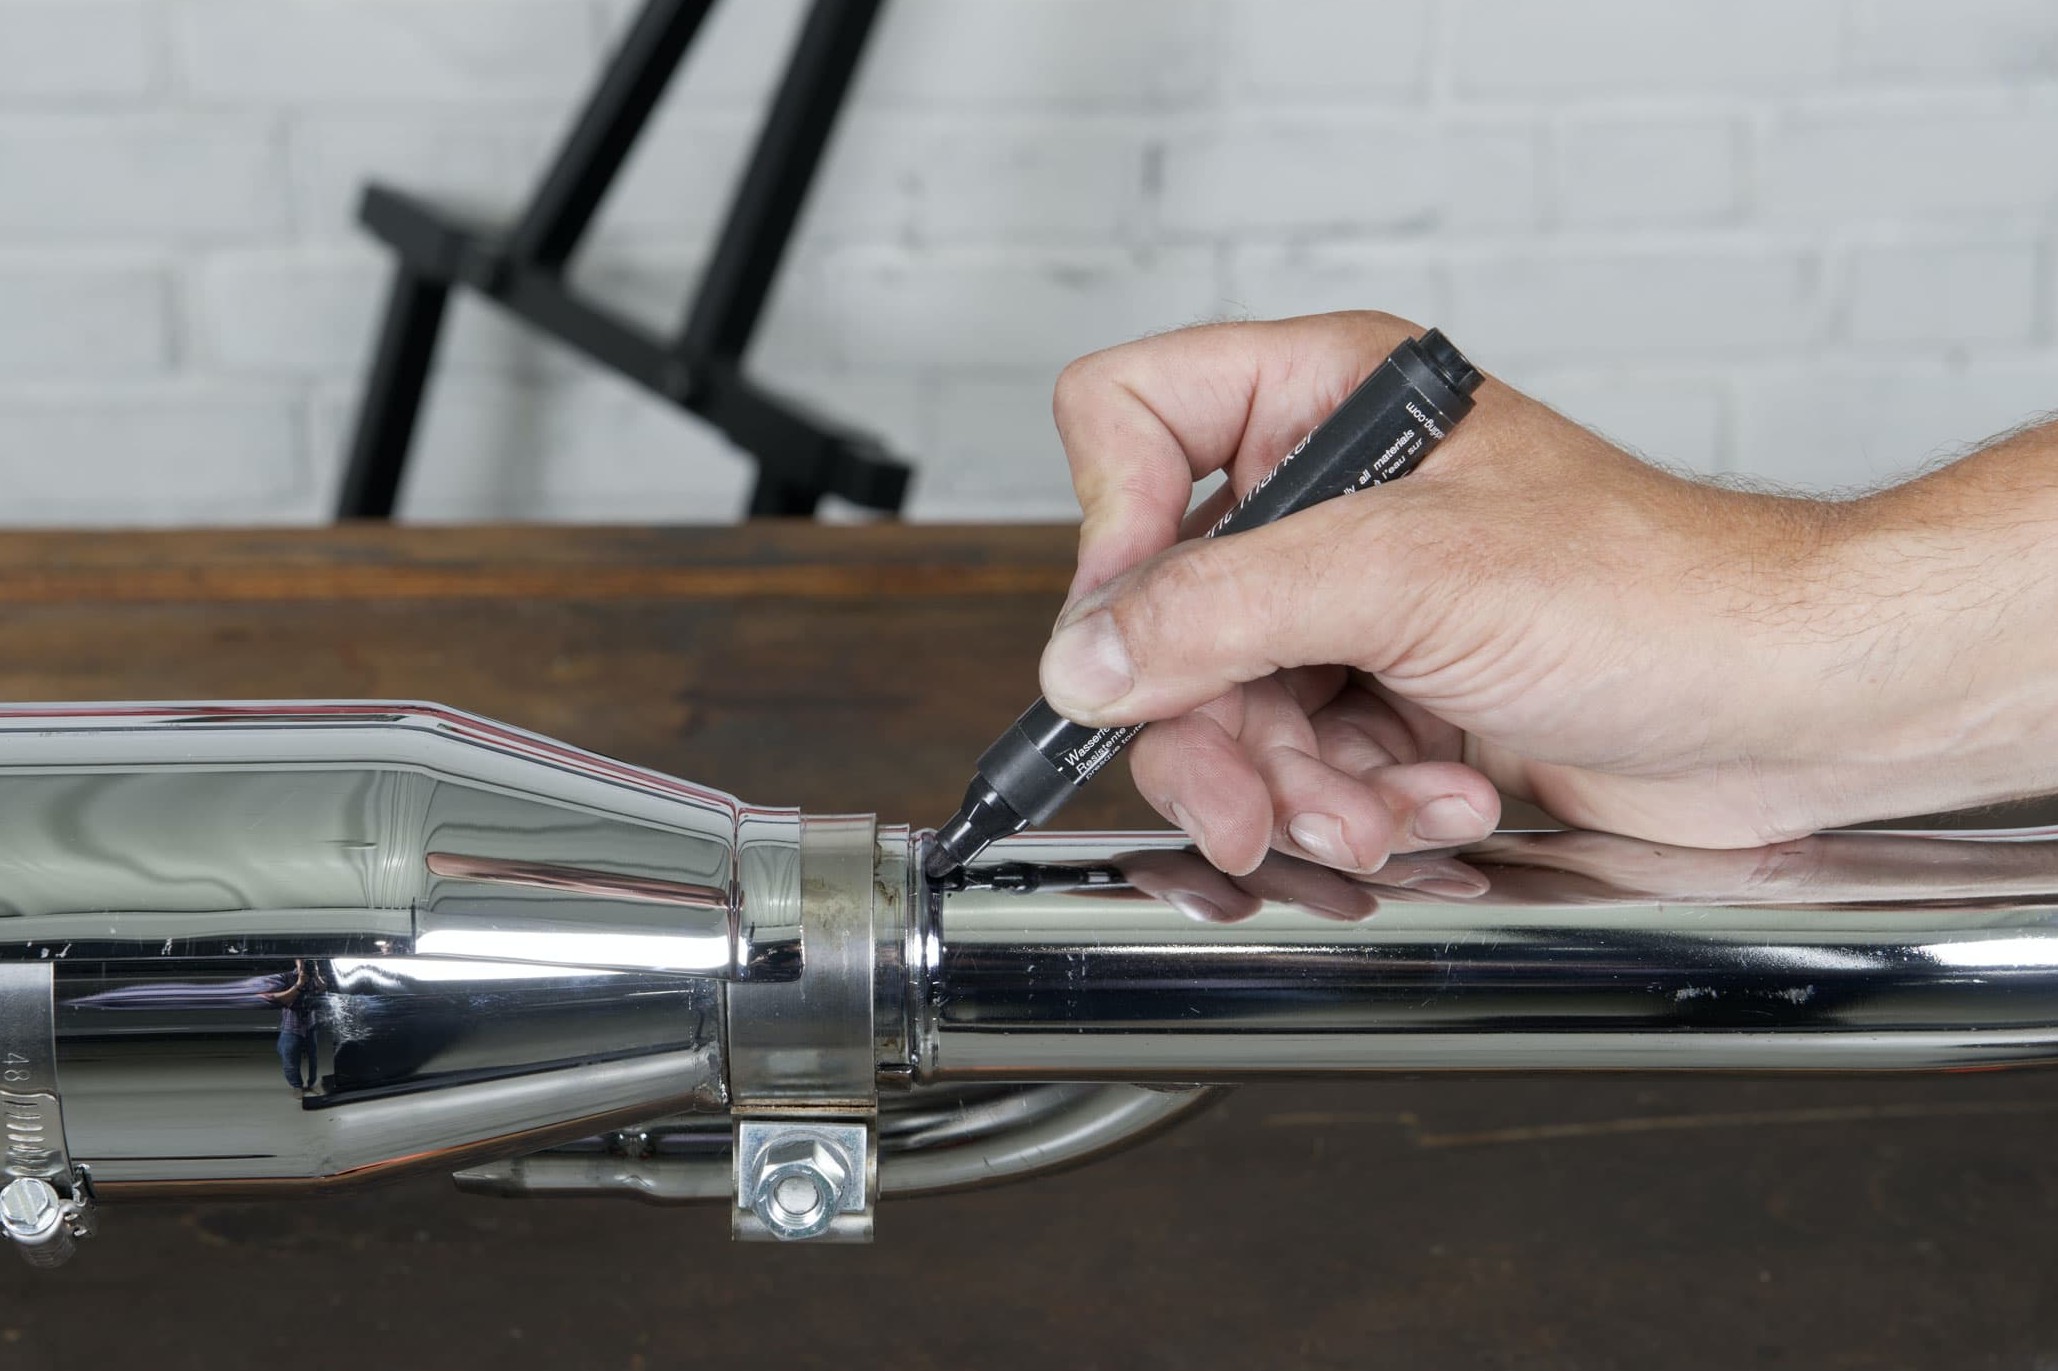
Step 2: Mark out the start and finish of wrapping
02 – Marking out
Before you start, you should give the header a good clean. All rust must be removed to make sure that the header will not carry on rusting unnoticed under the heat wrap. Take a look at the DIY tip Removing Corrosion, for the best way to get rid of rust.
Before you detach the rear silencer from the header, it’s a good idea to mark the pipe with a marker pen to indicate how far the pipes are inserted into each other. This will tell you how far along the pipe you need to wrap.
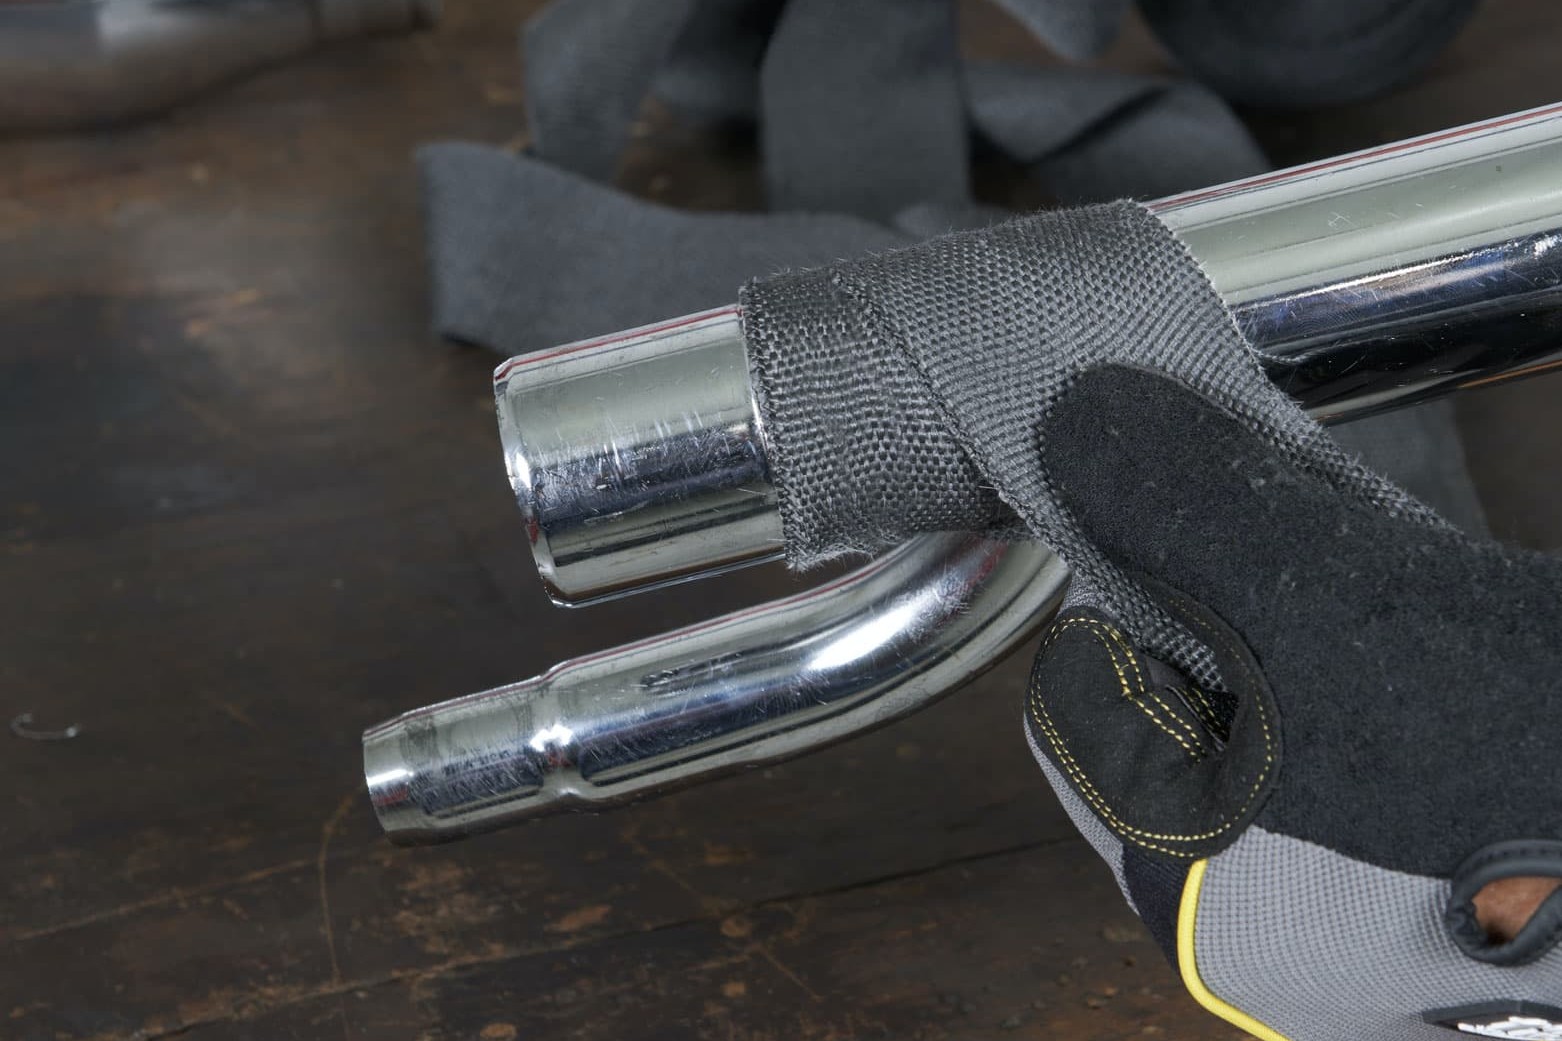
Step 3, Fig. 1: First turn at a right angle, then diagonal.
03 – Wrapping the pipe
Always start wrapping at the silencer end, and overlap the wrap in the fashion of roof tiles to increase its resistance to windblast, rain and gravel thrown up by the wheels, so prolonging its life. To get a clean, straight finish, wrap the first turn around the pipe at right-angles. Then, from the second turn onwards, pull the wrap diagonally.
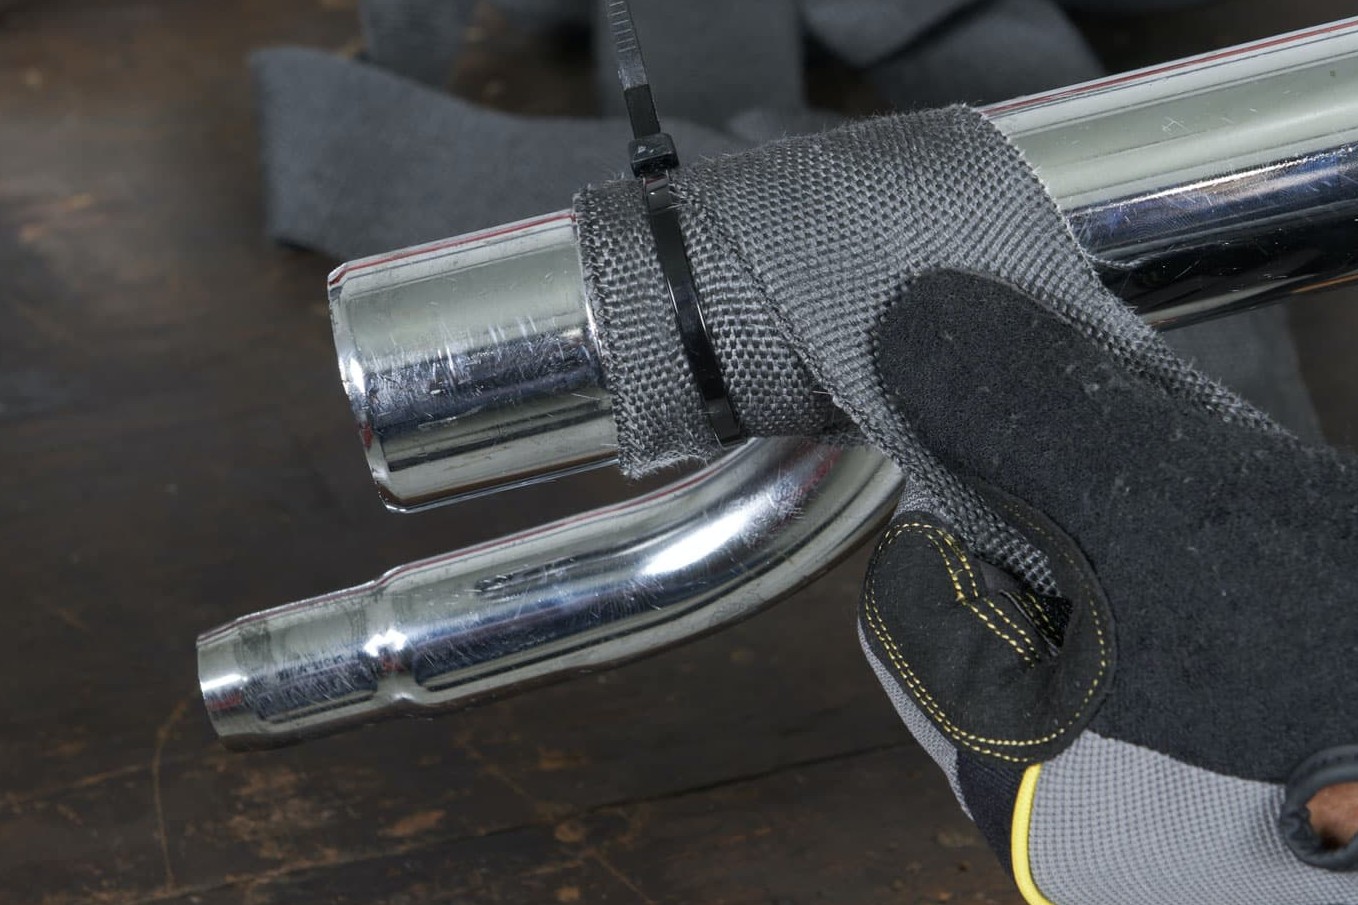
Step 3, Fig. 2: Temporary fixation with a cable tie
Be careful not to leave any gaps. If you’re happy with the start, you can now fix it in place with a clamp or temporary cable tie (the latter is the quickest option).
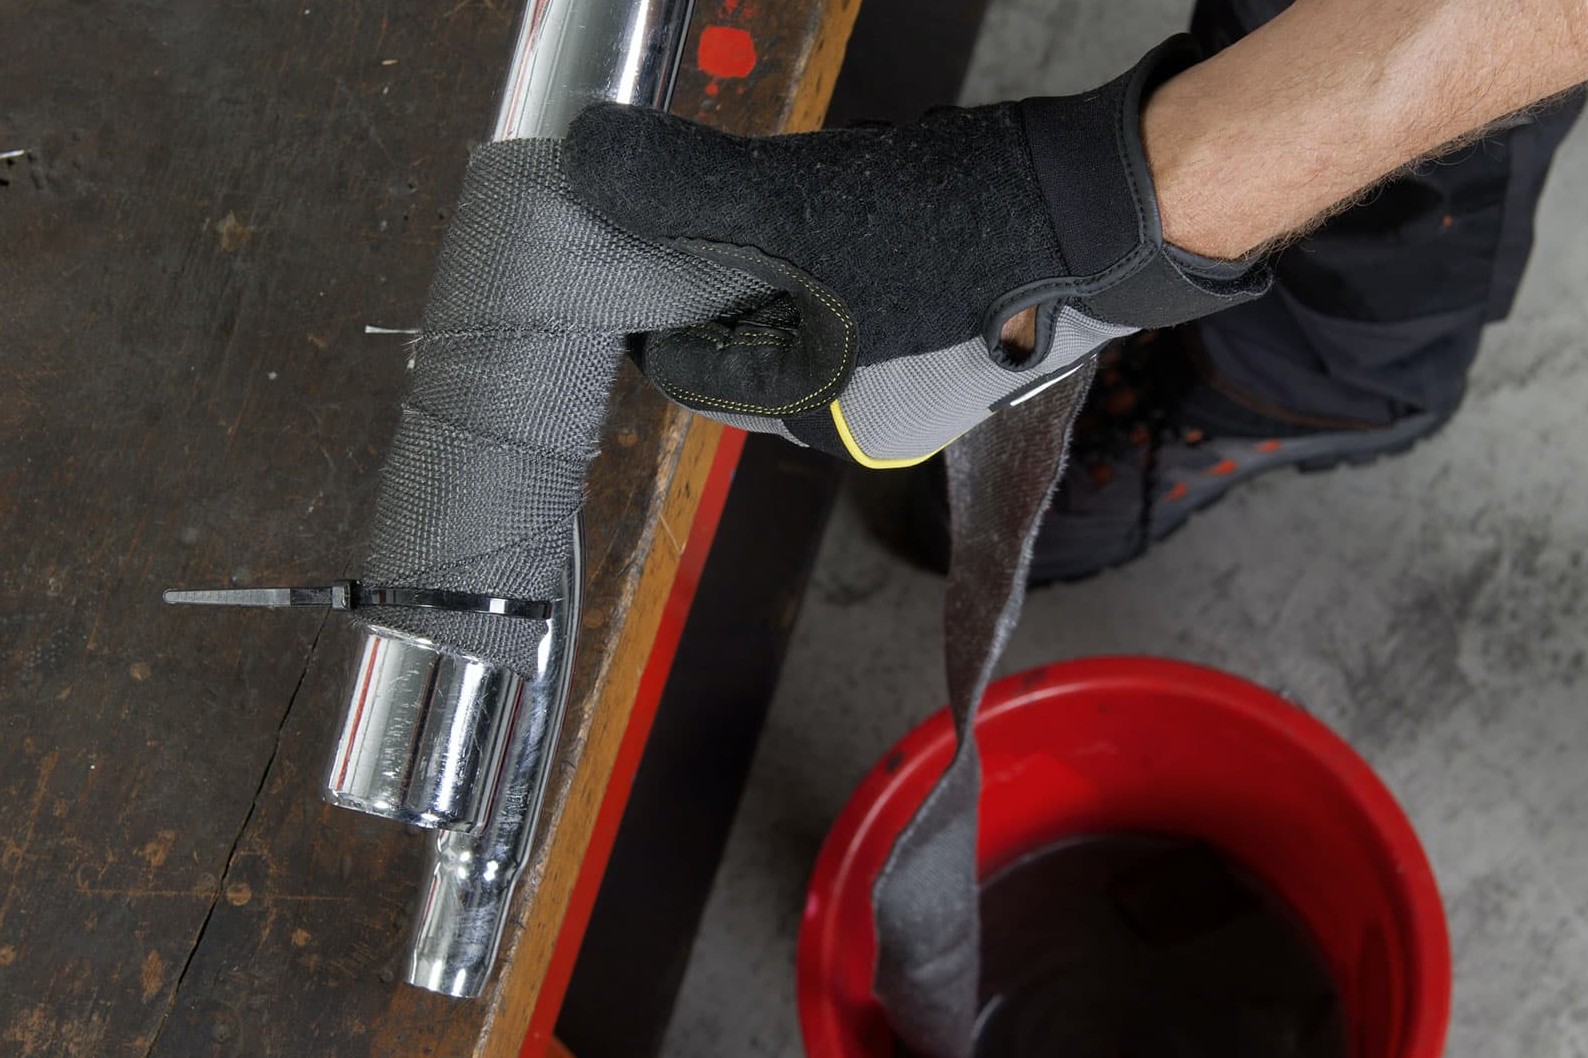
Step 4: Wind uniformly with the wrap dangling in the water.
04 – Wrapping evenly
Now you keep on wrapping until you reach your end marking. Keep the heat wrap taut all the time, and make sure that the turns are all uniform.
The easiest way to do this is to leave the heat wrap dangling in the water while you rotate the exhaust. That way, you avoid any tangles.
Important: You’ll need to make sure that any moving parts stay movable, and that you neatly wind the heat wrap around any recesses and exhaust outlets so as not to obstruct them.
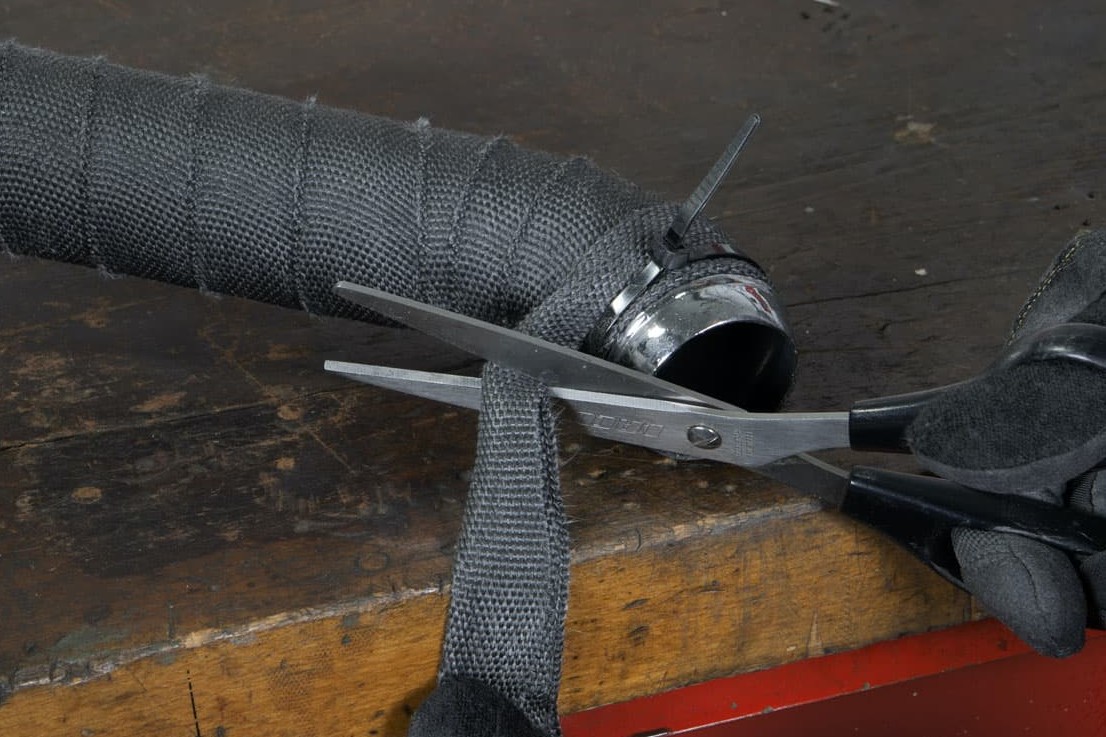
Step 5: The wrap must always end with a straight turn
05 – Finishing off the wrap
When you reach the end, cut off the surplus heat wrap. But be careful! Don't make the mistake of cutting it too short. Measure precisely before you cut!
Wrap the final turn in the same way as the first, i.e. at right-angles to the pipe, and then fix it temporarily with a cable tie.
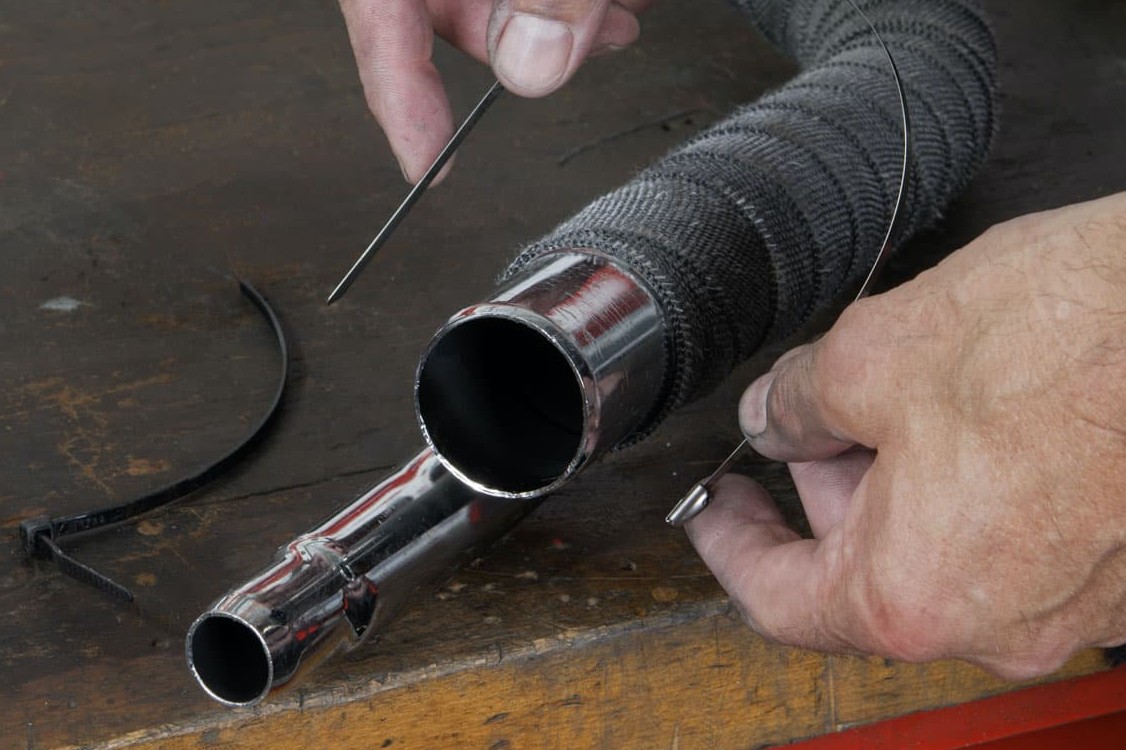
Step 6, Fig. 1: Remove temporary cable tie and attach stainless-steel tie...
06 – Attach stainless-steel tie
To fix the heat wrap permanently, you should use a metallic material. Either with a hose clamp or stainless-steel cable tie.
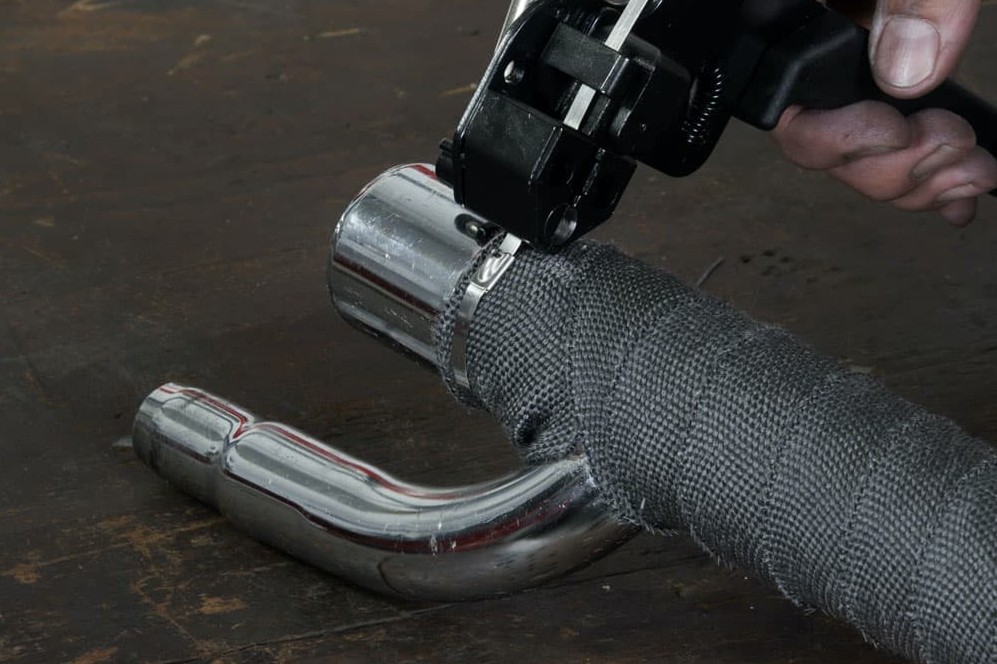
Step 6, Fig. 2: ... and pull tight with cable tie pliers
For perfectionists, there is a more elegant fixing solution, namely using wire. But you should know that this option requires rather more skill.
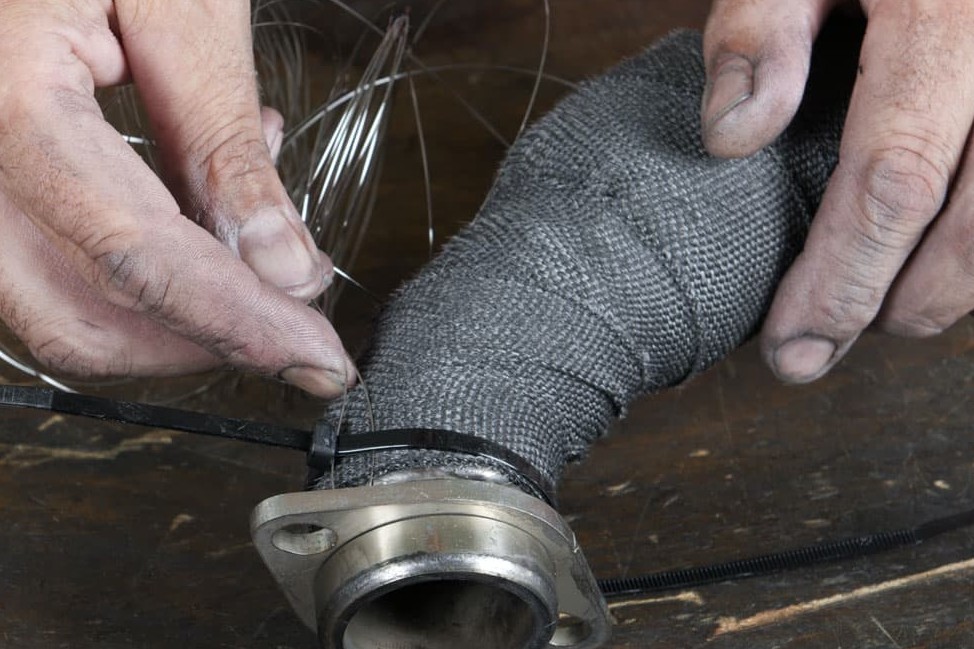
Step 7, Fig. 1: Make wire loop and place at right-angles to direction of wrapping, ...
07 – Securing with wire
Using wire to secure the heat wrap is quite tricky but, as the reward for your efforts, you’re sure to get plenty of admiring looks at the next biker meet. Give it a try! Admittedly, you need to be reasonably good with your hands, and have a slightly masochistic streak. But anyway, here’s how …
Start by making a loop with the wire, and place it on the heat wrap at right-angles to the direction of wrapping, i.e. parallel to the pipe. Then wind the wire round it several times.
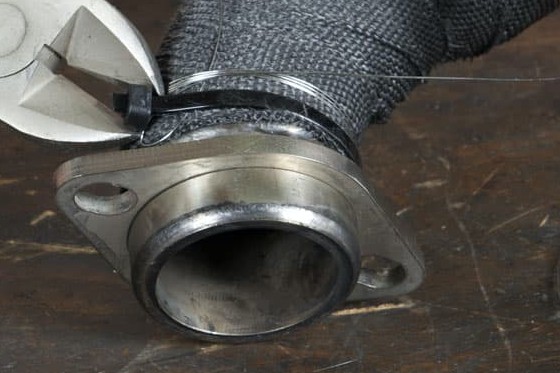
Step 7, Fig. 2: ... then wind wire round several times and remove cable tie
When you’ve done this, you can remove the temporary cable tie.
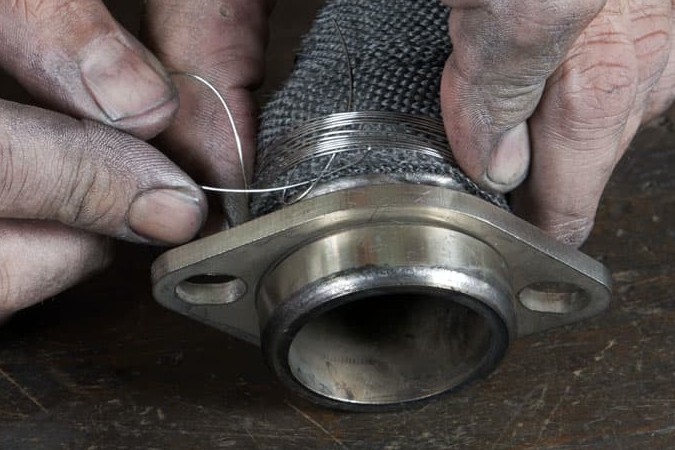
Step 7, Fig. 3: Now pull the end of the wire through the prepared loop
After several turns of the wire as close together as possible, cut the wire and pull the end through the loop.
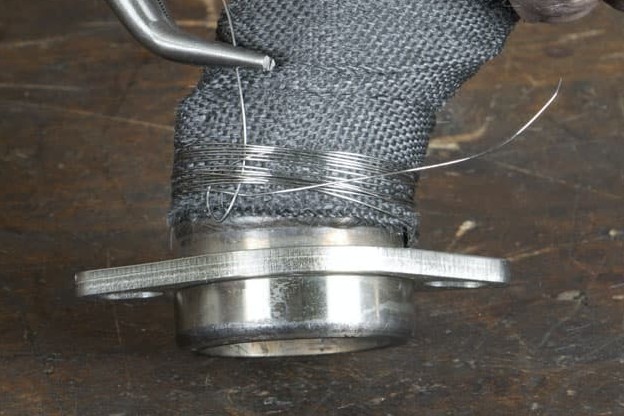
Step 7, Fig. 4: ... wrap around several times and use pliers to pull tight
Pull the loop tight with a pair of pliers so that it disappears under the winding.
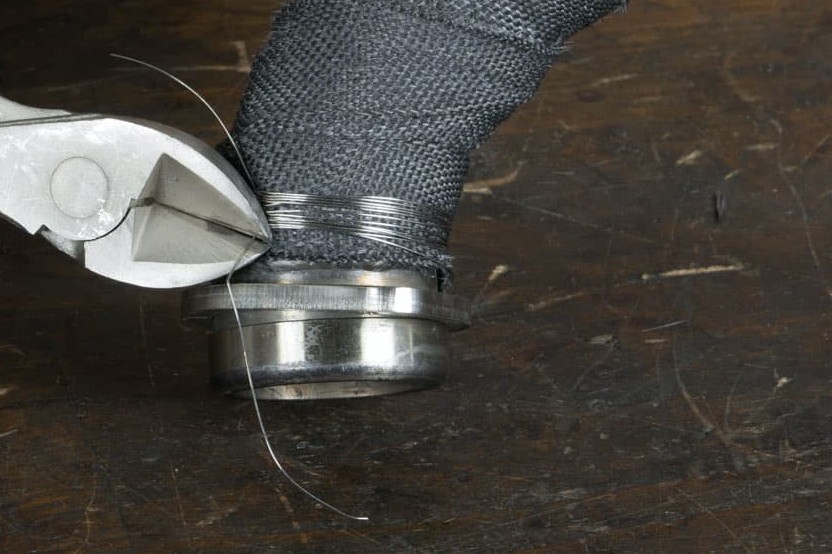
Step 7, Fig. 5: Cut off end of wire
Cut off the projecting end of the wire with side cutters.
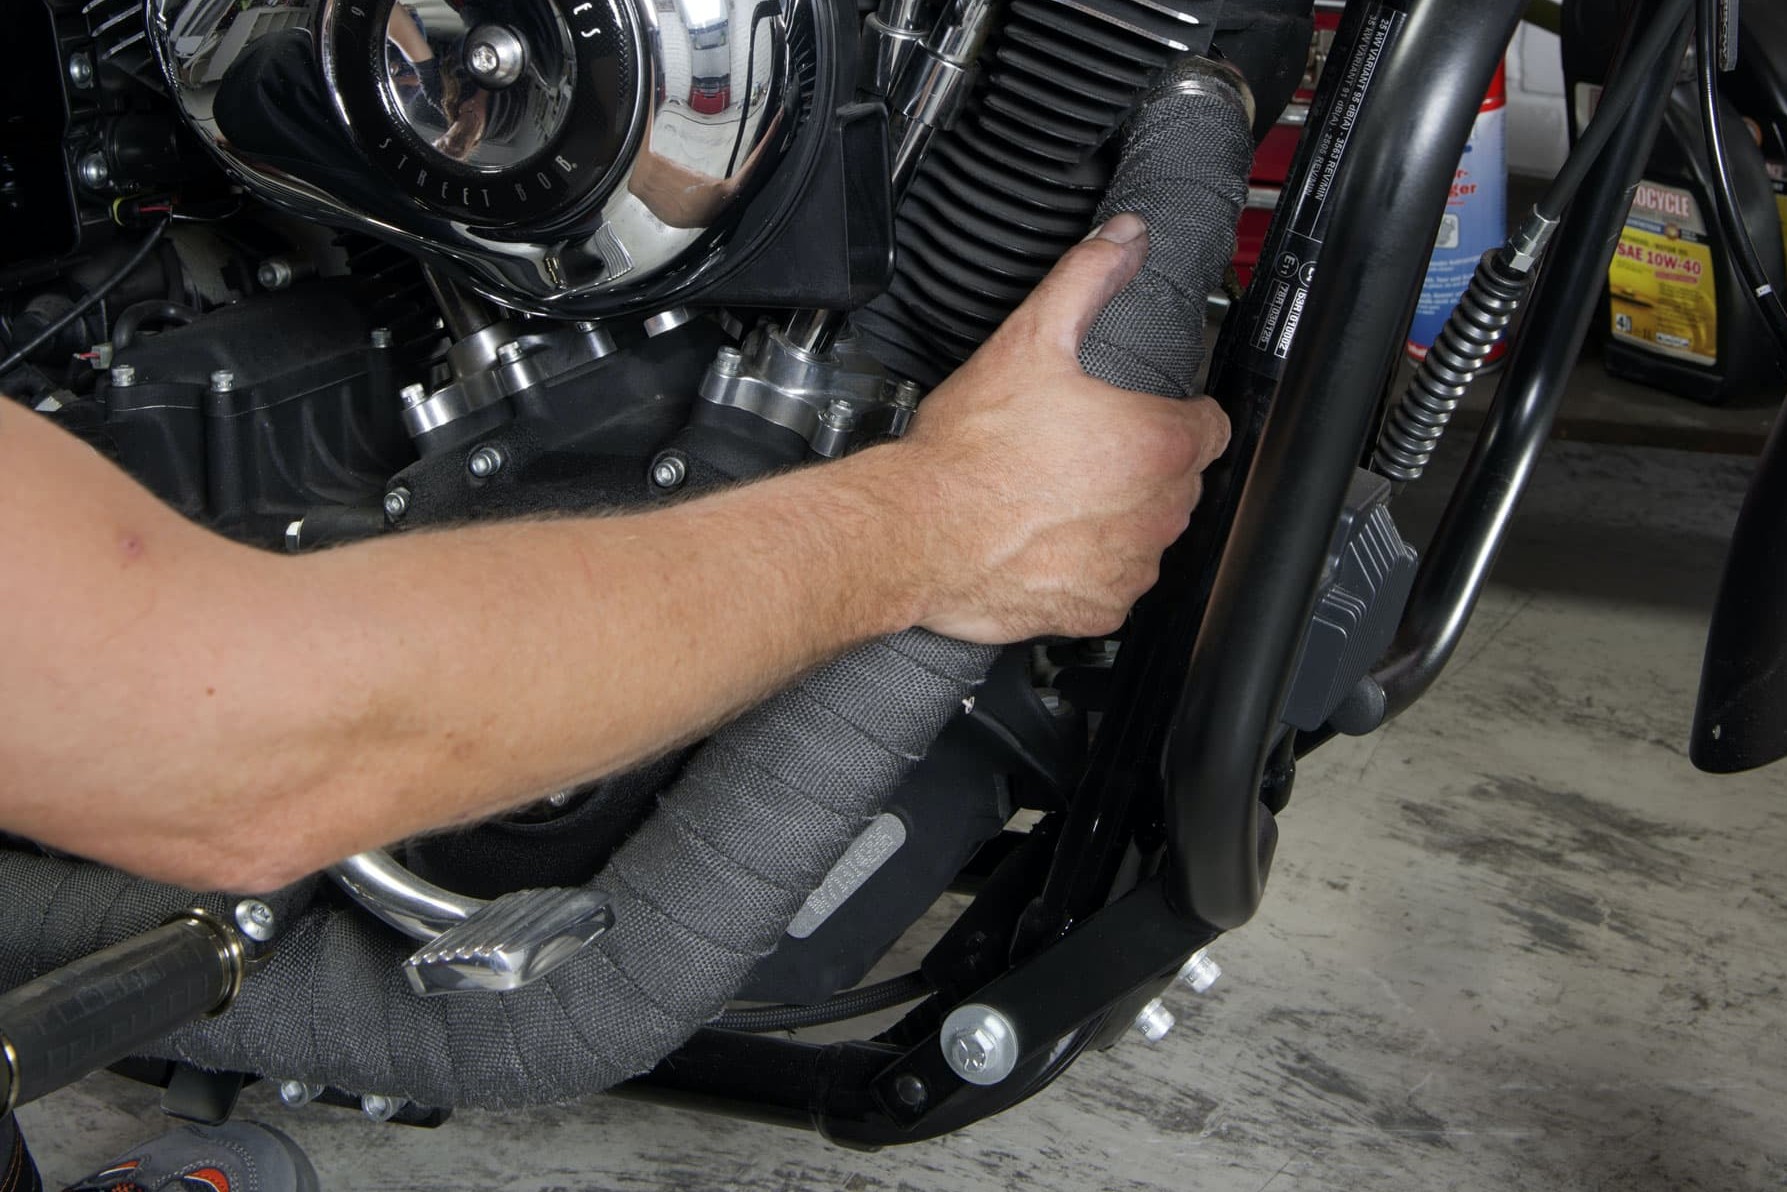
Step 8: Refit the exhaust
08 – Reinstalling the exhaust
Now you’re ready to reinstall the exhaust. Always use a new exhaust gasket, if your motorbike is fitted with one.
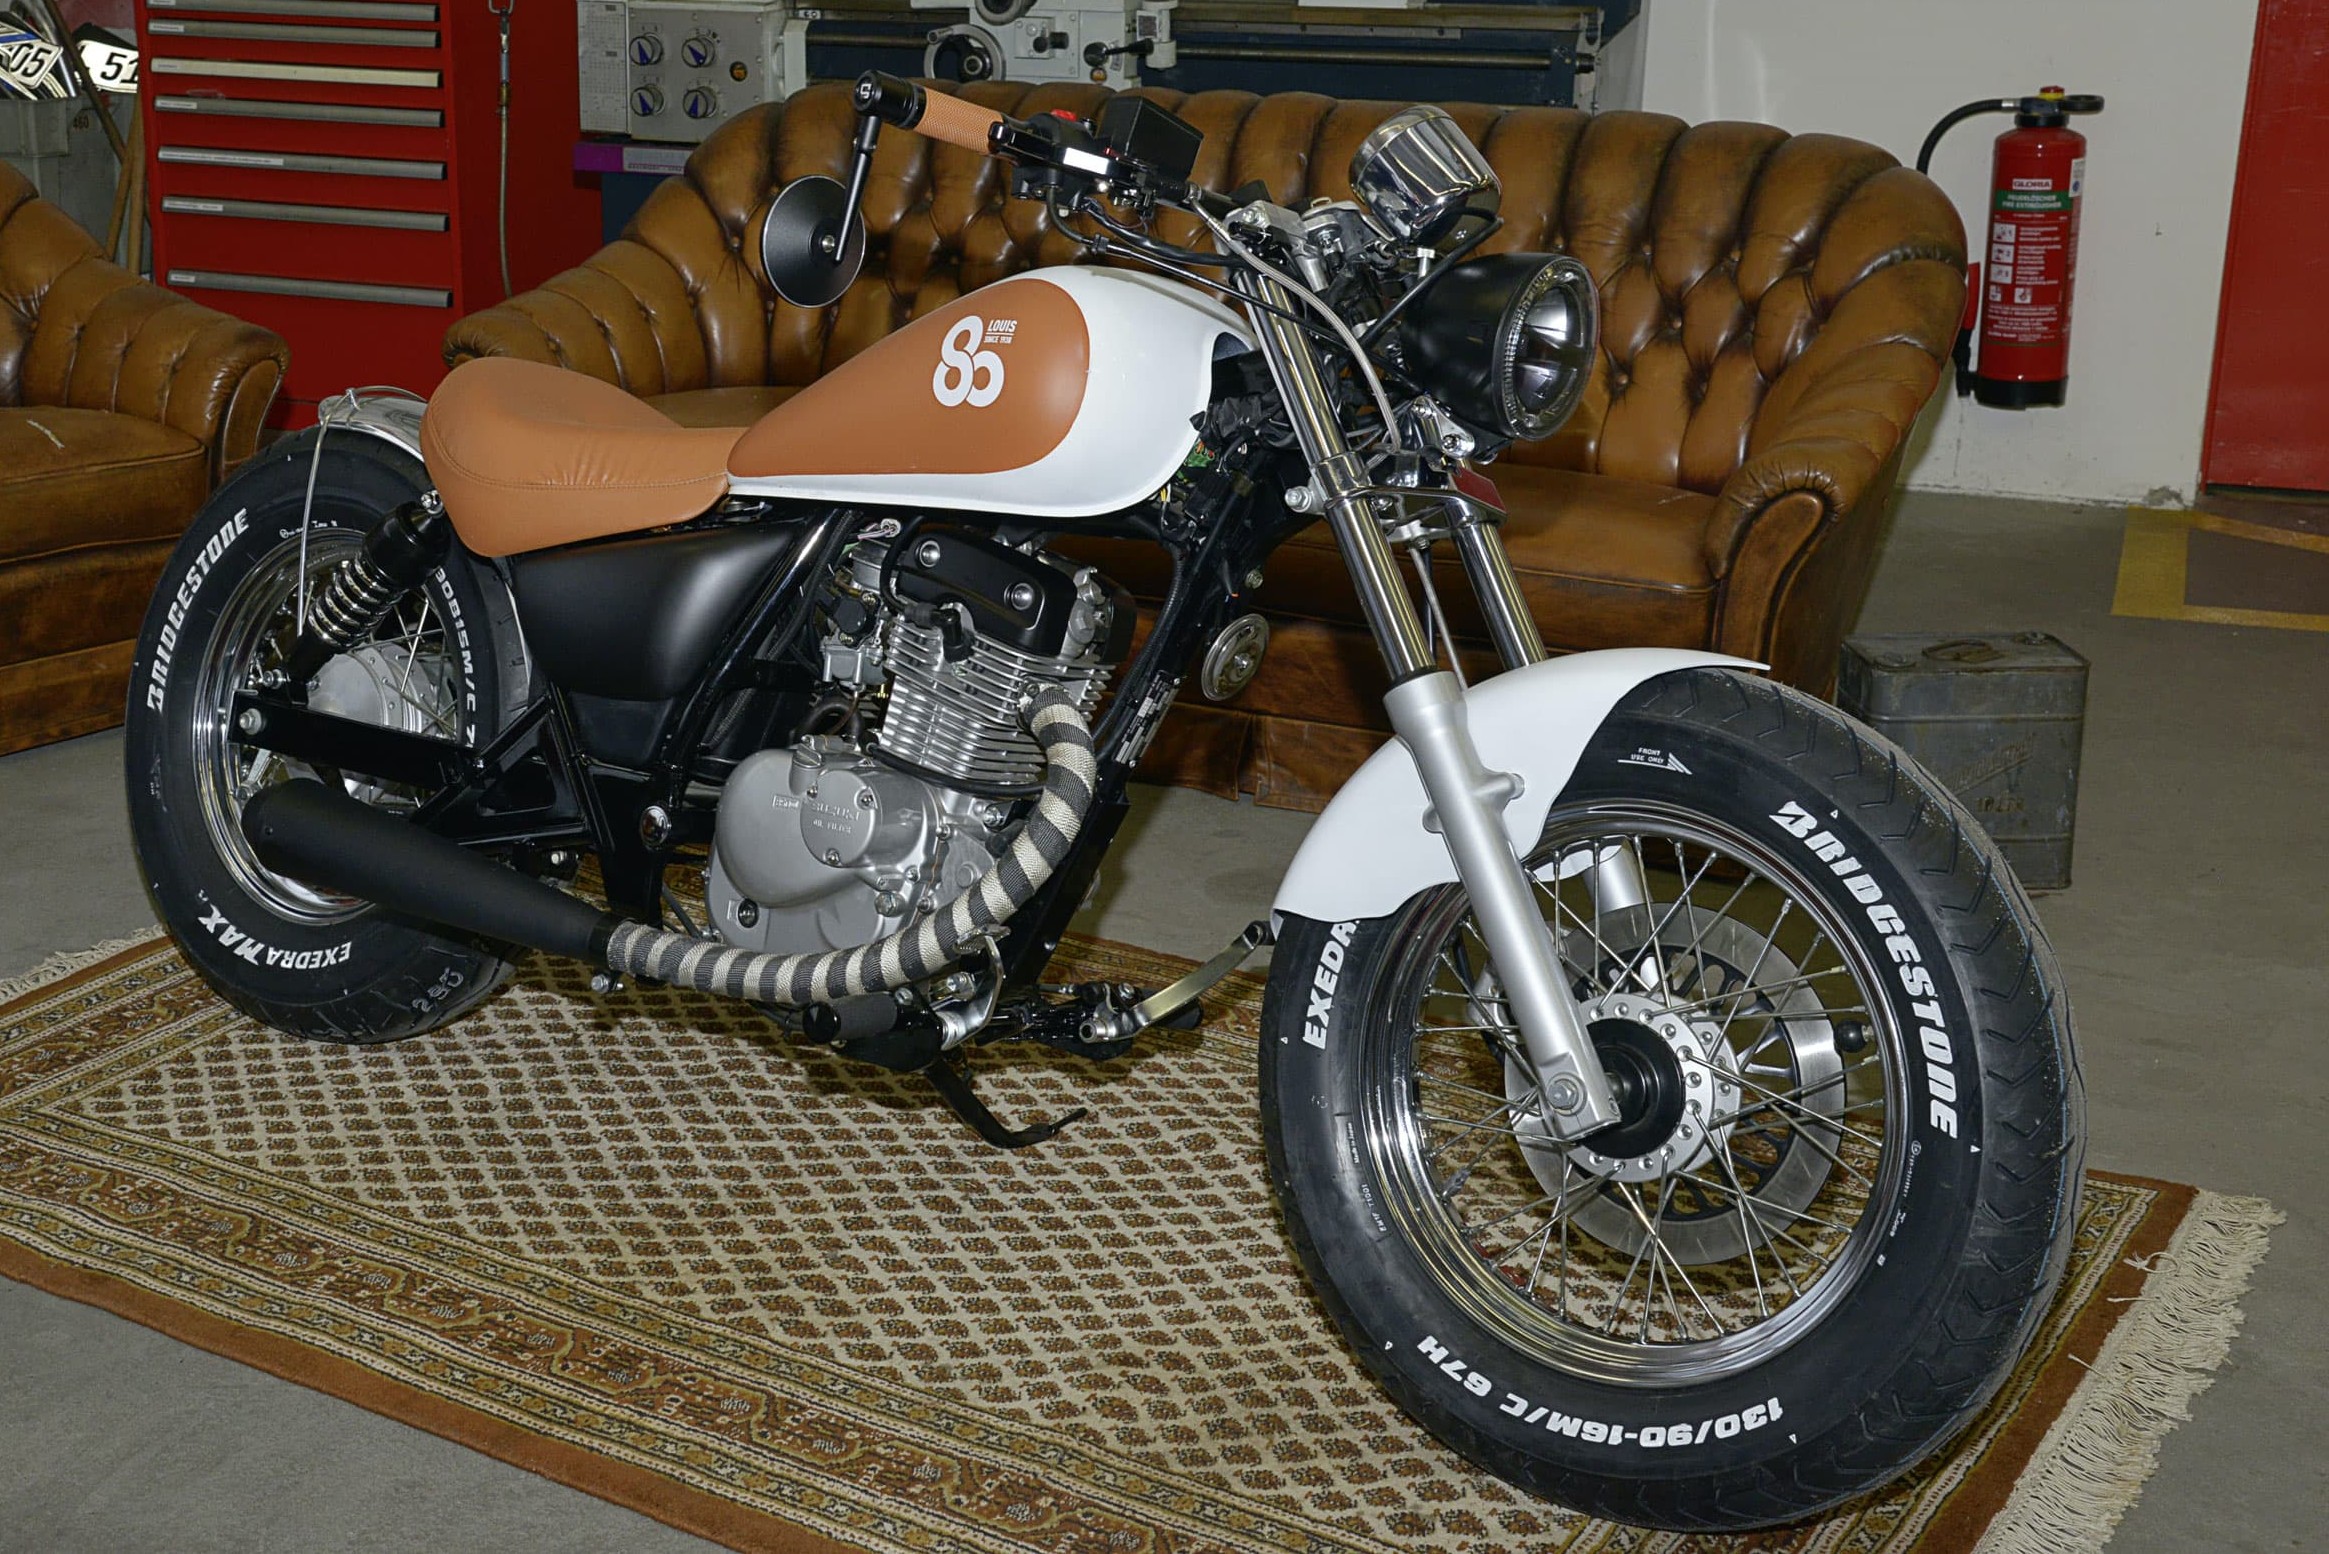
Step 9: Job done!
09 – Job done!
If you managed to do all this, it’s time to start her up and go for a spin. At first, the exhaust will give off plenty of smoke.
So you might find it less embarrassing to go for a ride in the countryside rather than around town until the smoke has died down.
Bonus tips for real DIY mechanics
Two-colour wrap technique
This is your chance to give your motorbike a special look. After all, it’s great to personalise your machine so that you stand out from the crowd, and the two-colour wrap technique is a relatively cheap and easy way to do it. You simply wind two different colours of heat wrap side by side around the exhaust header. Admittedly it’s a bit trickier to start off because you need to apply the two wraps evenly and accurately, but it’s well worth the trouble. … Give it a try!
The Louis Technical Centre
If you have a technical question about your motorbike, please contact our Technical Centre, where they have endless experience, reference books and contacts.
Please note!
These tips for DIY mechanics contain general recommendations that may not apply to all vehicles or all individual components. As local conditions may vary considerably, we are unable to guarantee the correctness of information in these tips for DIY mechanics.
Thank you for your understanding.


