Changing the coolant in water-cooled engines
Most modern motorcycles have liquid-cooled engines. Liquid or water-cooled engines run quieter and produce better performance, but require a certain amount of maintenance.
Note: The videos are in German.
- How the cooling circuit works
- Topic: Coolant maintenance
- Changing the coolant in water-cooled engines – now let's get started
- 01 – Drain coolant
- 02 – Tighten drain plug with torque wrench
- 03 – Fill with coolant
- 04 – Straighten cooling fins
- Our recommendation
How the cooling circuit works
How the cooling circuit works
Water cooling – or more accurately, liquid cooling – is standard in modern combustion engines. Admittedly, an air-cooled engine with its cooling fins looks pretty stylish, but as far as noise reduction and uniform engine temperature and cooling are concerned, liquid cooling is simply better.
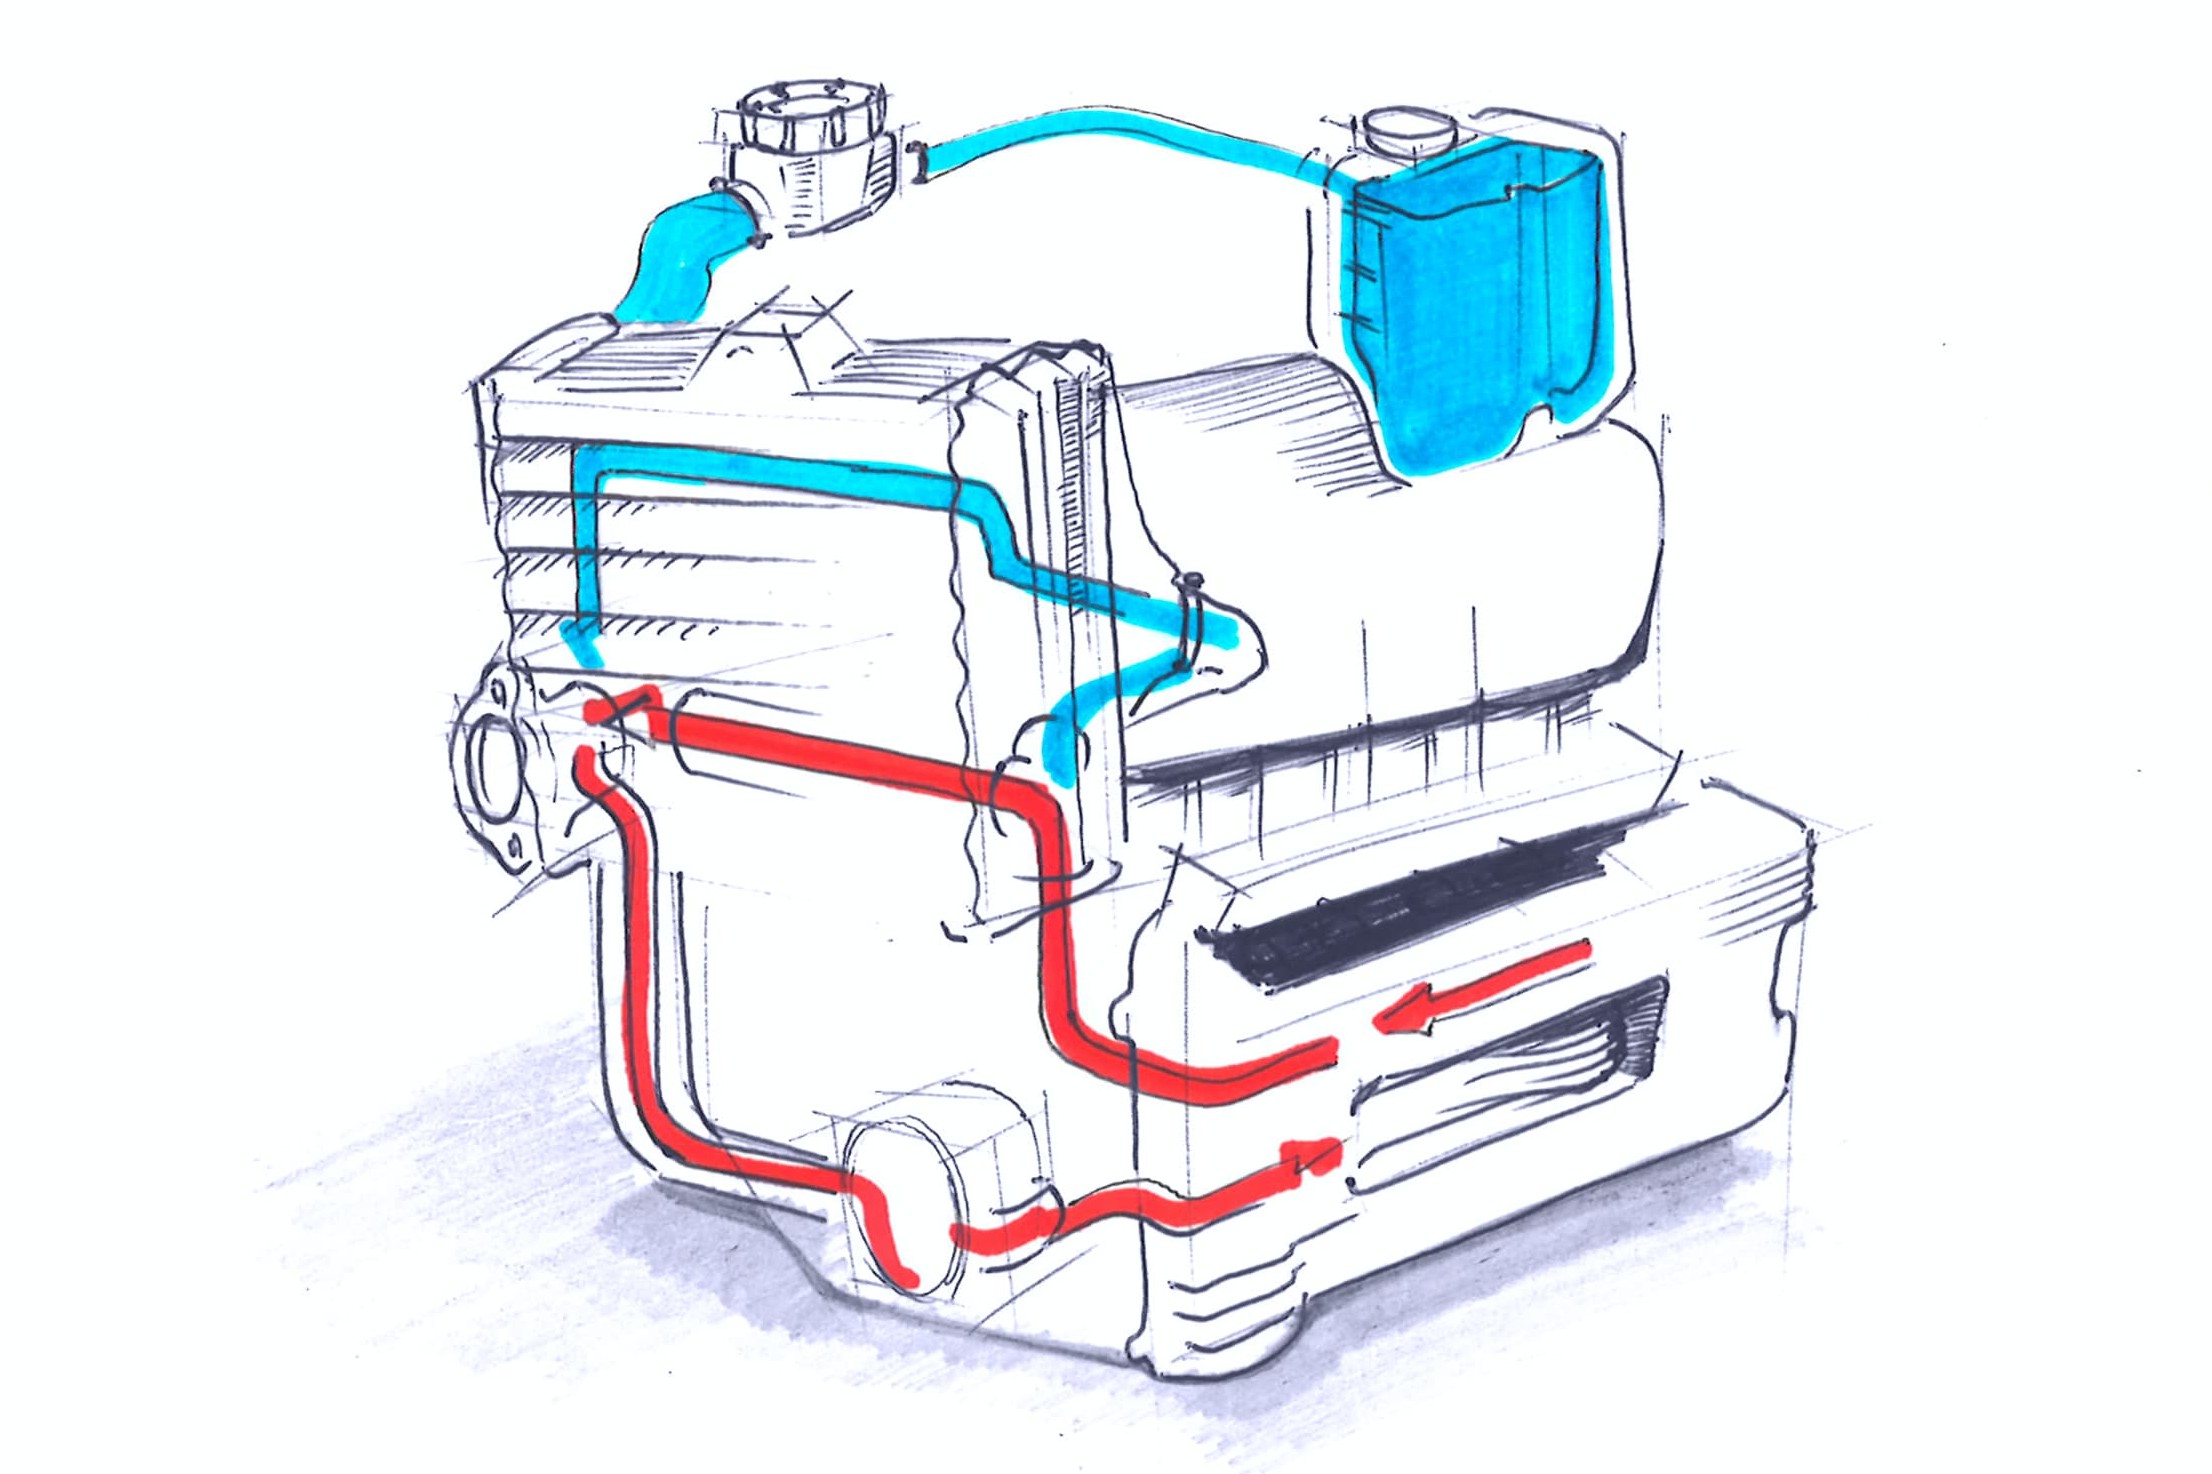
An engine's cooling system is divided into a small and a large circuit. The small cooling circuit is thermostat-controlled and bypasses the radiator (large circuit) so that the engine reaches operating temperature more quickly.
Once the coolant temperature reaches approx. 85°C, the thermostat opens and the coolant flows through the radiator, which is positioned in the airstream. If the coolant becomes so hot that the radiator is unable to cool it down sufficiently on its own, a temperature-controlled electric fan is activated. A coolant pump (water pump), mechanically driven by the engine, pumps the coolant through the system. An external container with a water level indicator serves as an expansion tank and reservoir.
The coolant comprises a prescribed mixture of water and antifreeze. It's preferable to use deionised water, as this prevents scale build-up in the engine. The antifreeze added to the water contains alcohol and glycol, and also anti-corrosive additives.
You can also buy ready-mixed coolant for aluminium engines and silicate-free coolants, which some cooling systems require. The different types of coolant are also different colours.
Please note: The important thing is that these different types should never be mixed, as that could cause flocculation (formation of clumps) and clog up the cooling system. So before you buy new coolant, you should check your owner's manual to see whether your engine requires a special coolant. If in doubt, ask at your local motorcycle workshop.
You should replace the coolant every two years. If you're draining the coolant for any other reason, like carrying out a general engine overhaul, it should not be re-used.
Check the antifreeze strength
Topic: Coolant maintenance
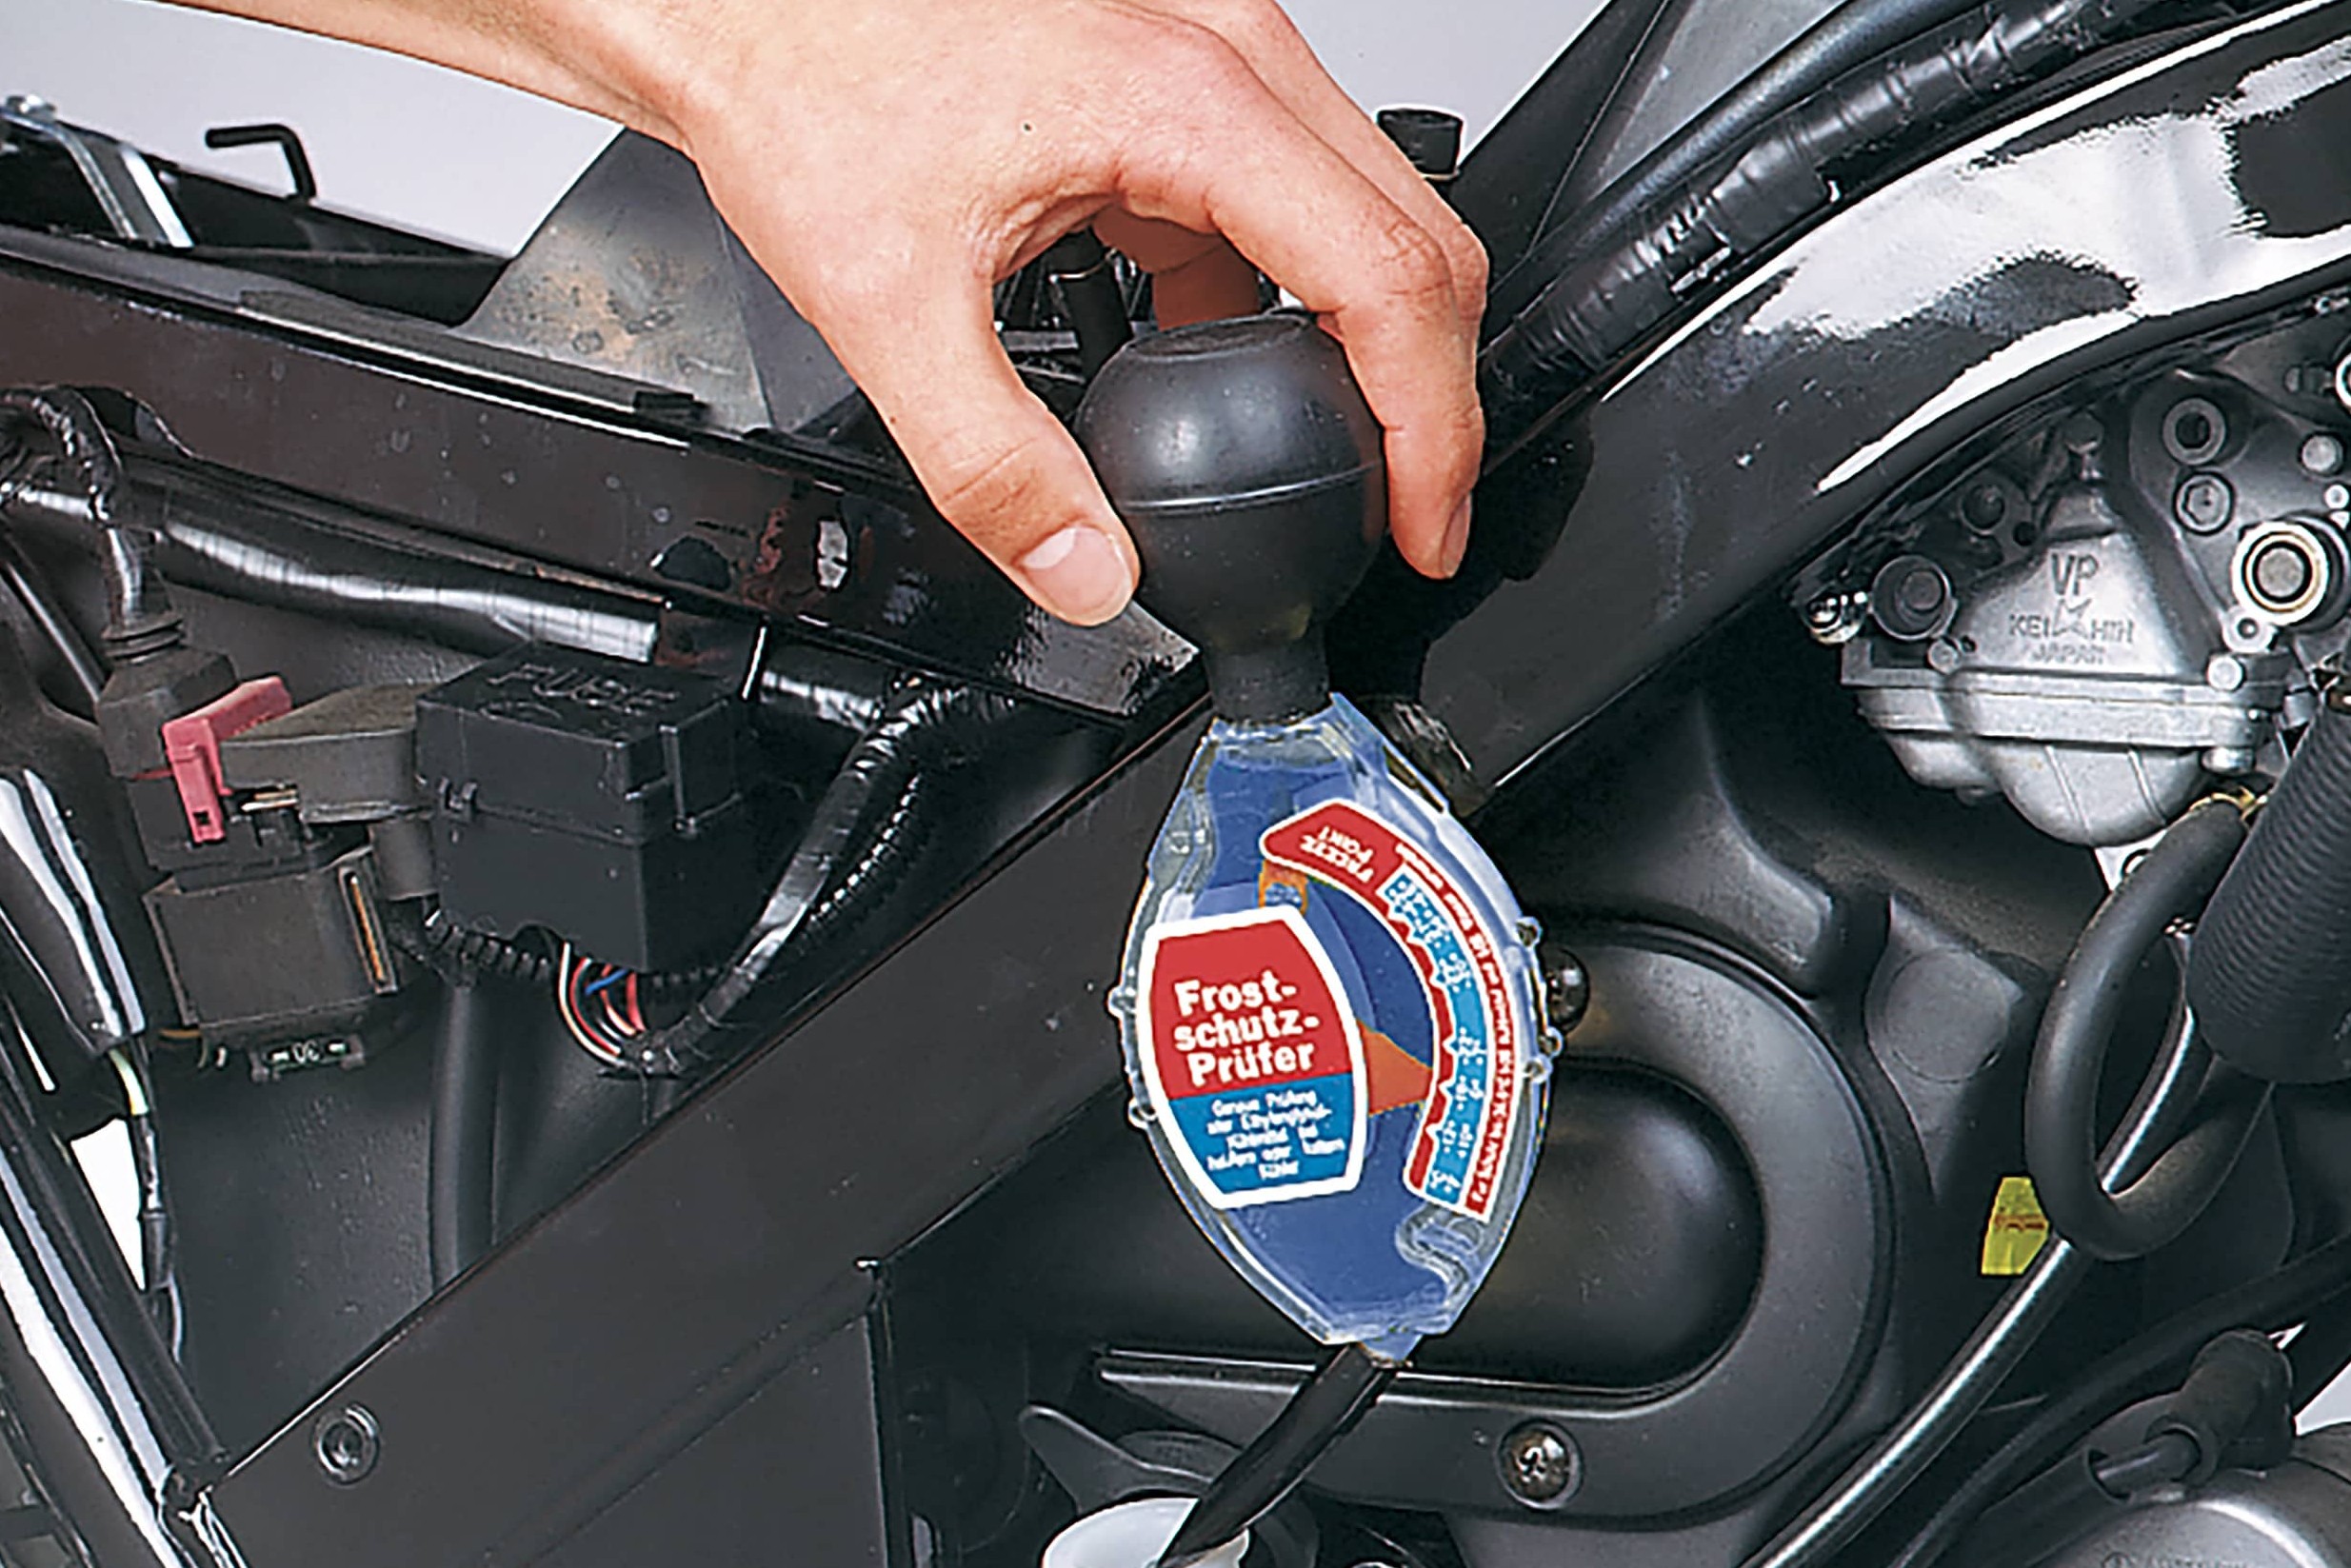
To check how safe your coolant is from Jack Frost, use an antifreeze tester to measure the level of protection in °C. Always bear in mind that in winter, an unheated garage may protect your bike from snow, but not against frost. Without adequate antifreeze, the coolant will freeze and can build up so much pressure that the cooling hoses and radiator may burst, and – worst case scenario – your engine may be damaged.
Changing the coolant in water-cooled engines – now let's get started
Step 1: Drain coolant
01 – Drain coolant
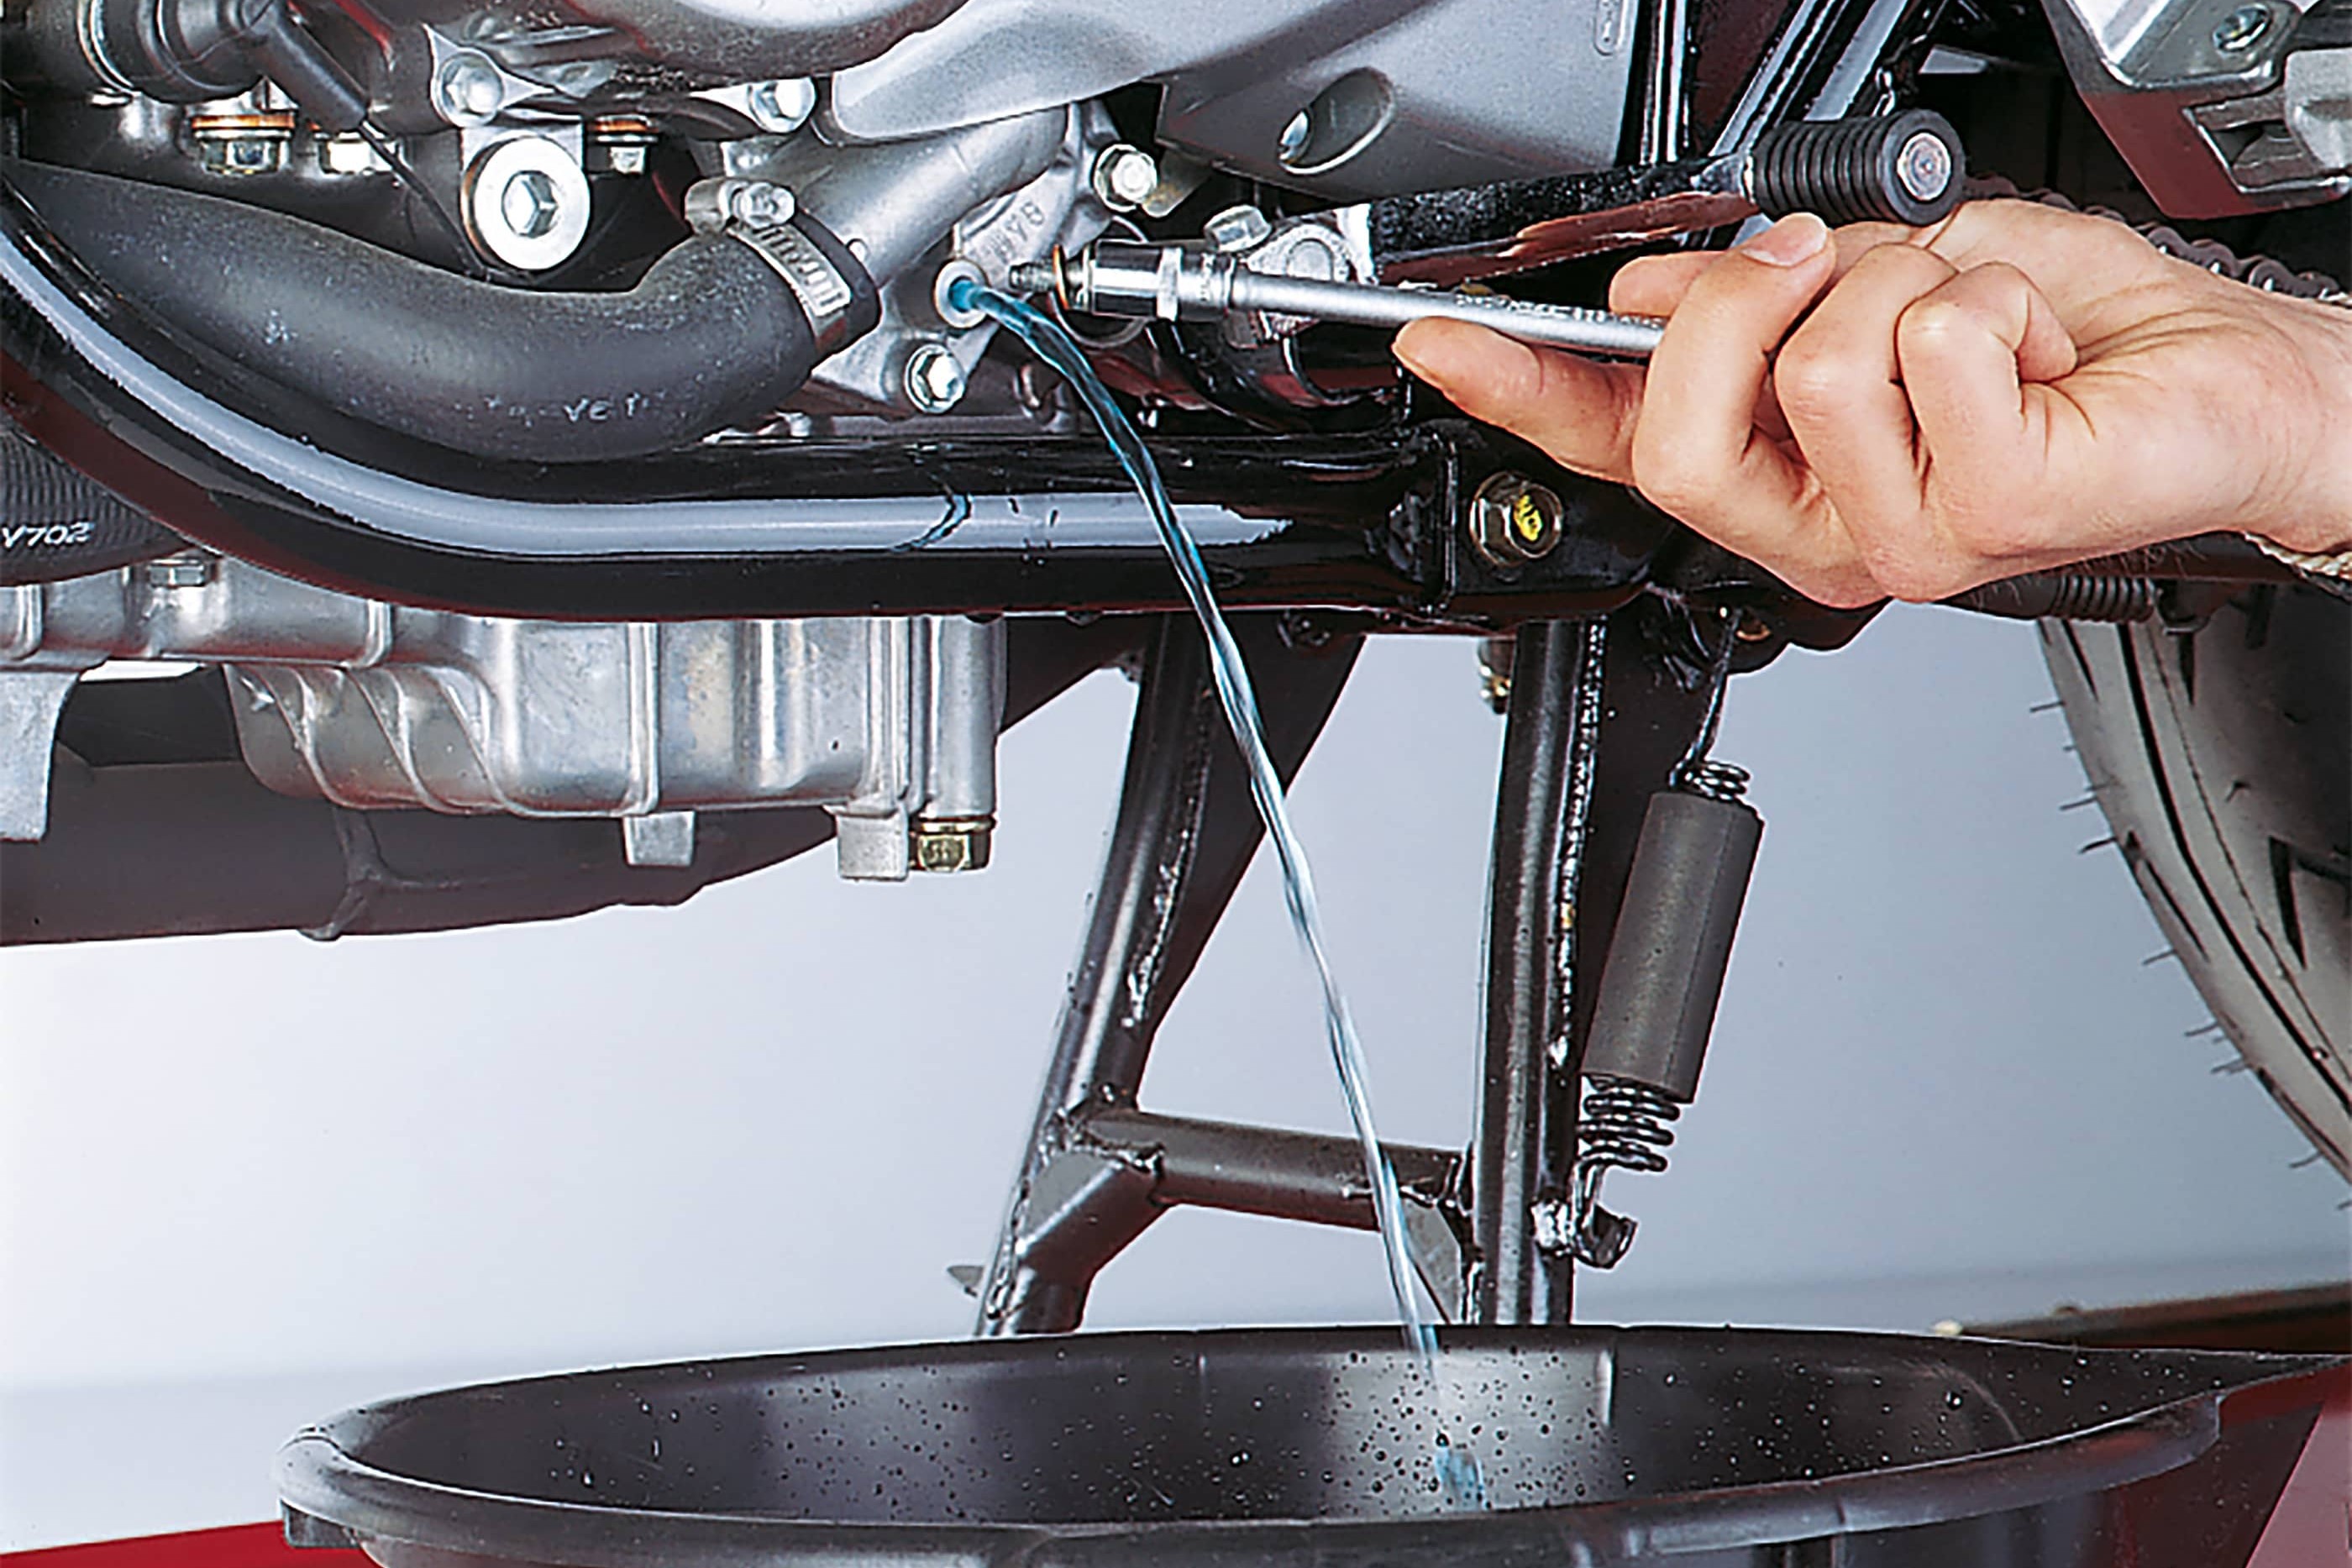
The engine must be cold when you change the antifreeze (35°C max.) because otherwise the system is under pressure and there is a risk you will scald yourself. Depending on your motorcycle model, you'll first need to remove the fairing, tank, seat and side cover. The majority of engines have a drain plug near the coolant pump (check your owner's manual if you can't locate it).
Before removing the drain plug, make sure you place a container underneath (such as a multipurpose bowl). Once you've removed the drain plug, slowly open the filler cap – this gives you a degree of control over the draining. In the case of engines without a drain plug, simply remove the bottom hose from the radiator – do not re-use clamps if they are worn. Depending on your radiator system, you may also need to remove and empty the expansion reservoir.
Please note: Always dispose of the old coolant in the proper manner.
If you splash coolant onto your paintwork, wash it off with plenty of water.
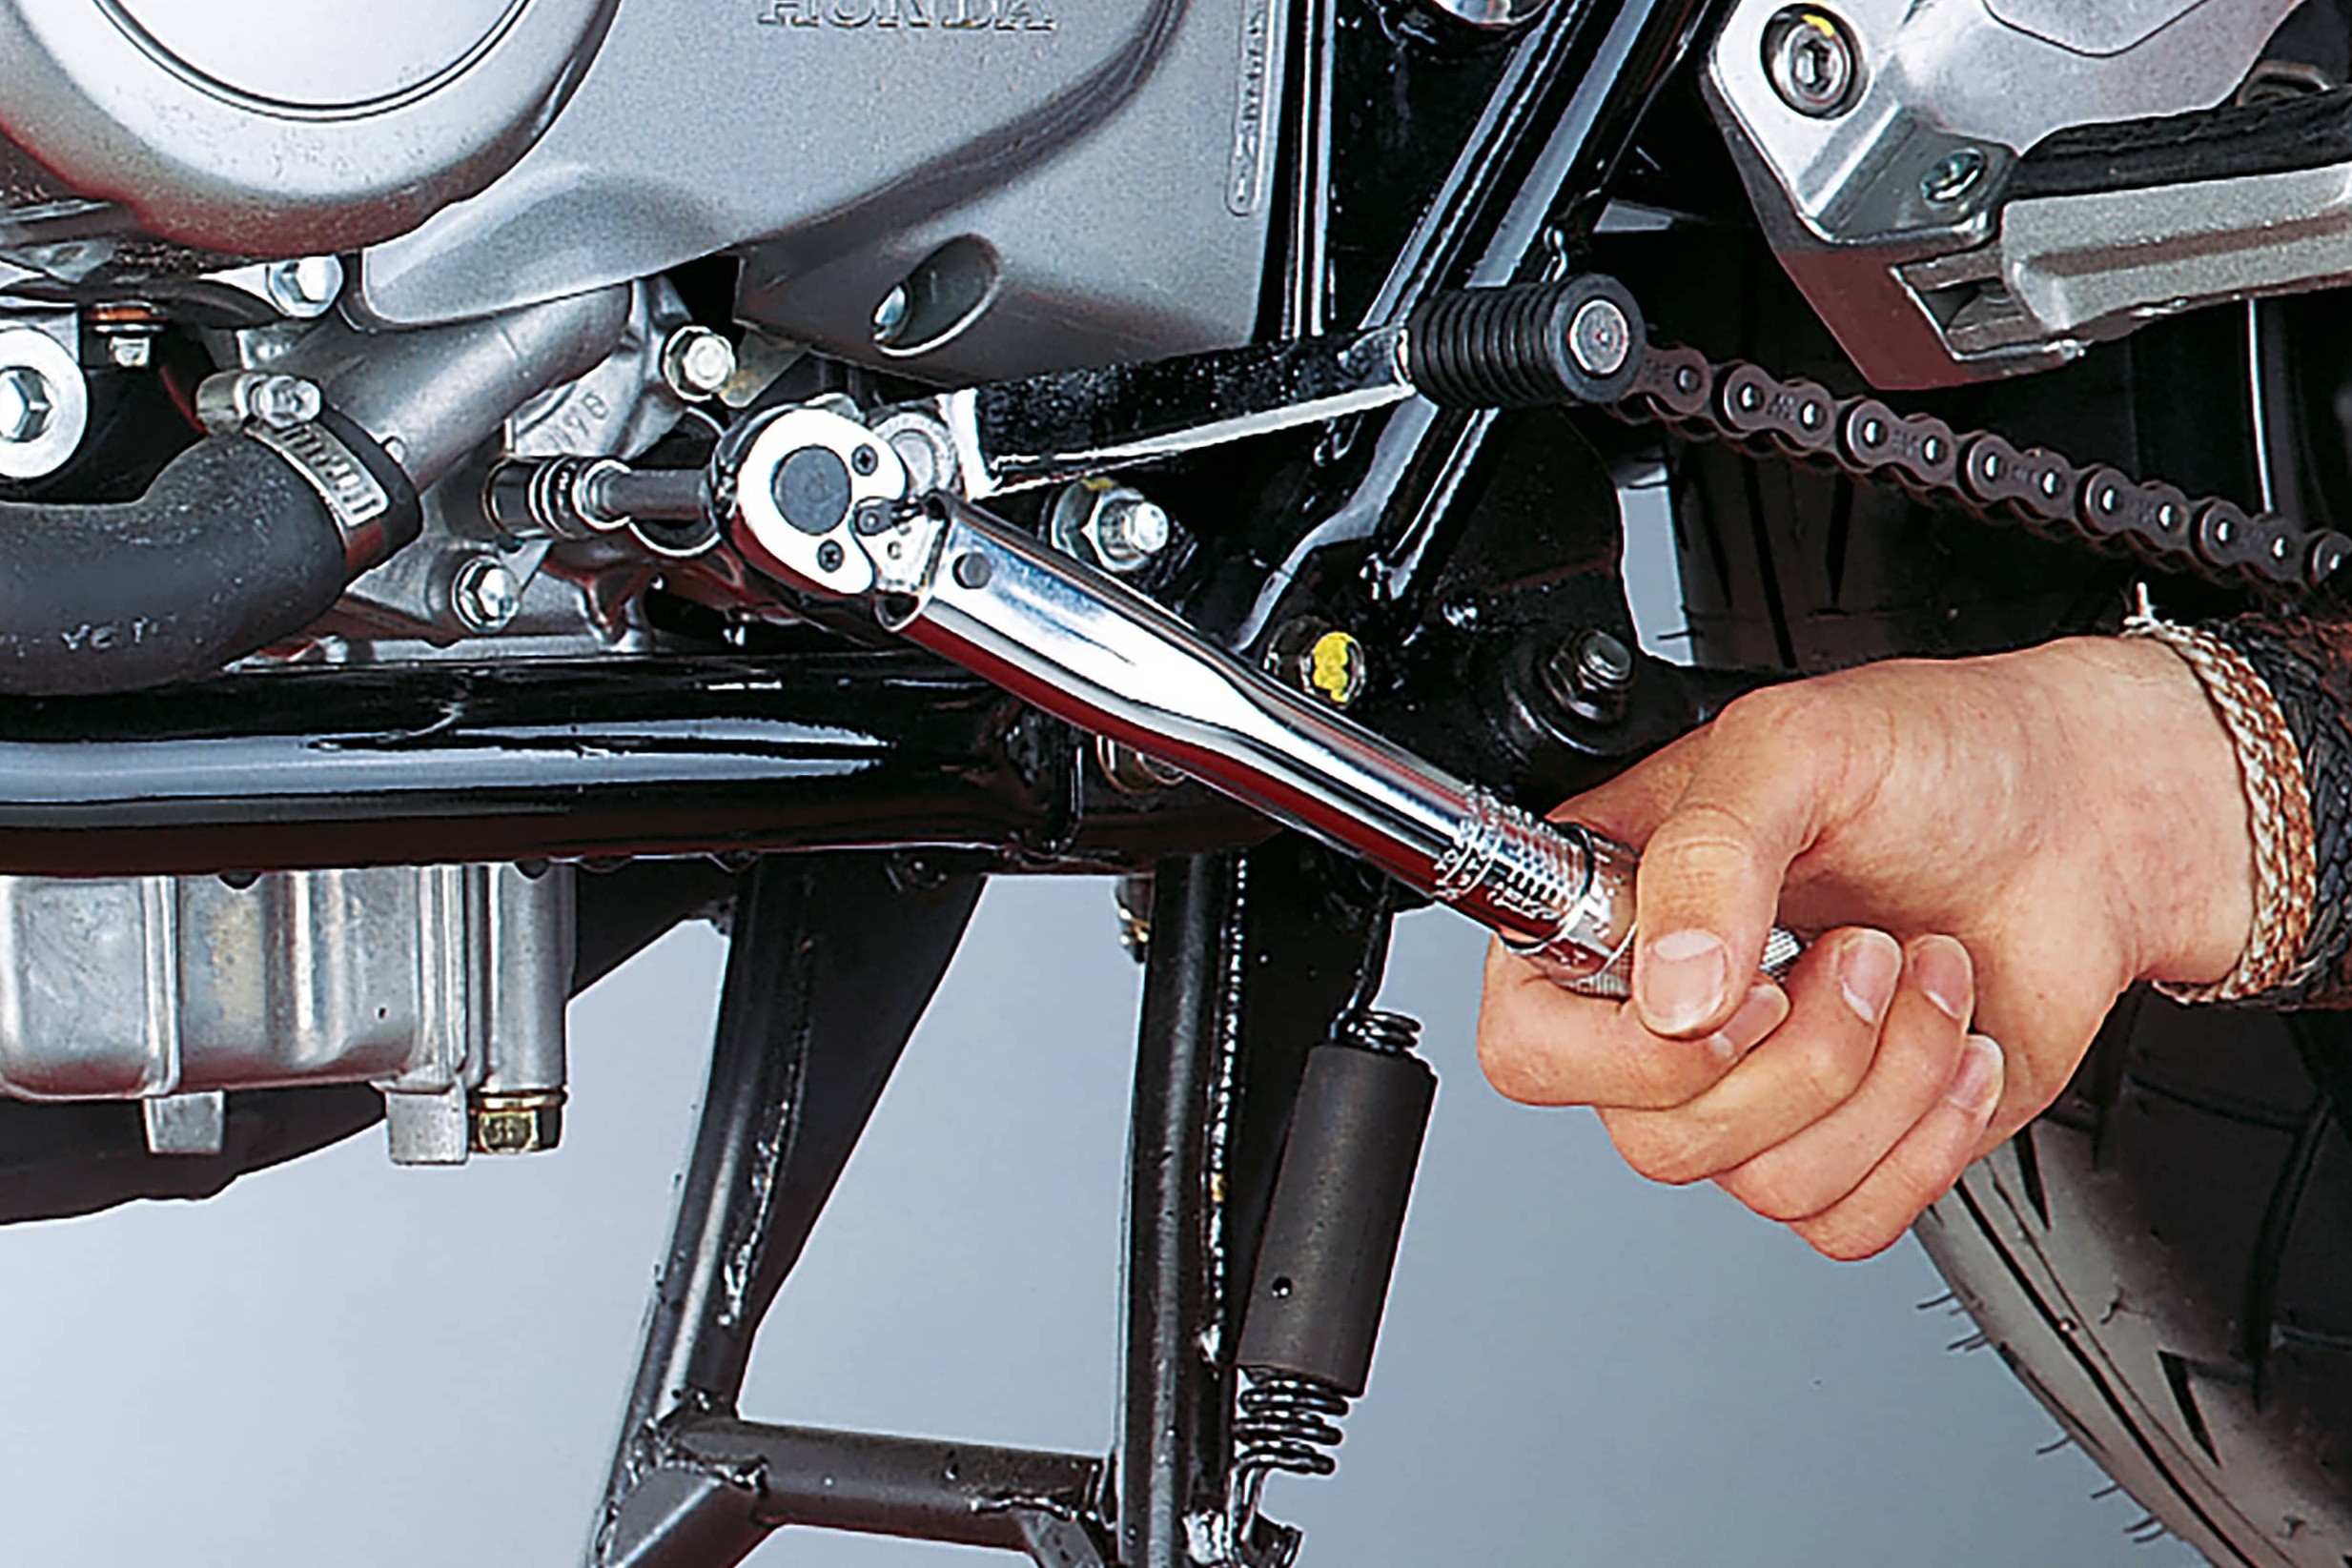
Step 2: Tighten drain plug with torque wrench
02 – Tighten drain plug with torque wrench
Once you've drained the entire system, fit the drain plug with a new seal and screw it back in. Always use a torque wrench (check your bike manual for the correct torque), as it's very easy to strip the aluminium thread in the engine block.
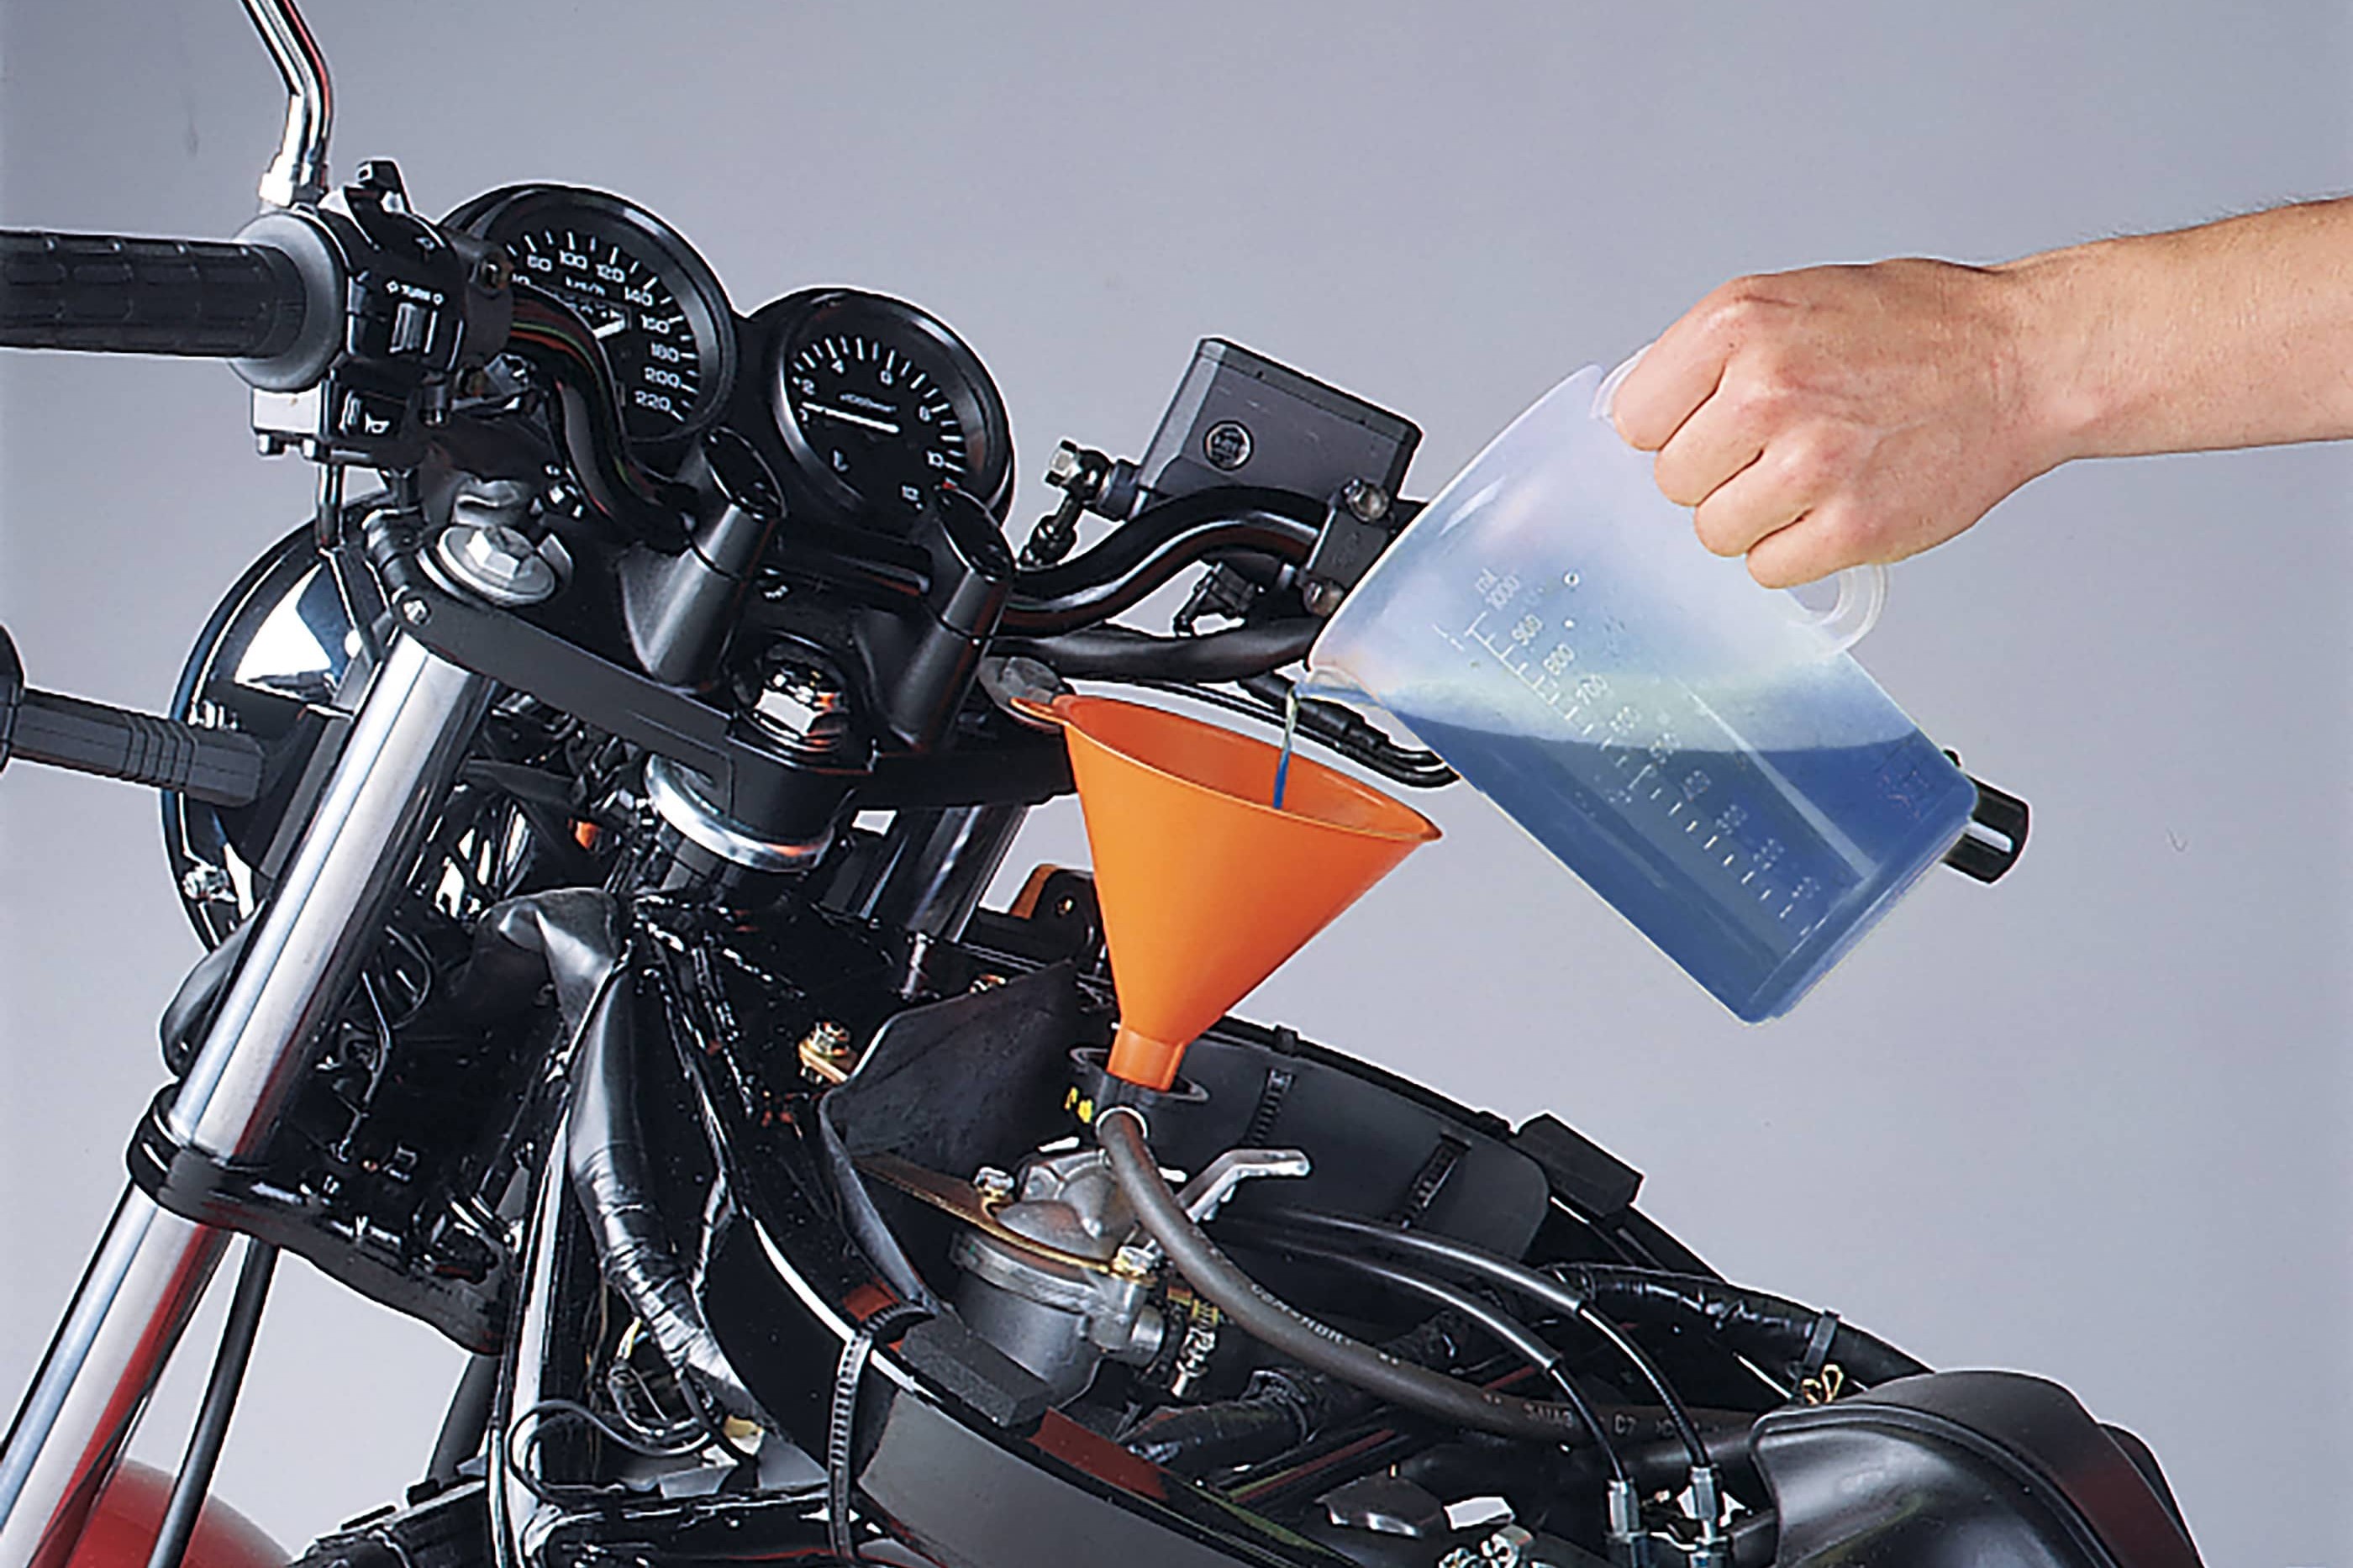
Step 3, Fig. 1: Fill with coolant
03 – Fill with coolant
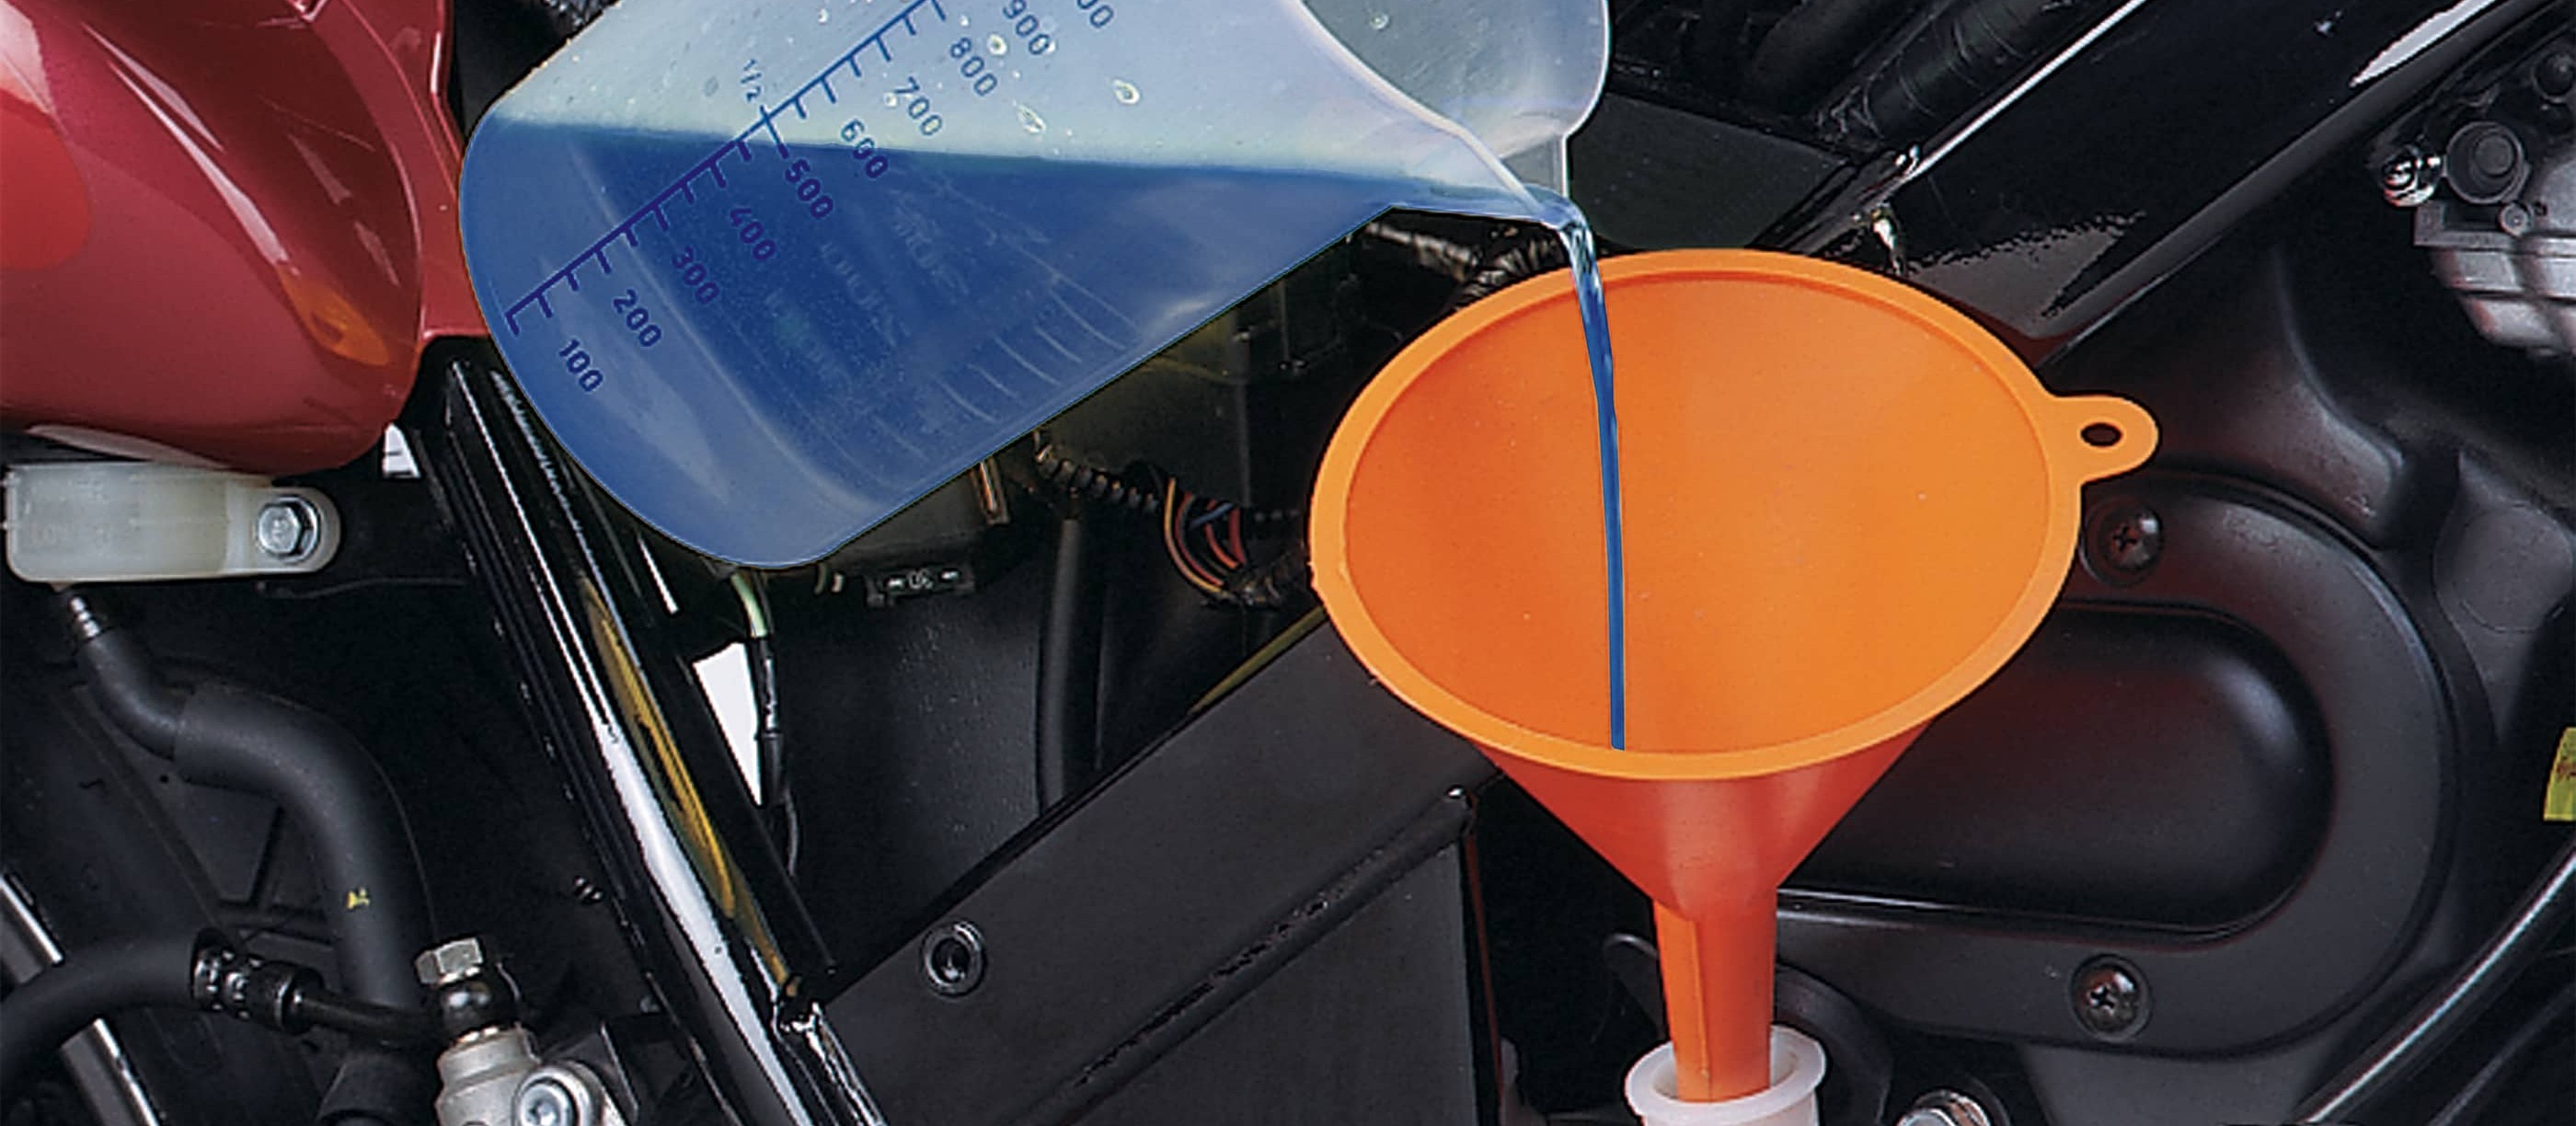
There are different types of antifreeze: Ready mixed antifreeze is ready to use, and provides protection down to approx. -37°C. Concentrated antifreeze, on the other hand, needs to be diluted with deionised water before use. If you're using concentrated antifreeze, you'll need to check the bottle for the right amount of water to add. Please note: Only mix and top up with deionised water. And remember, antifreeze is also a must in summer because it contains special additives to protect your engine from internal corrosion and oxidation.
Slowly pour the coolant into the filler until the level no longer sinks. Now start up the engine. If your bike is fitted with a bleed screw, open it and run the engine until all the air has escaped and you only see coolant flowing out. The level may drop sharply when the thermostat opens. This is completely normal because the water is now flowing through the radiator (large circuit). You simply need to add more coolant and close the filler cap.
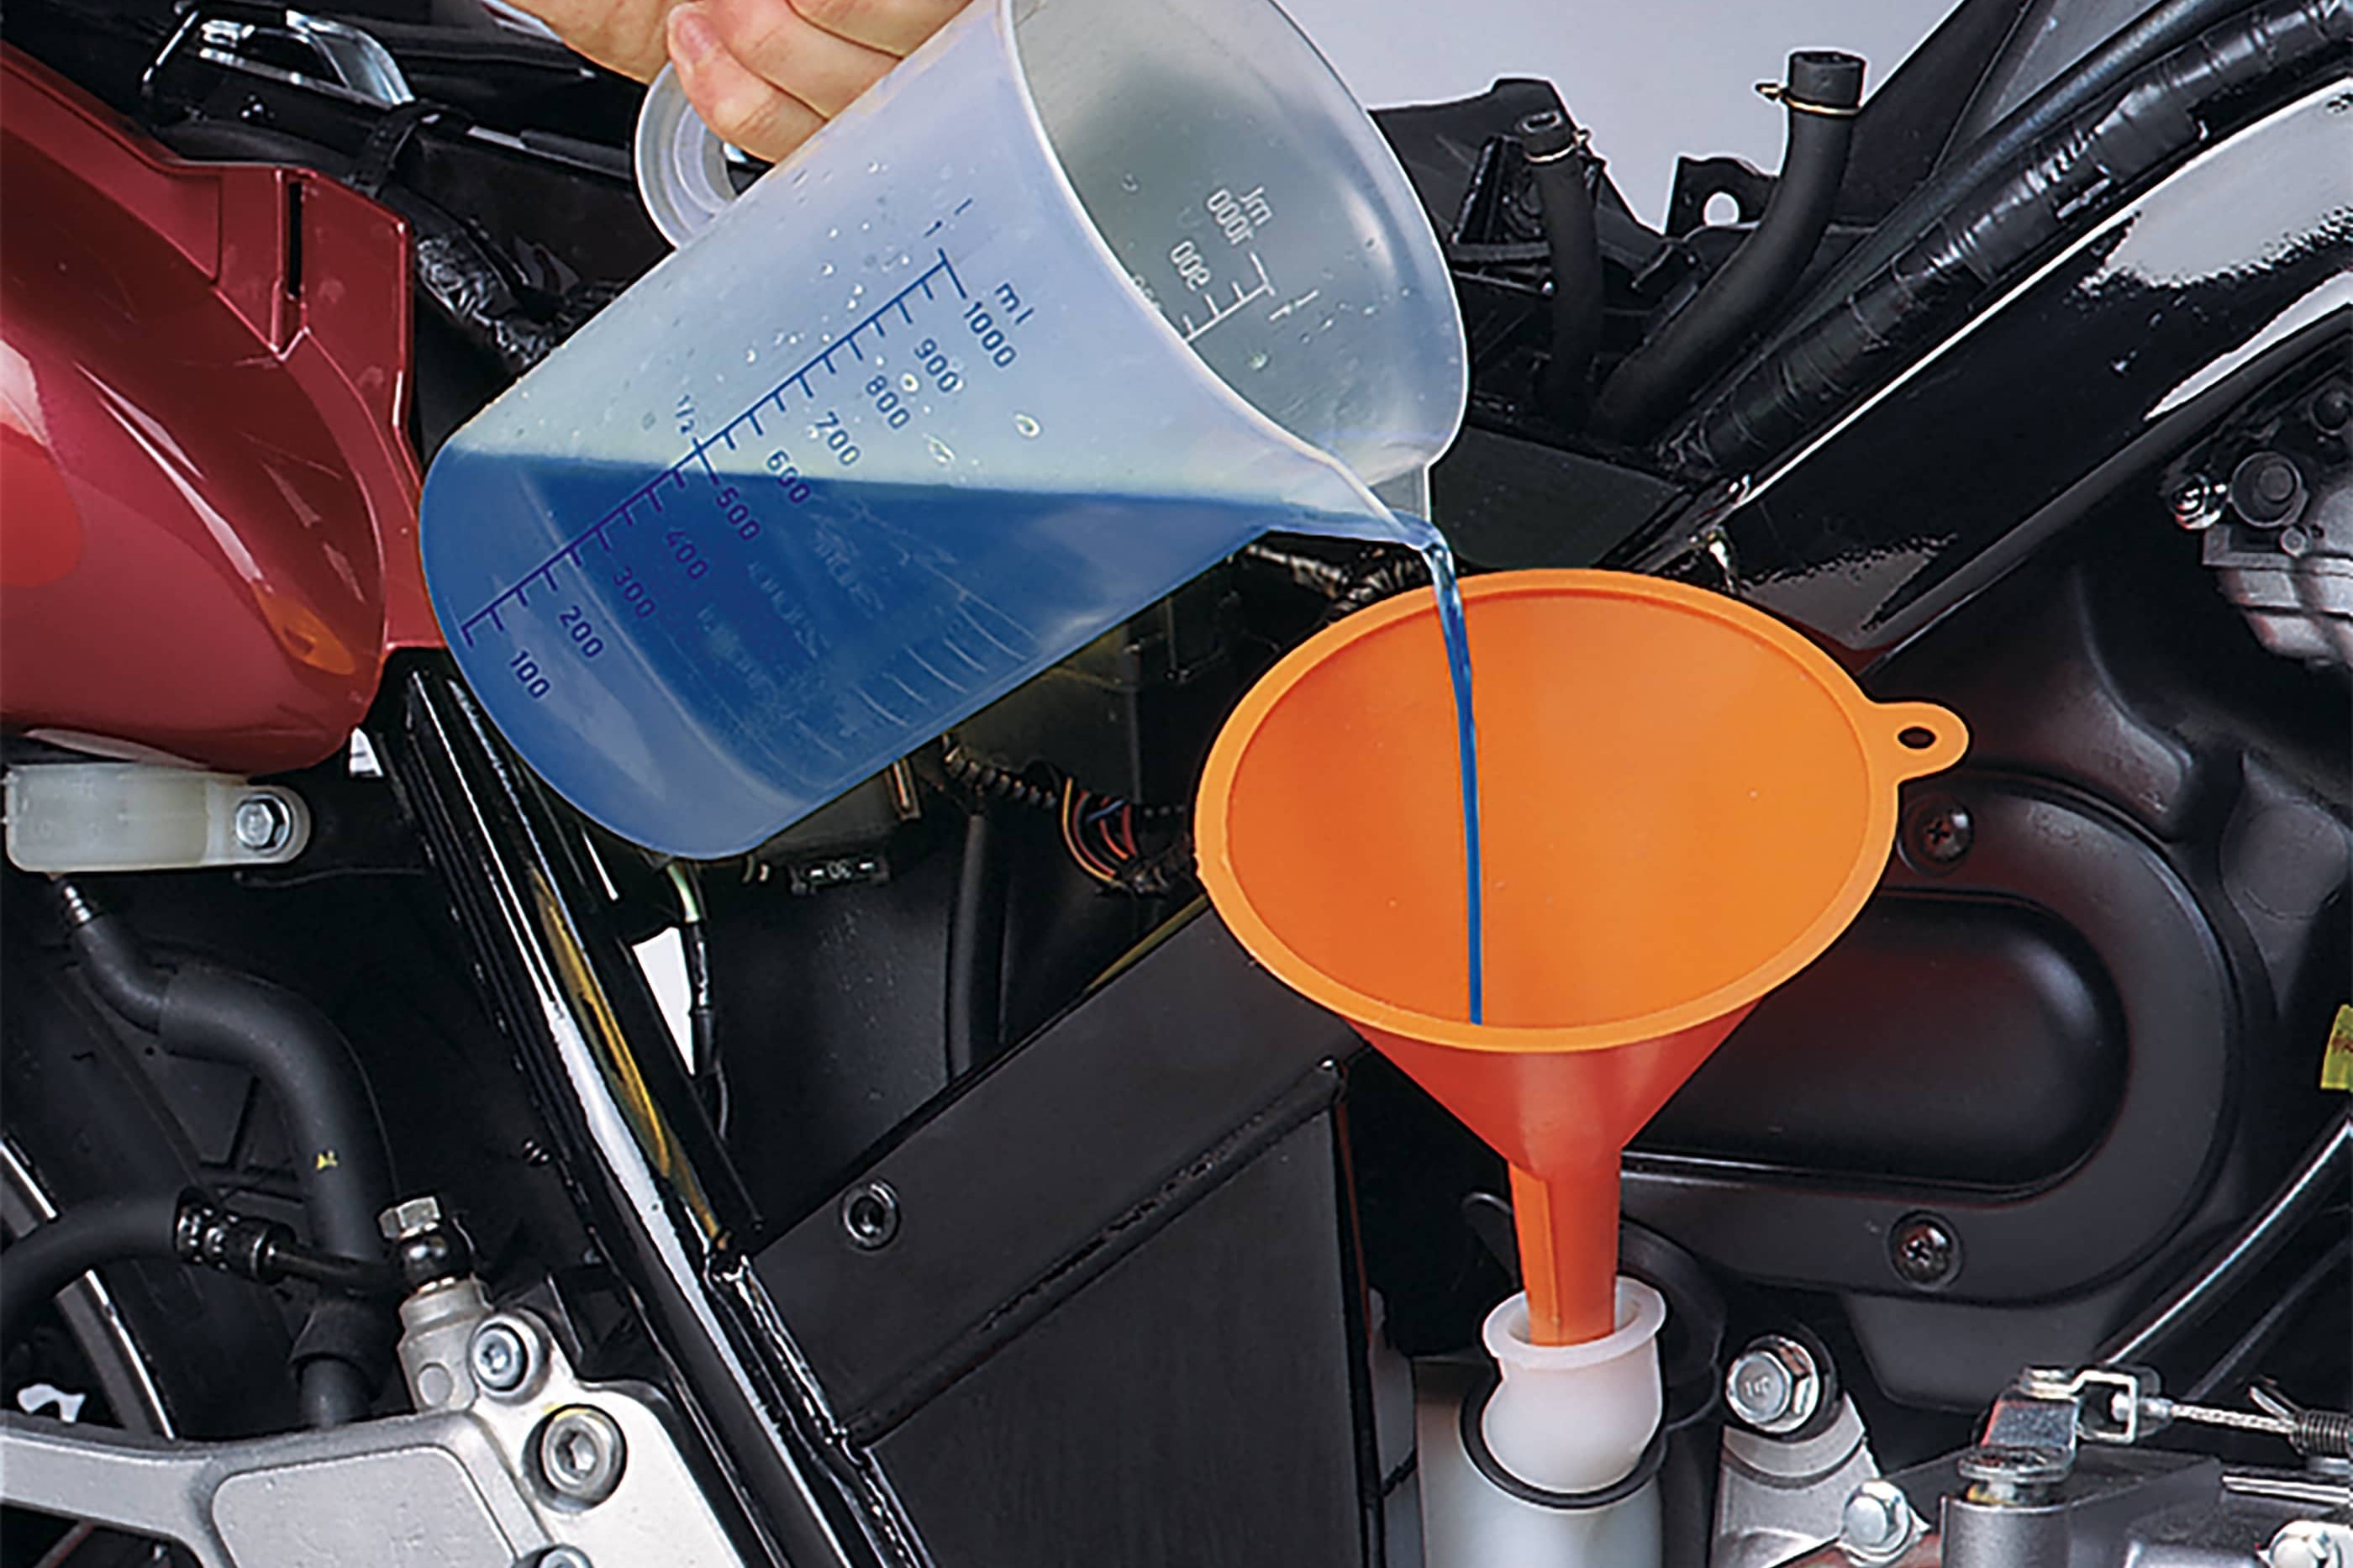
Step 3, Fig. 2: Also fill the expansion reservoir
Depending on the cooling system, you may also need to top up the expansion reservoir until it is between the "Min.– Max." marking. Leave the engine running until the electric fan starts up, all the while keeping an eye on the coolant level and the engine temperature.
Because the heat causes the water to expand, you will need to check the level of the coolant once again after the engine has cooled down (make sure the bike is upright). If the coolant level is now too high when cold, you will need to suction off the excess.
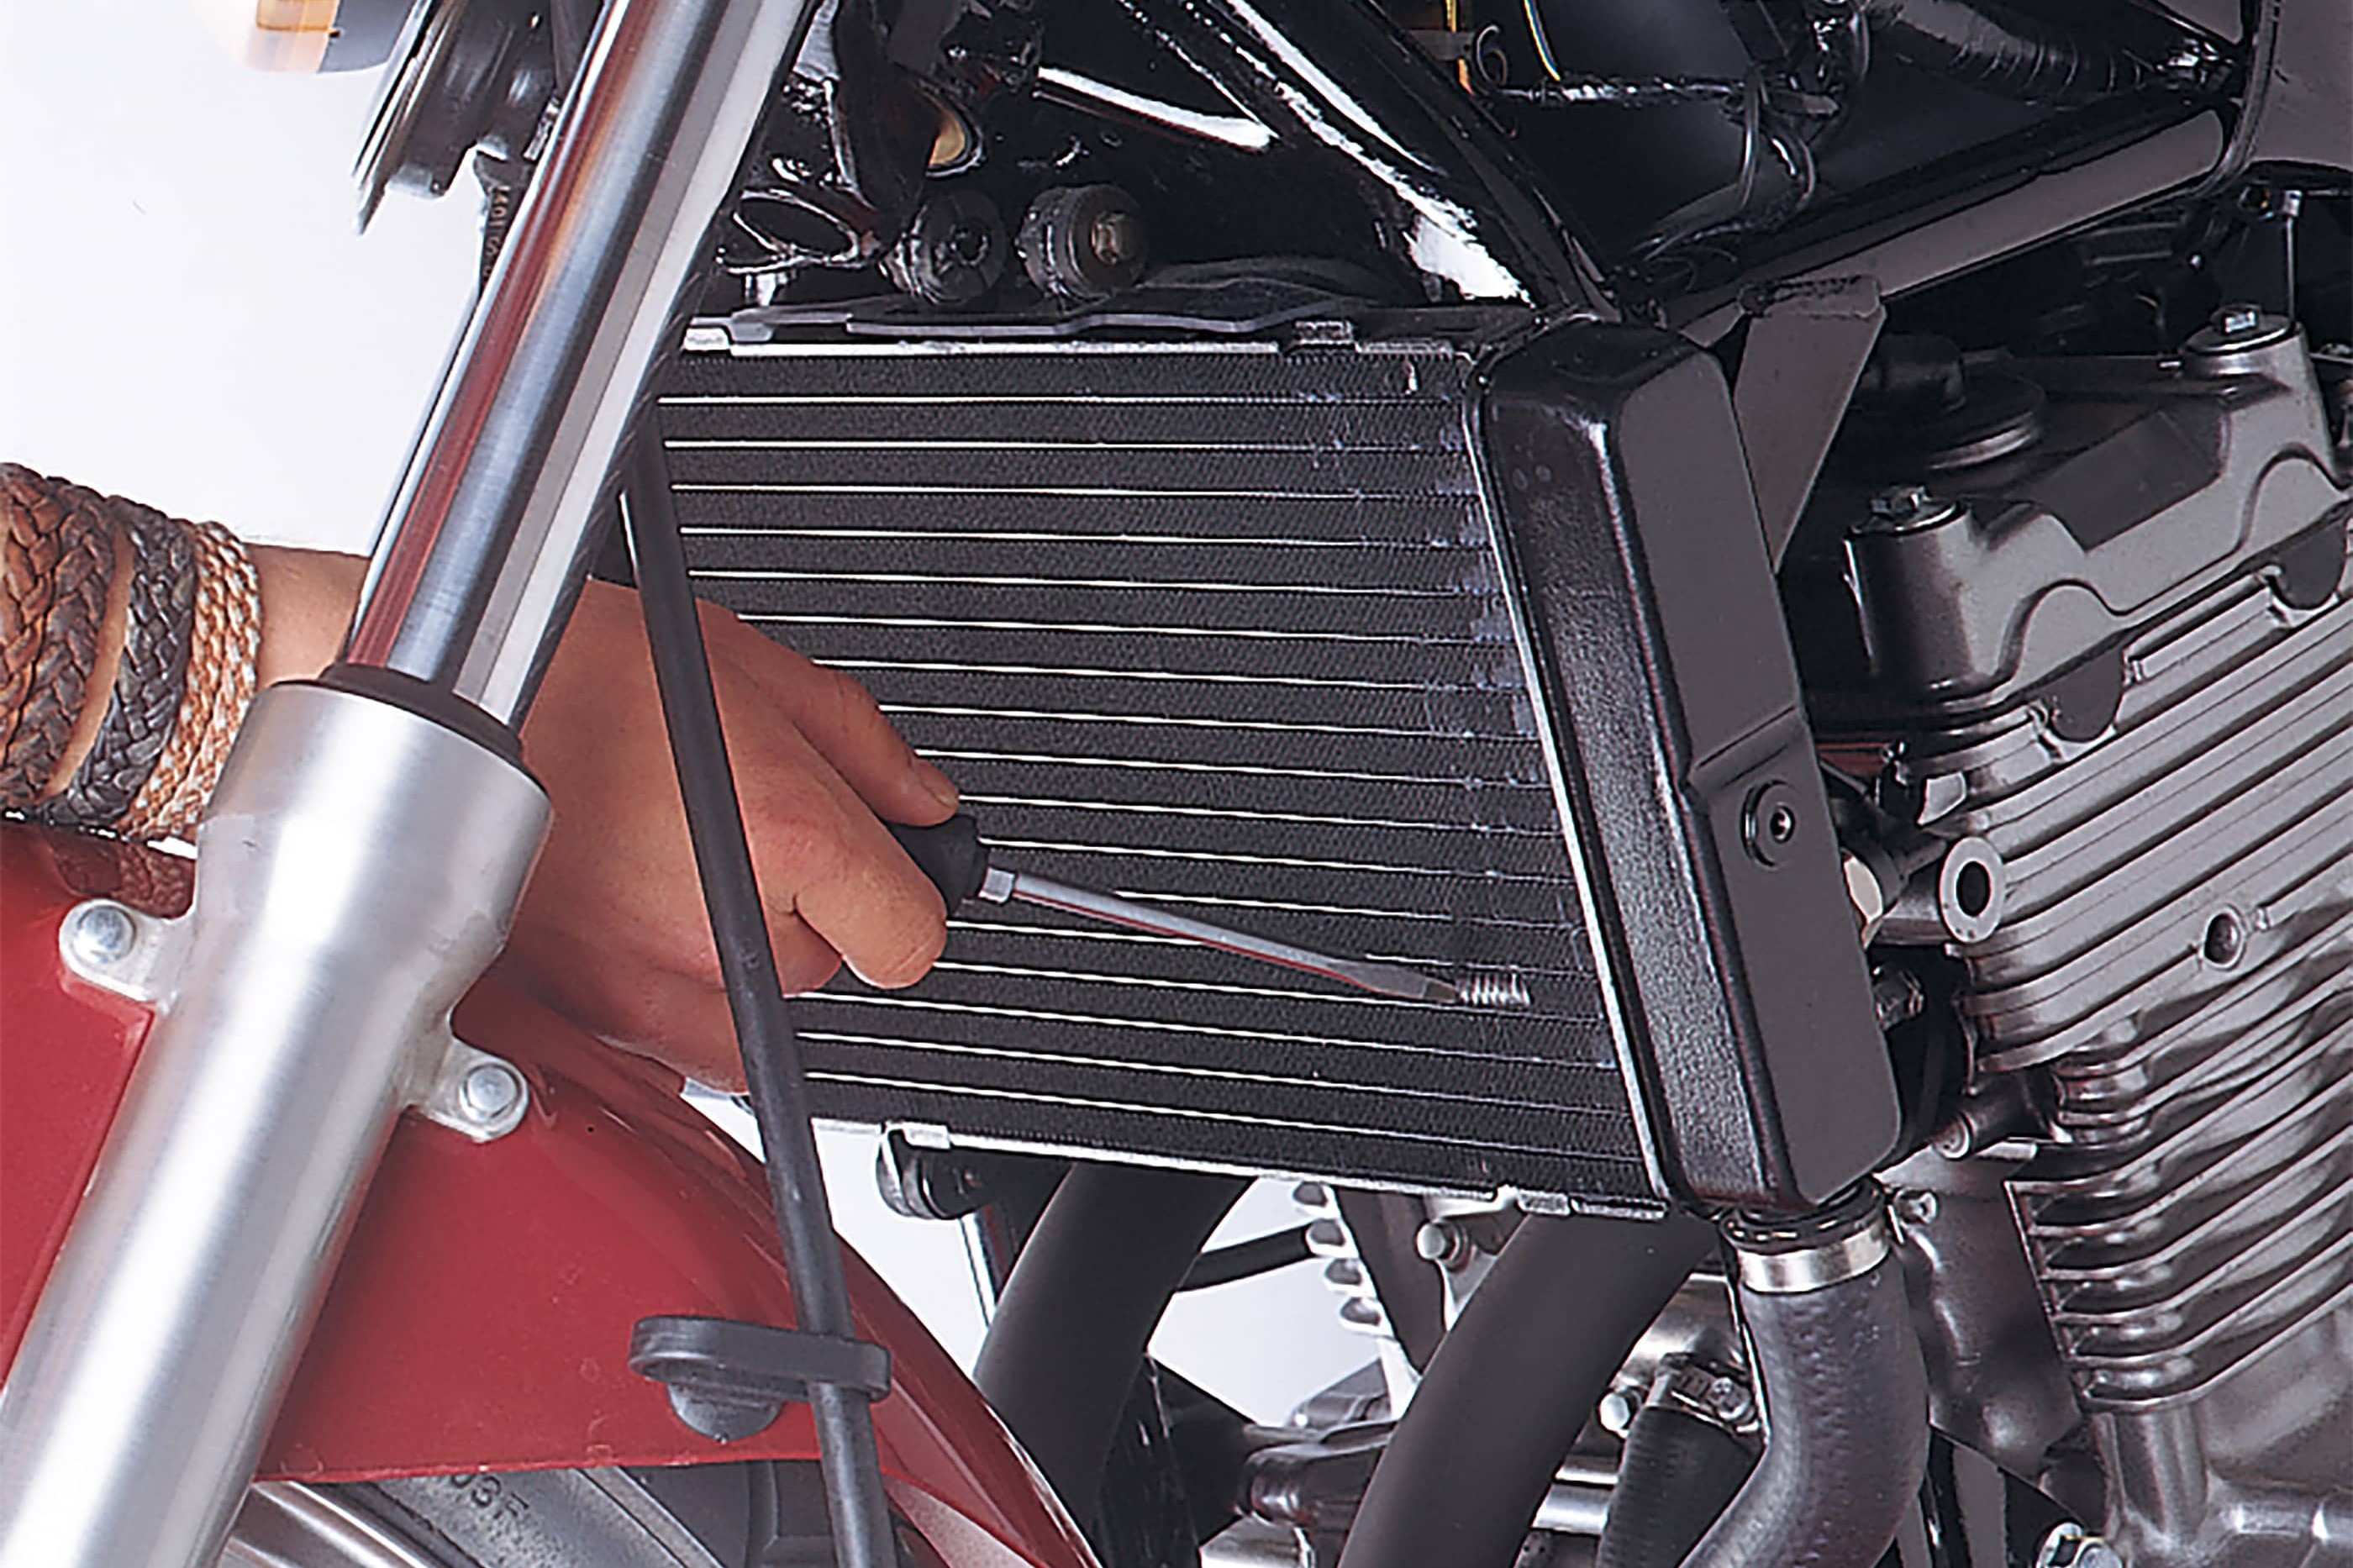
Step 4: Straighten cooling fins
04 – Straighten cooling fins
Finally, give your radiator a thorough clean on the outside. Insects and other deposits are pretty easy to shift using an insect remover and spraying gently with water. Do not use a steam cleaner or a strong water jet. Use a small screwdriver to carefully straighten any bent fins. If the metal is brittle (aluminium), it's best not to bend the fins any further.
Our recommendation
The Louis Technical Centre
If you have a technical question about your motorbike, please contact our Technical Centre, where they have endless experience, reference books and contacts.
Please note!
These tips for DIY mechanics contain general recommendations that may not apply to all vehicles or all individual components. As local conditions may vary considerably, we are unable to guarantee the correctness of information in these tips for DIY mechanics.
Thank you for your understanding.


