Polishing paintwork the right way
Gleaming paintwork is always a feast for the eyes. But apart from looking great, well maintained paintwork is also a necessity to give the metal underneath effective and lasting protection against corrosion.
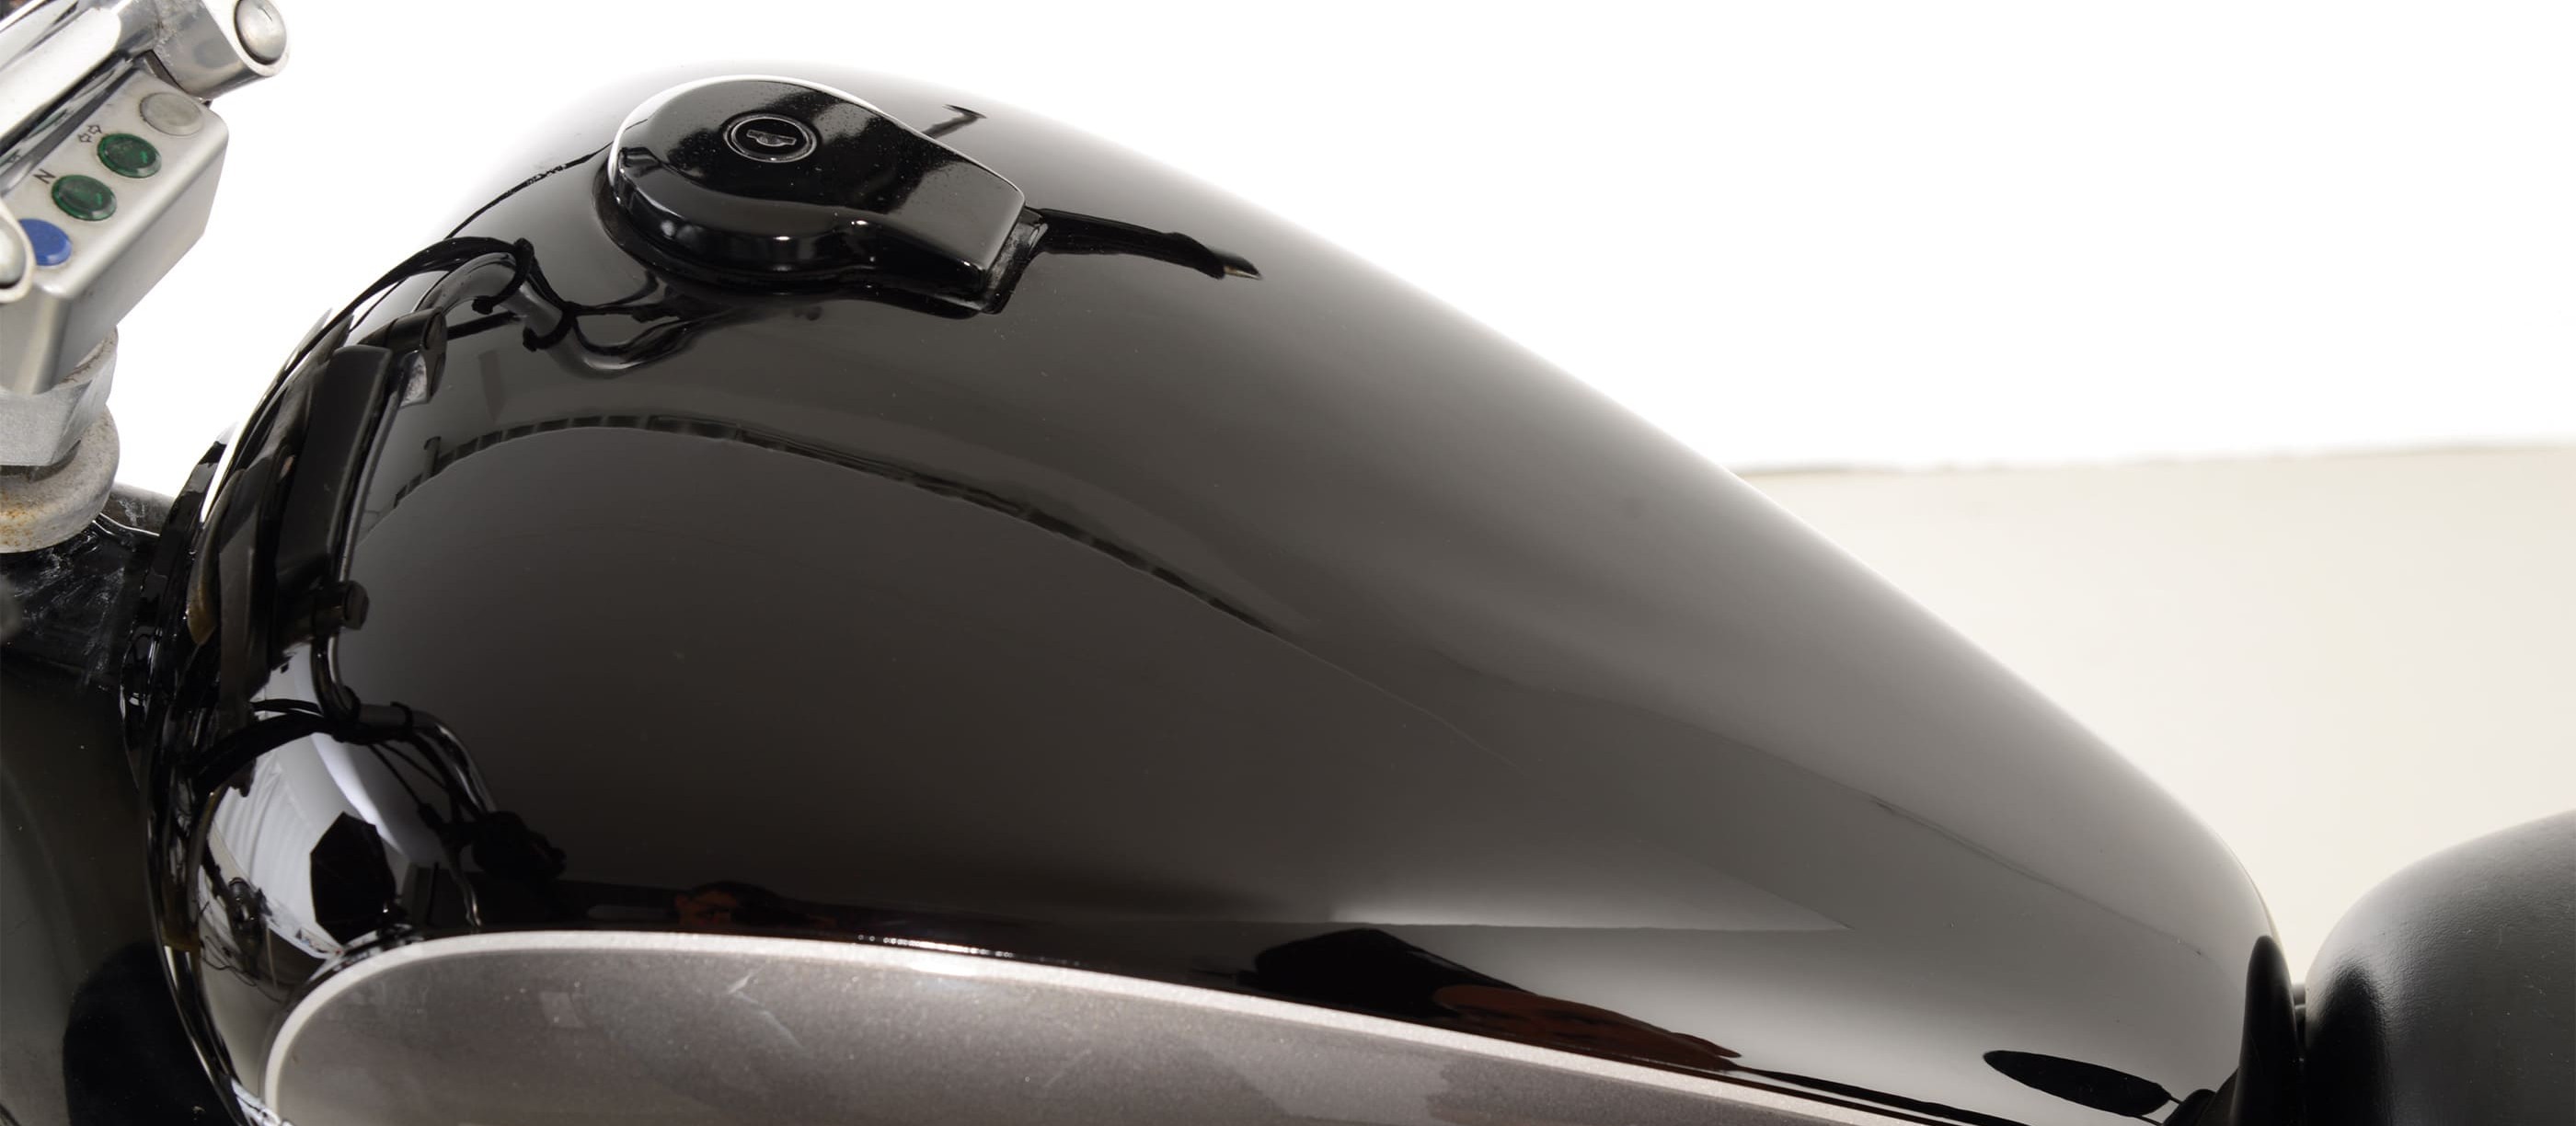
- Protecting paintwork against corrosion
- The right way to polish – now let's get started
- 01 – Clean the paintwork thoroughly
- 02 – Spray on cleaner and leave it to work
- 03 – Wash with water and a sponge
- 04 – Apply polish
- 05 – Leave polish to work, then buff
- WS>06 – Smooth, gleaming paintwork
- 07 – Finish with a gloss wax
- 08 – Spray on wax and leave it to work
- 09 – Gently work in the wax
- Our recommendation
Protecting paintwork against corrosion
Gleaming paintwork is always a feast for the eyes – a sure way to attract admiring looks when you take your bike out on the road! But apart from looking great, well maintained paintwork is also a necessity to give the metal underneath effective and lasting protection against corrosion.
If your bike's paintwork has gone dull and matt, it's basically no longer giving reliable protection against the elements – it has become porous and may have barely visible stone chip damage. This is when corrosion begins to attack.
To prevent this happening, you need to seal the paint with a motorcycle wax after every wash. After numerous quick and not very thorough washes, or after your bike has been laid up for a long period, your paintwork will get dull, neglected looking and slightly rough (a wad of cotton wool sticks to the surface). But don't panic – a good motorcycle polish will return your trusty steed to its former glory.
Polishes are slightly abrasive, so you should only use them if you've been unable to restore the mirror finish with washing and waxing alone. Polish smooths out any surface roughness, fine scratches and the effects of weathering. Applied correctly, it will restore your paintwork to a healthy all-over shine and reduce, or even eliminate, fine scratches. It will go a long way to maintaining the resale value of your bike as well as ensuring it is once again optimally protected.
However, polishing your paintwork does require a methodical approach. Get it wrong and instead of a smooth mirror finish, you may end up with a surface covered in streaks and fine circular scratches.
The right way to polish – now let's get started
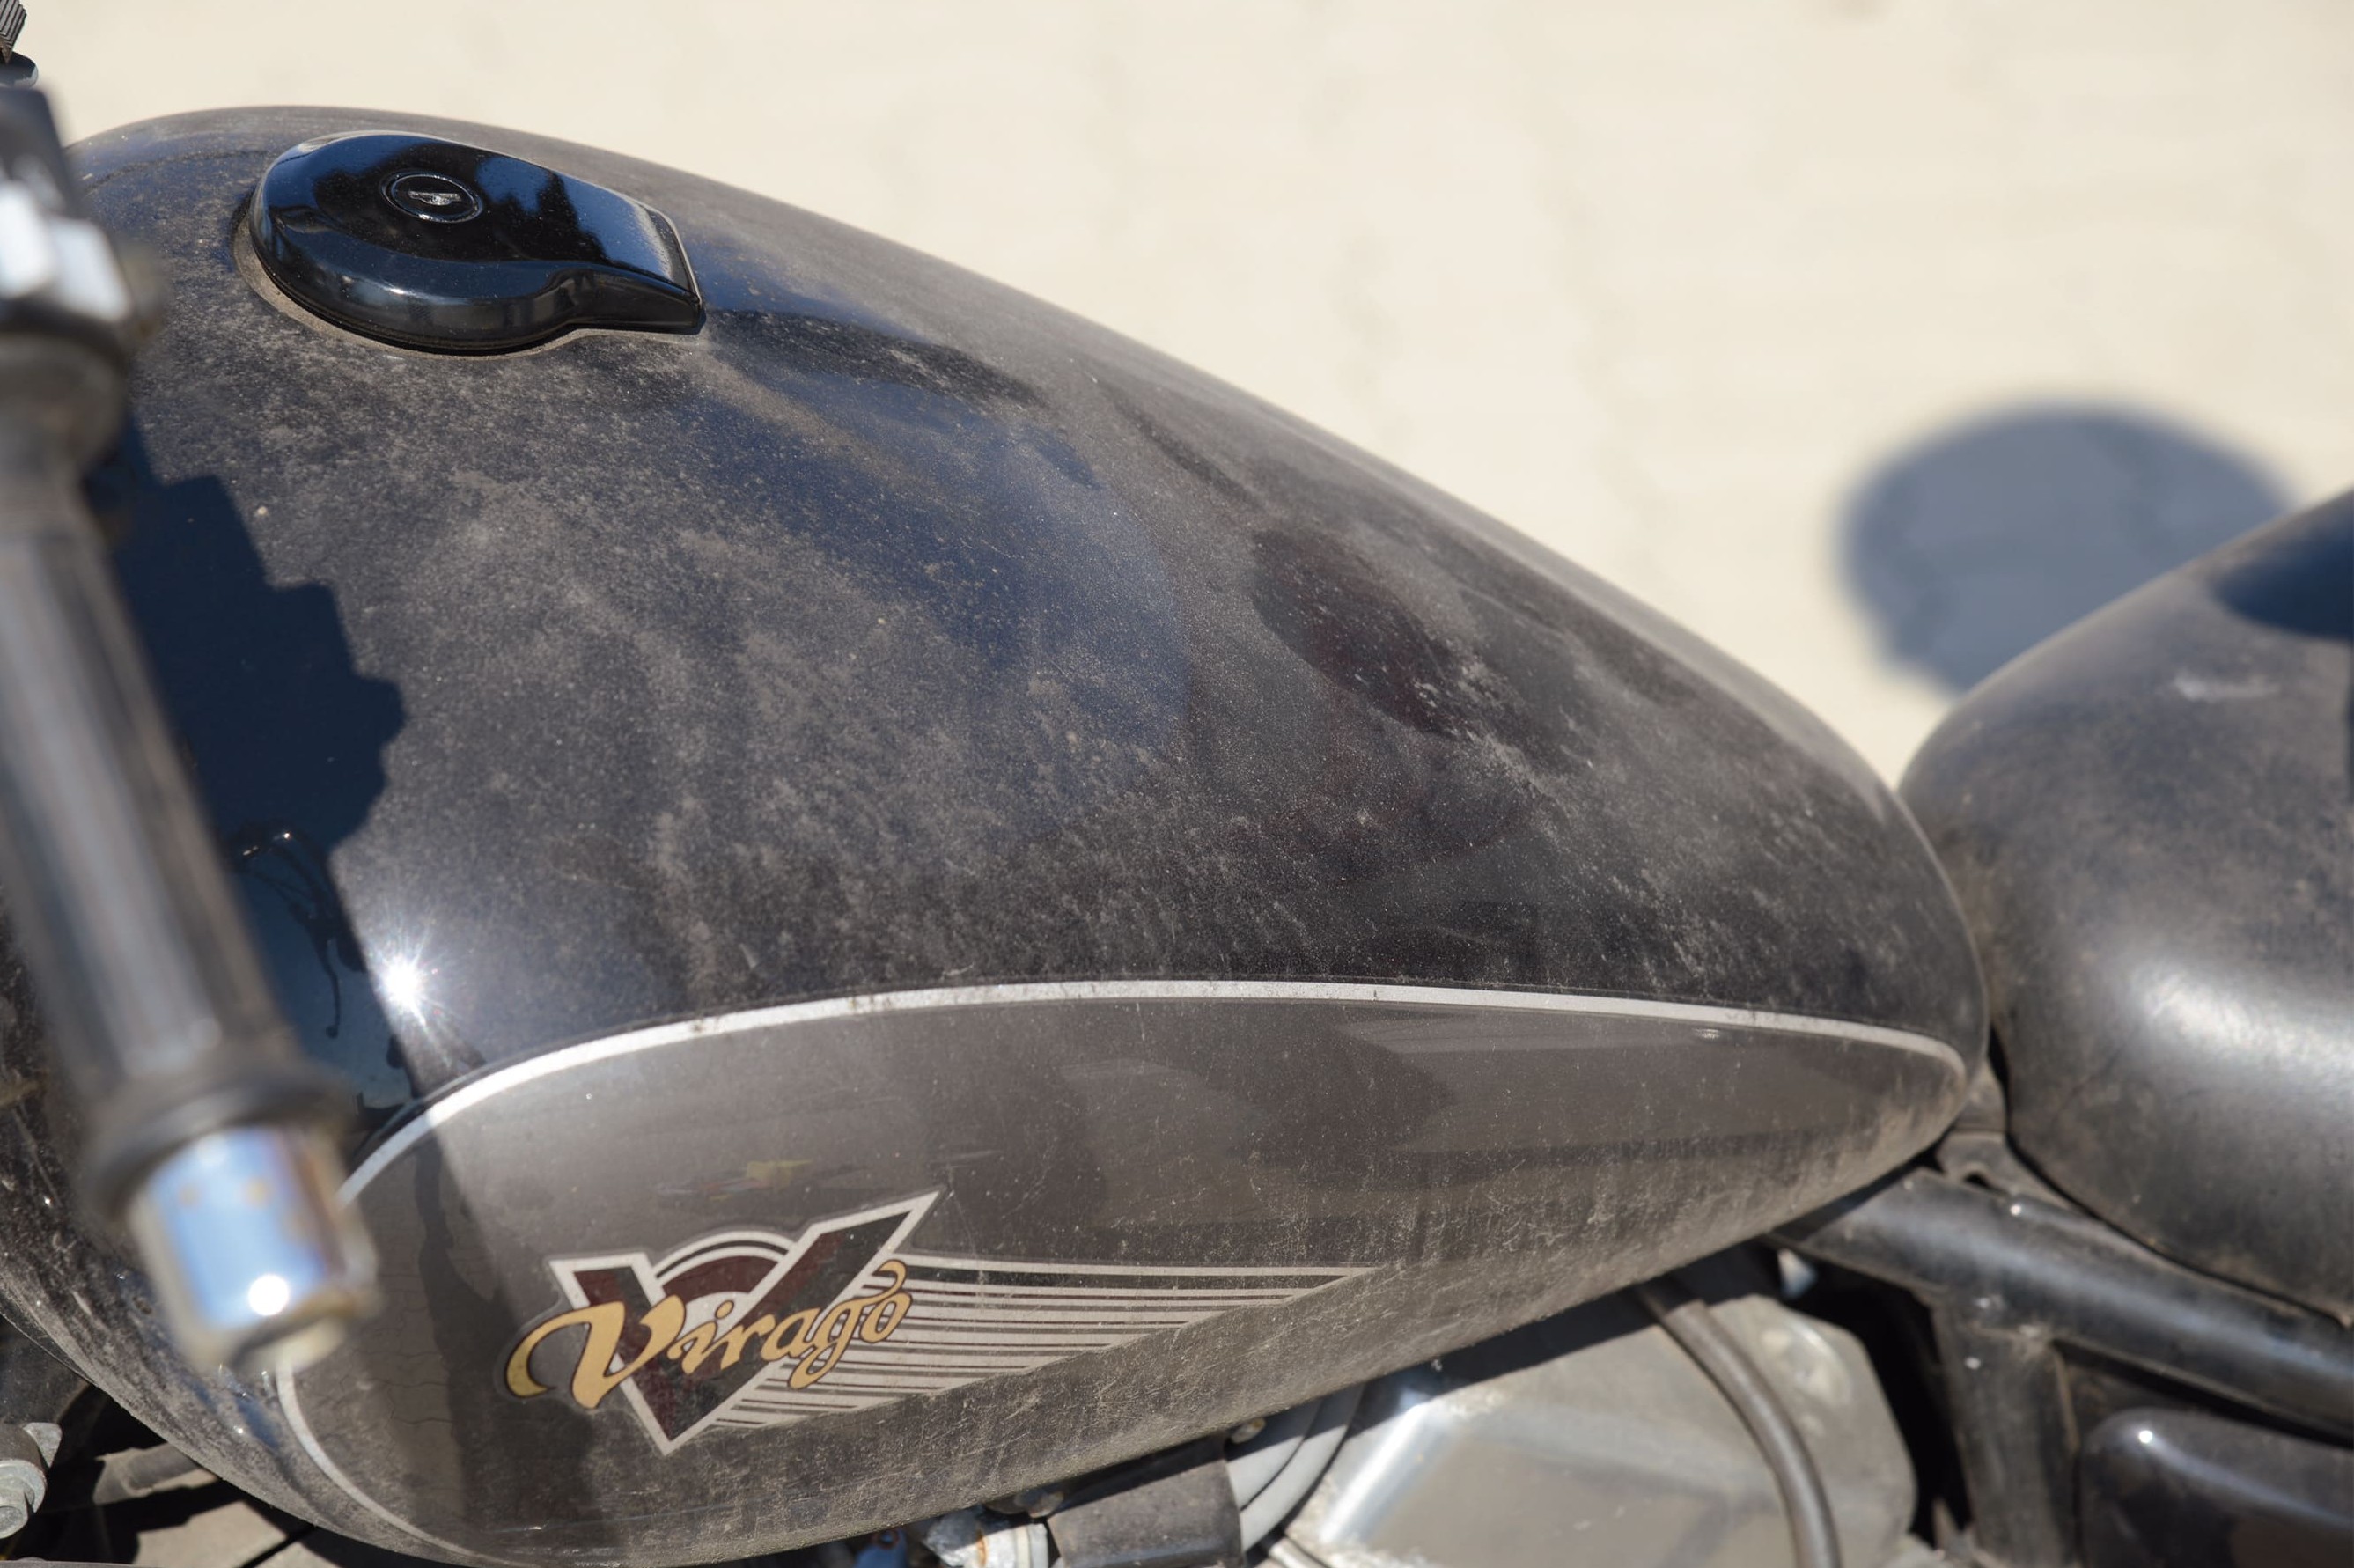
Step 1: Carefully remove dirt, avoiding any further scratches
01 – Clean the paintwork thoroughly
Before you polish your bike, you must ensure that the paintwork is as clean as you can possibly get it.
If there are still traces of dirt, you may well end up with fine scratches all over. So don't start polishing until you have thoroughly cleaned and dried the paintwork. If your bike is heavily soiled (e.g. after being laid up for a long period, like the bike in our picture), you will need to carefully remove all the dirt first.
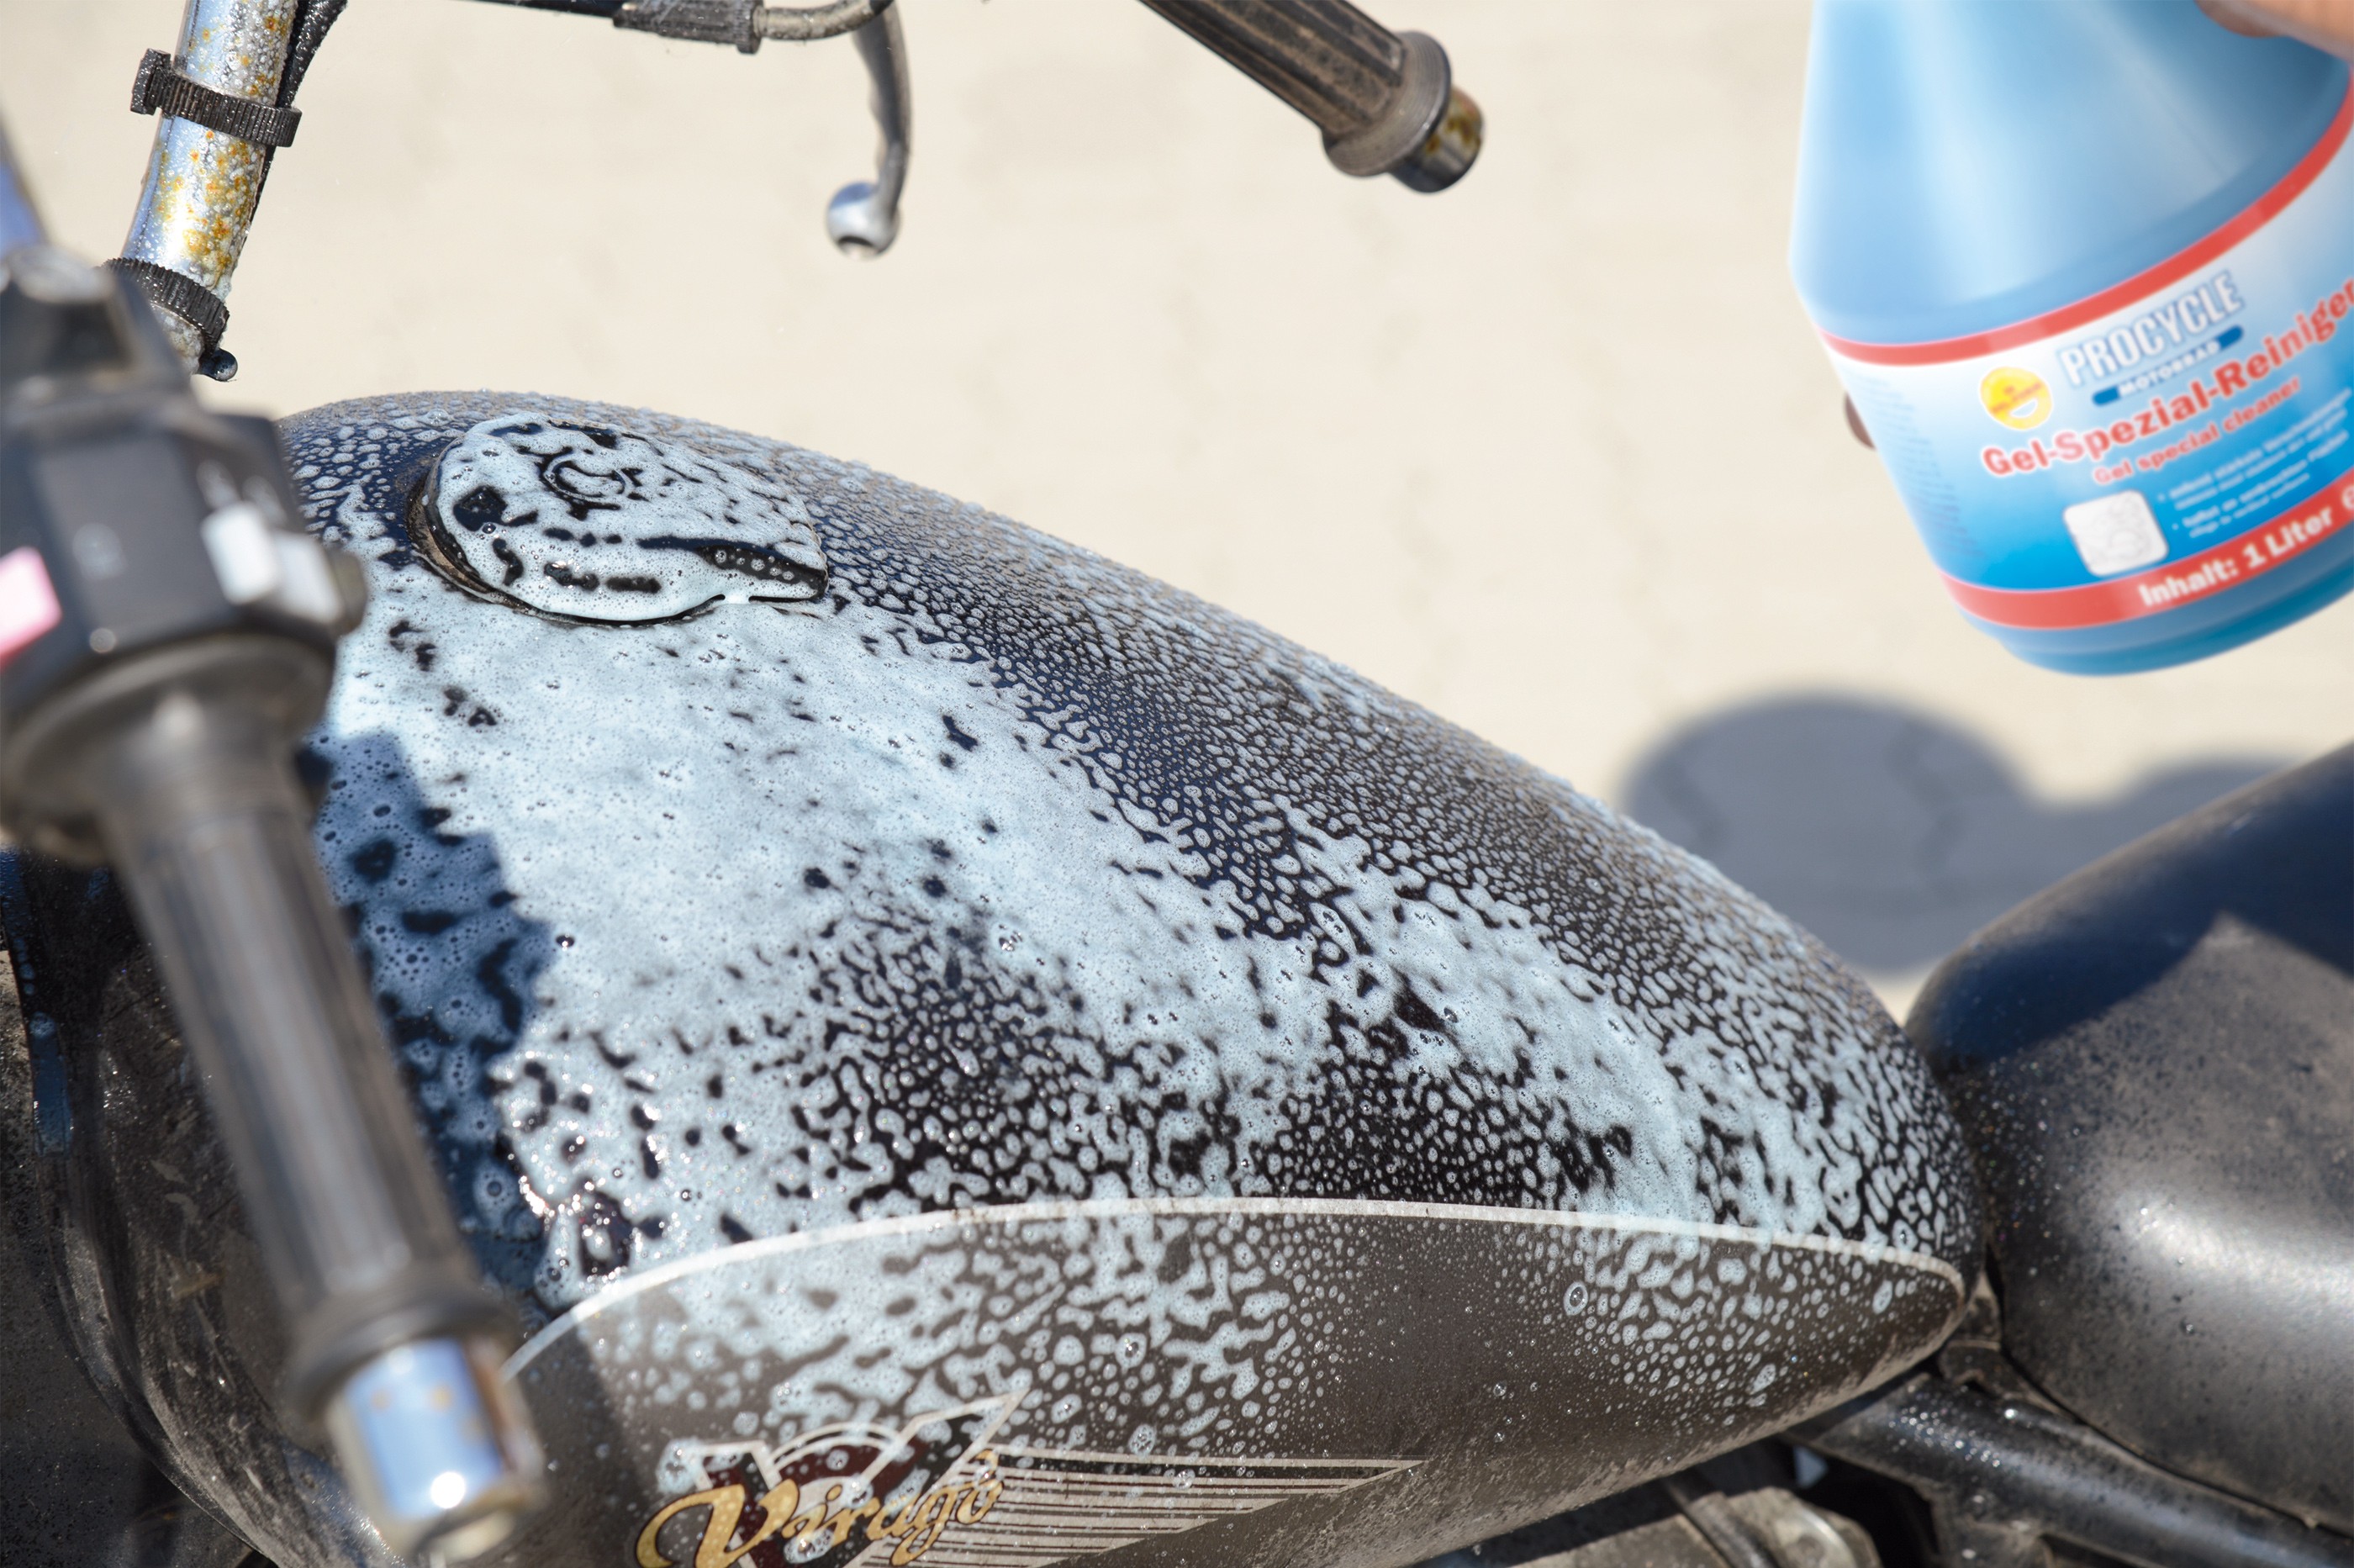
Step 2: Spray on cleaner and leave a few minutes
02 – Spray on cleaner and leave it to work
Use a liquid cleaner that dissolves dirt. Spray it on from a distance of approx. 30 cm and leave it to work for a few minutes (check the instructions on the can).
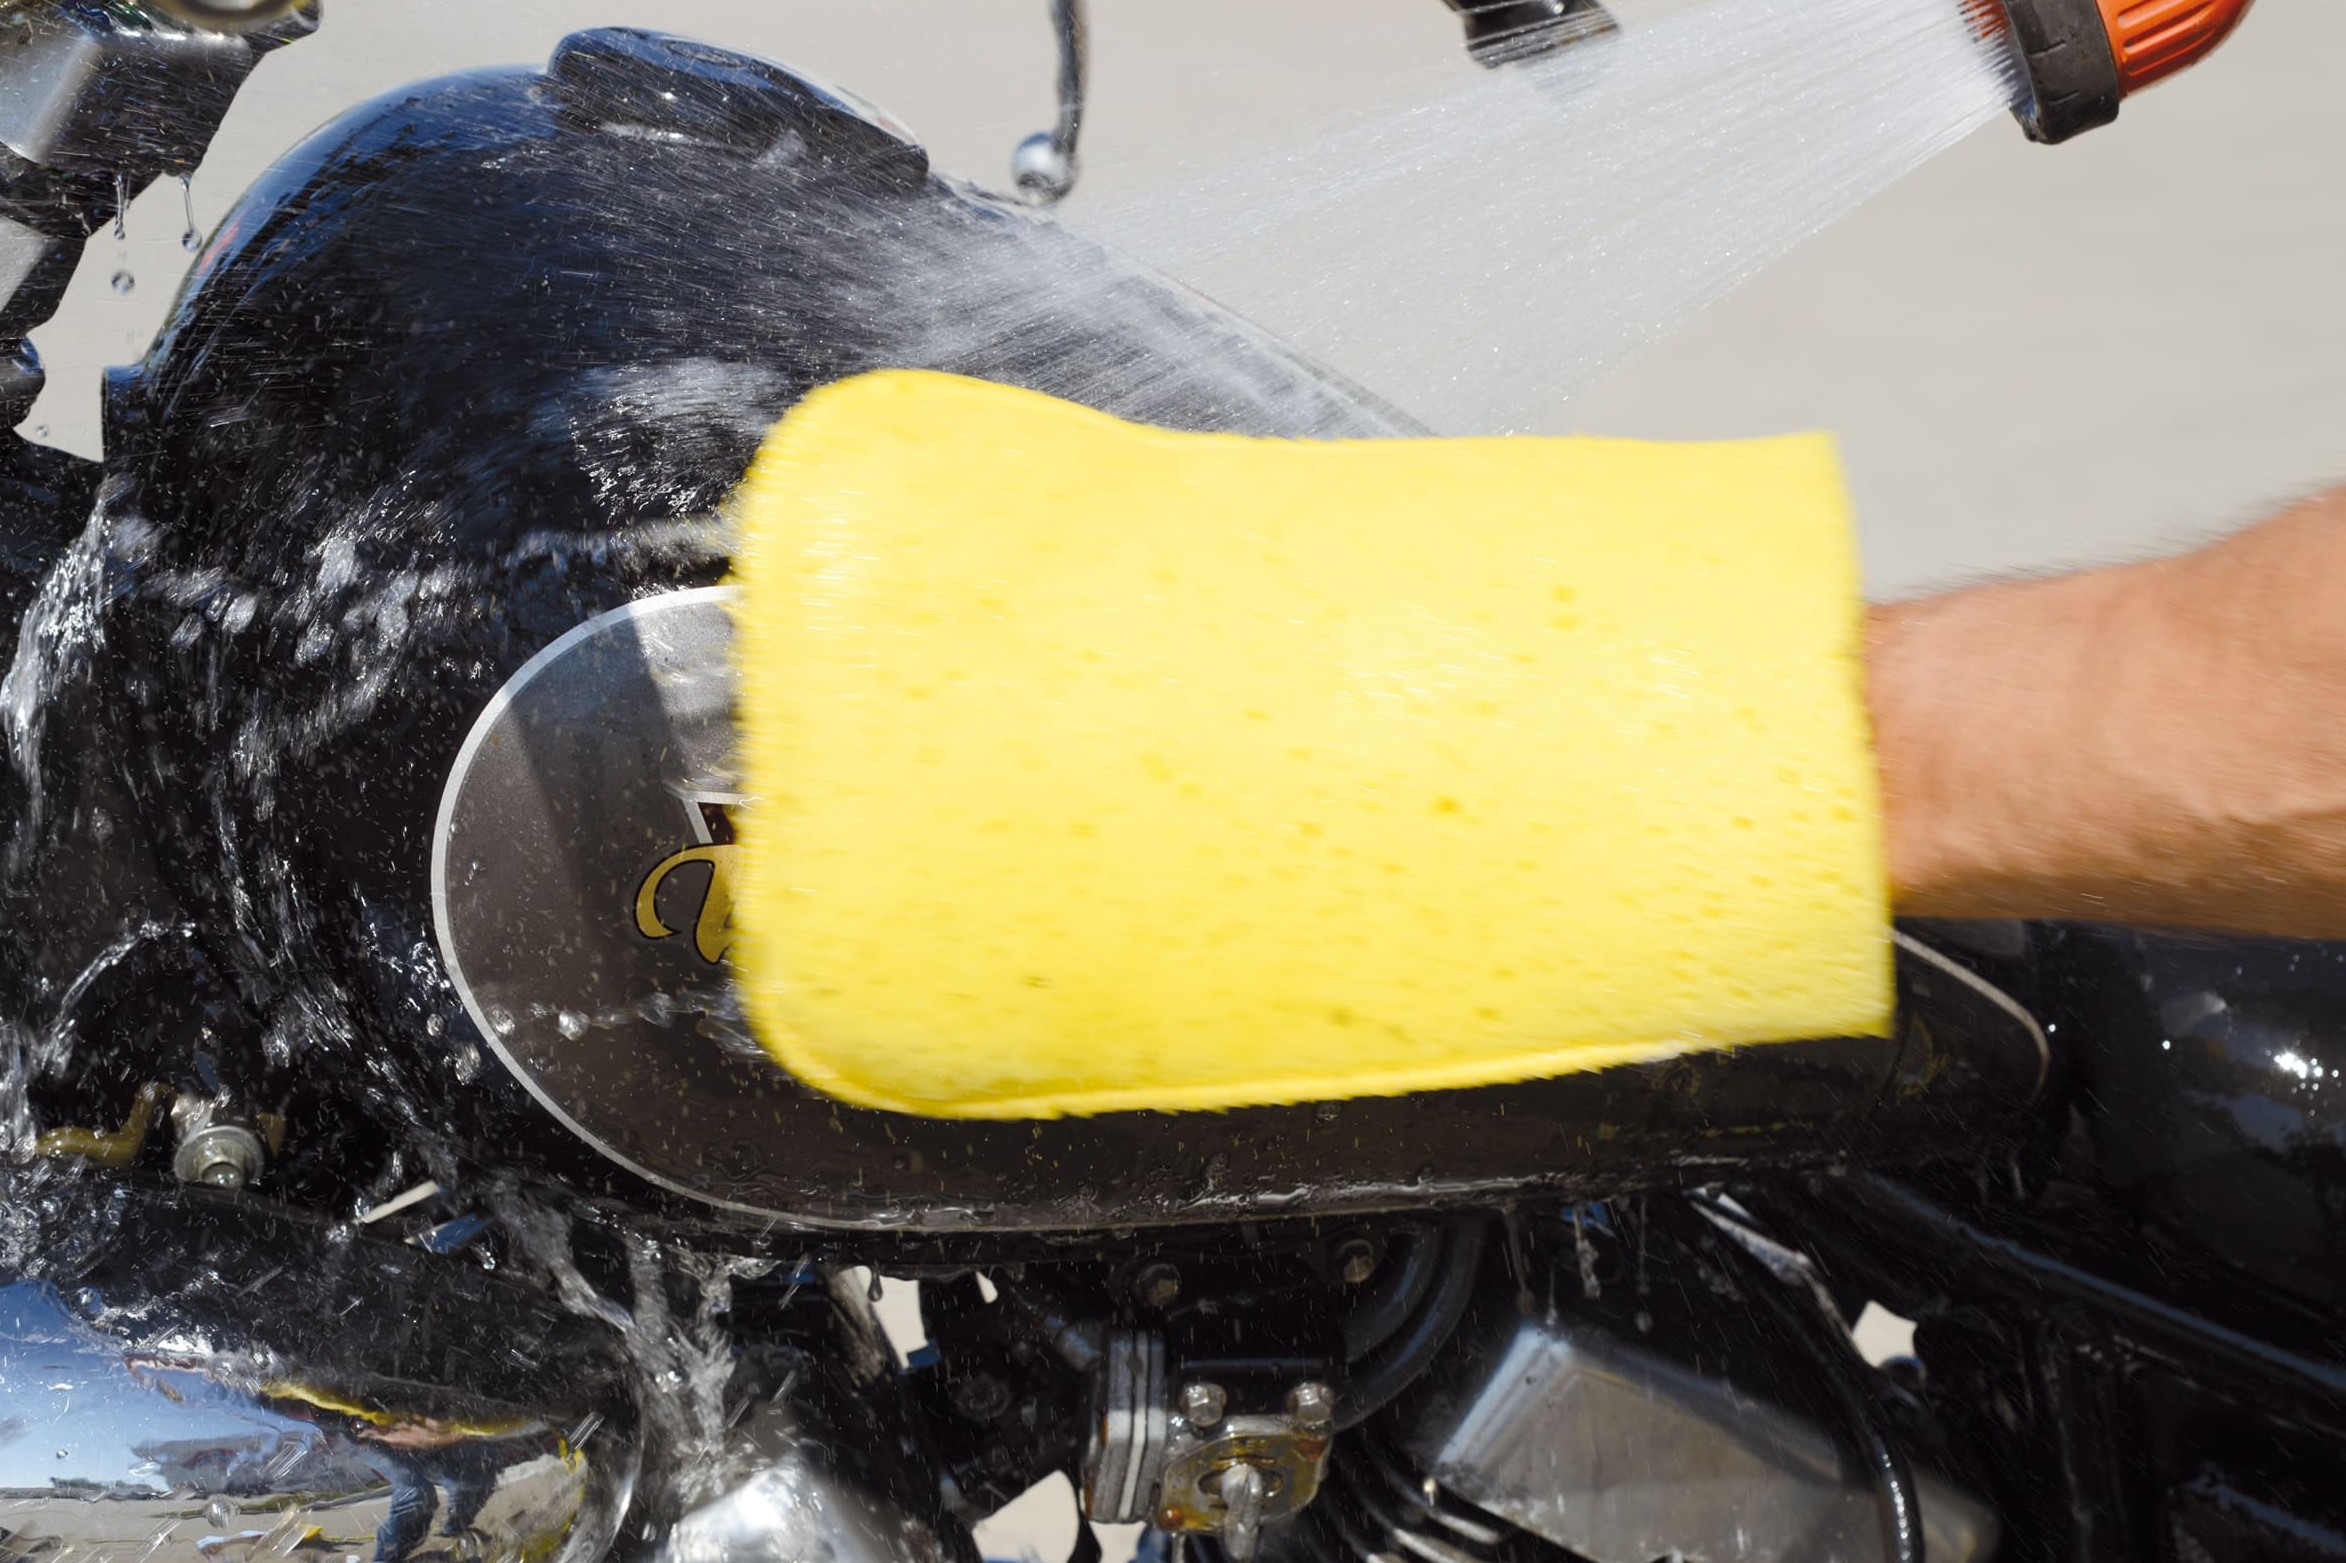
Step 3: Rinse off with water – wash with a sponge
03 – Wash with water and a sponge
Then rinse the cleaner off with water. Any residual dirt must be removed carefully with a clean sponge, or you may need to re-apply the cleaner. The less you have to rub and scrub, the better.
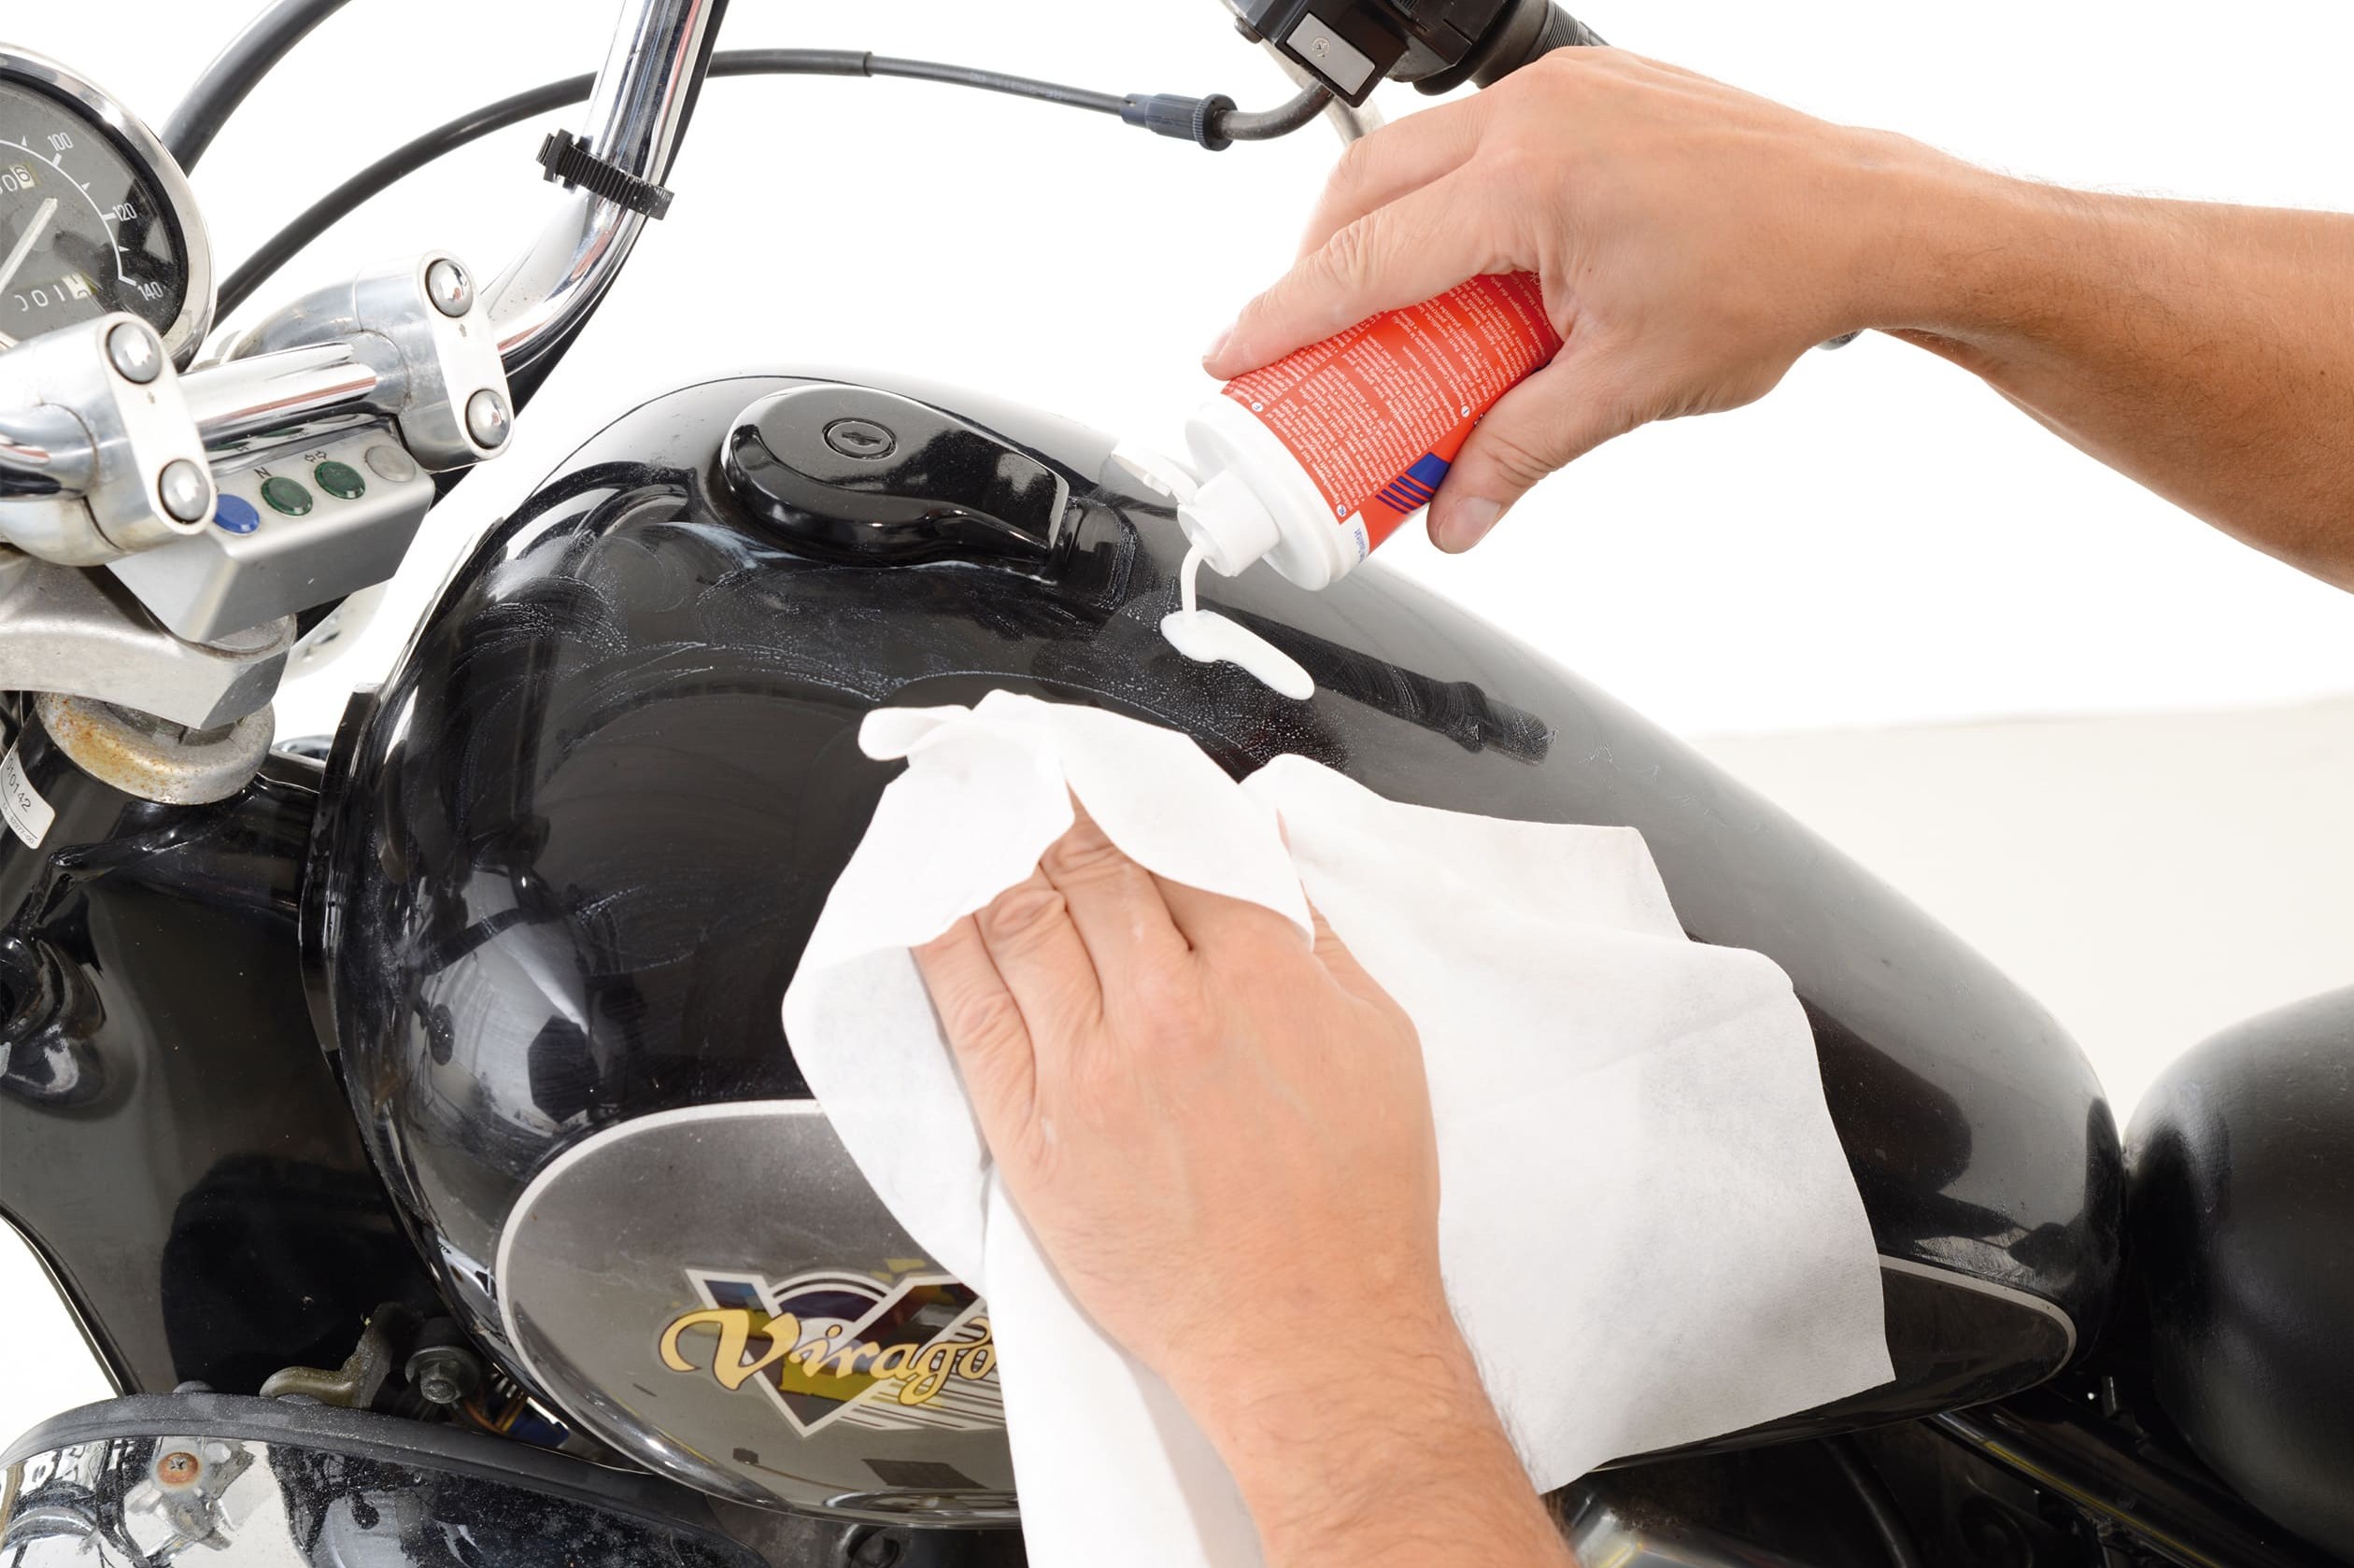
Step 4: Apply polish with a circular motion
04 – Apply polish
The washed and dried paintwork will appear slightly rough, matt and blotchy. Now apply the polish with a soft, clean cloth and a circular motion.
Important: Choose the polish best suited to the degree of weathering so that you achieve optimum results without rubbing off too much paint.
Avoid applying the polish to unpainted plastic or rubber parts, as it tends to leave unsightly milky streaks that are really hard to get rid of. Do not apply the polish in direct sunlight or to paintwork heated up by the sun.
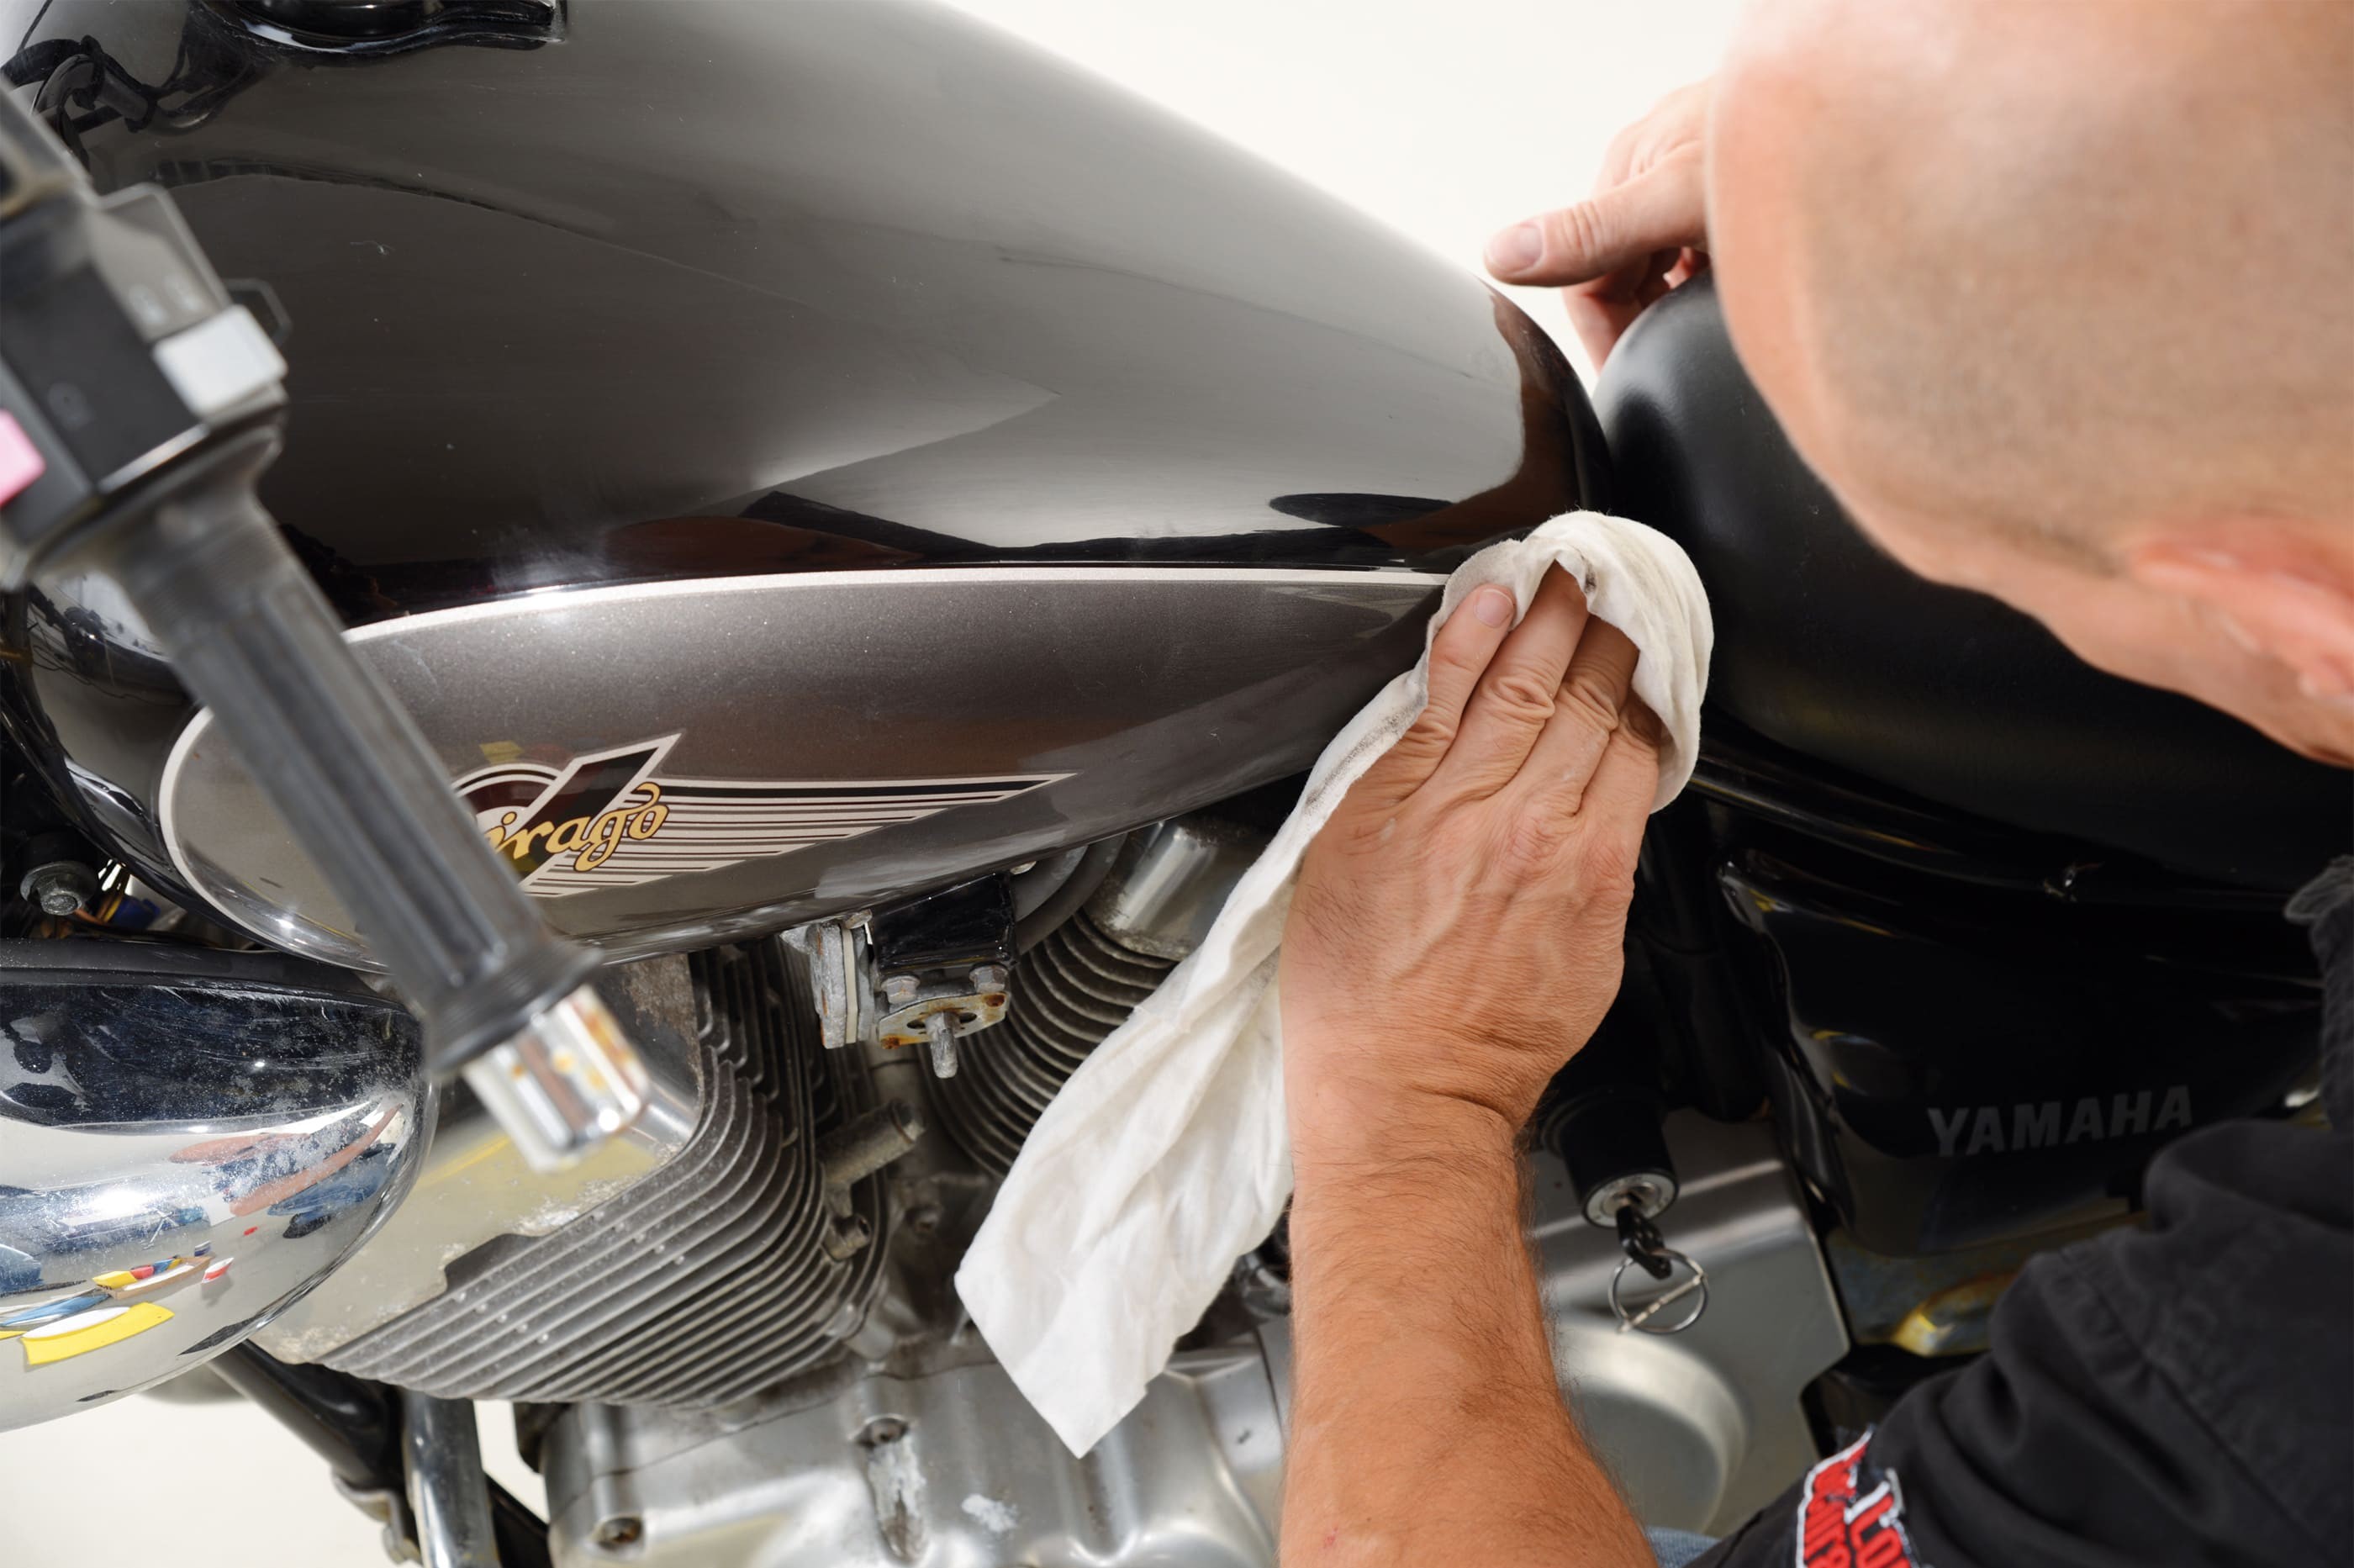
Step 5: Leave polish to work, then buff
05 – Leave polish to work, then buff
Leave the polish to work for a few minutes. Then buff up with a circular motion using a clean, dry, soft cloth and applying gentle pressure. Polish larger surfaces in sections of approx. 50 x 50 cm. Don't apply too much pressure, as that may make the end result look a little "cloudy" or, worst case scenario, can even result in rub marks or "scorched" paintwork.
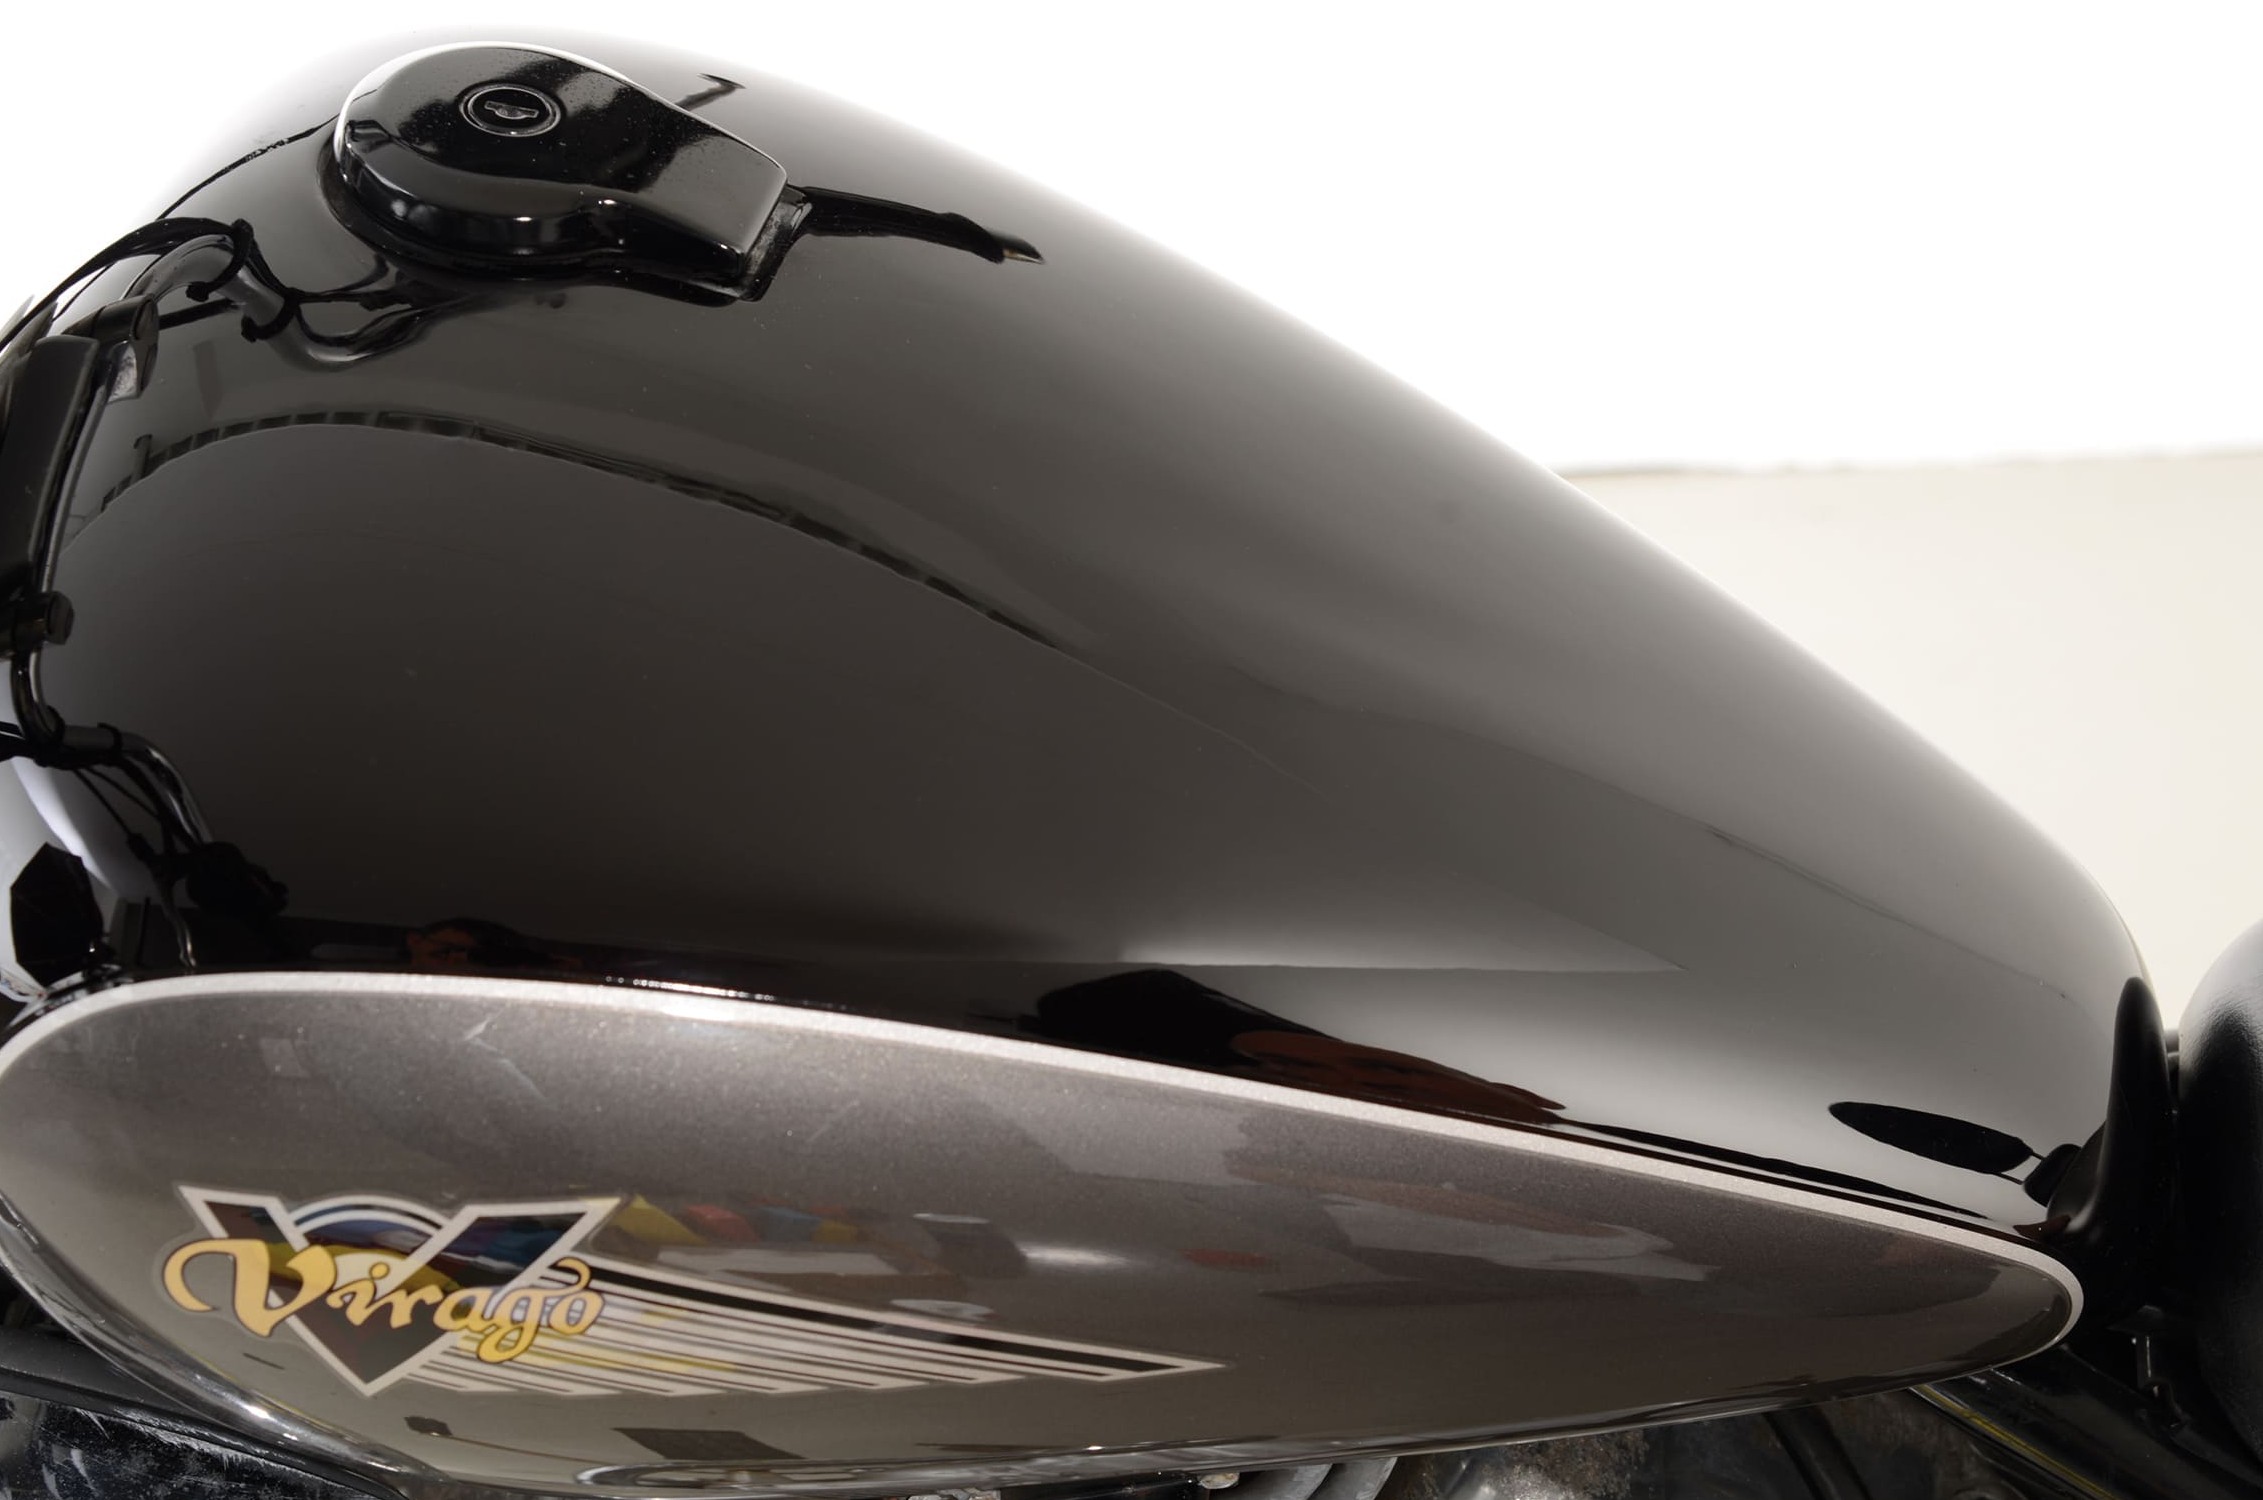
Step 6: The result: smooth, gleaming paintwork
WS>06 – Smooth, gleaming paintwork
Once you've finished polishing, the paintwork should feel smooth all over to your finger tips and should already have quite a good shine – cotton wool no longer sticks to the surface.
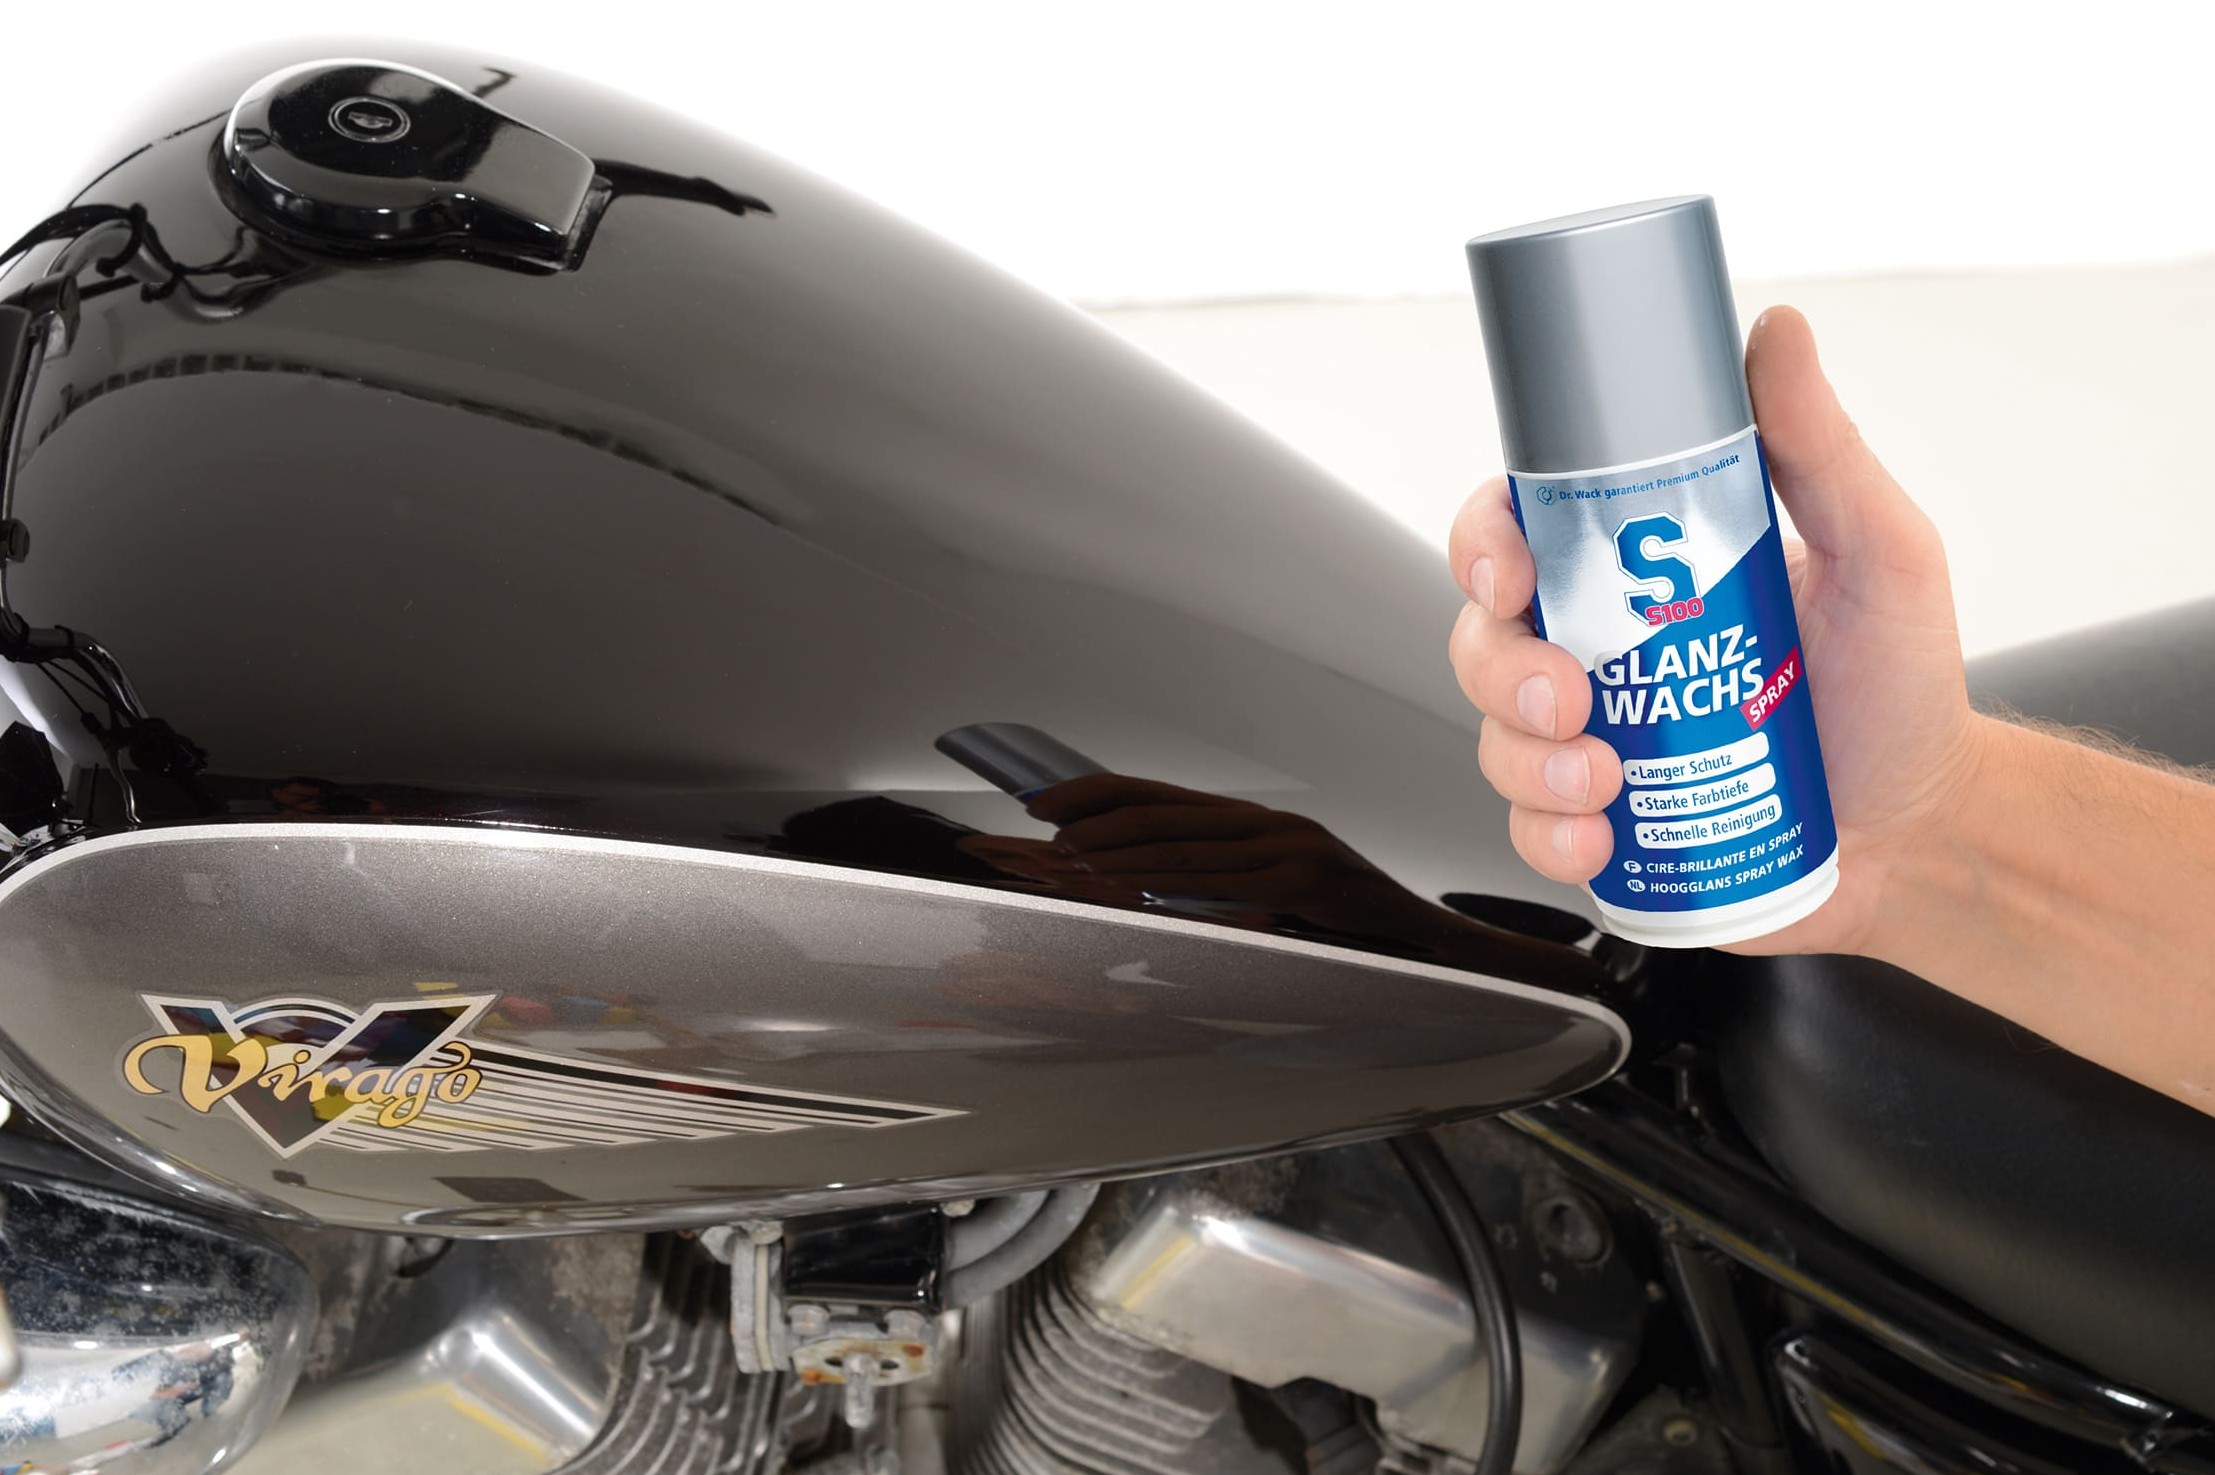
Step 7: Give your tank, for example, the finishing touch with a gloss wax
07 – Finish with a gloss wax
For an even deeper shine and, most importantly, for maximum protection against harmful environmental influences, you should finish by applying a motorcycle wax.
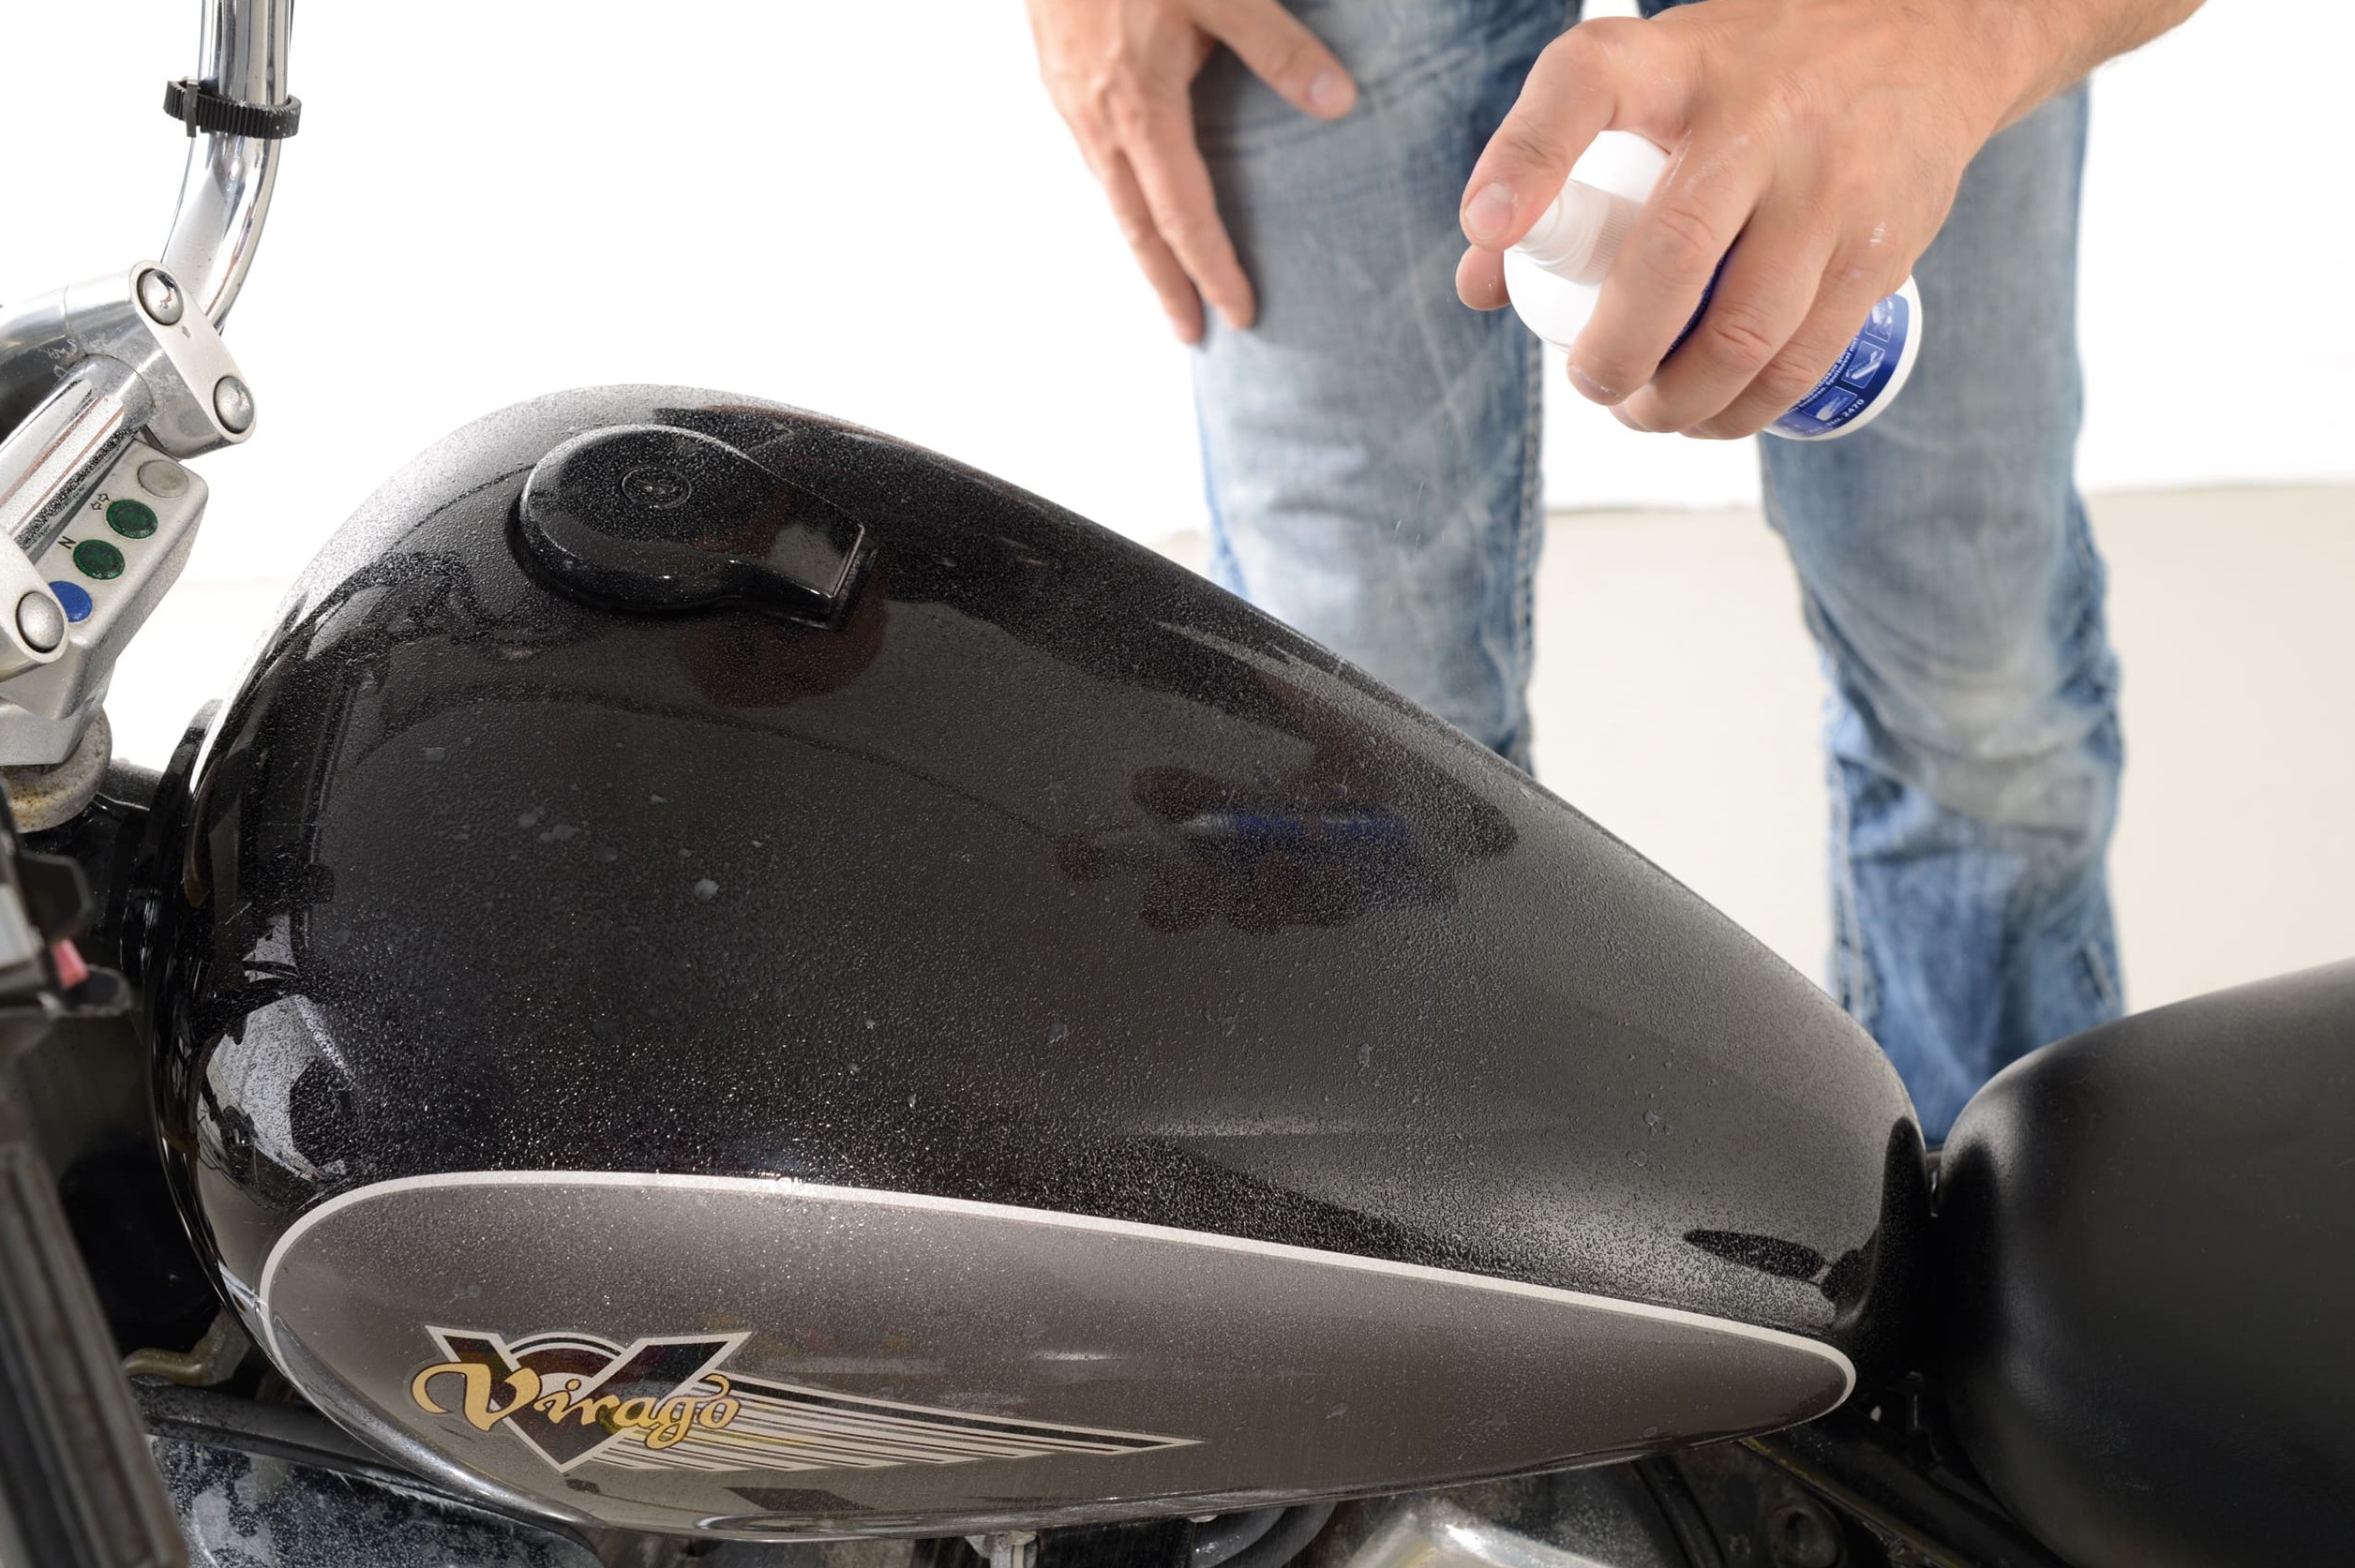
Step 8: Spray on wax and leave it to work for a few minutes
08 – Spray on wax and leave it to work
Spray on the wax and leave for a few minutes.
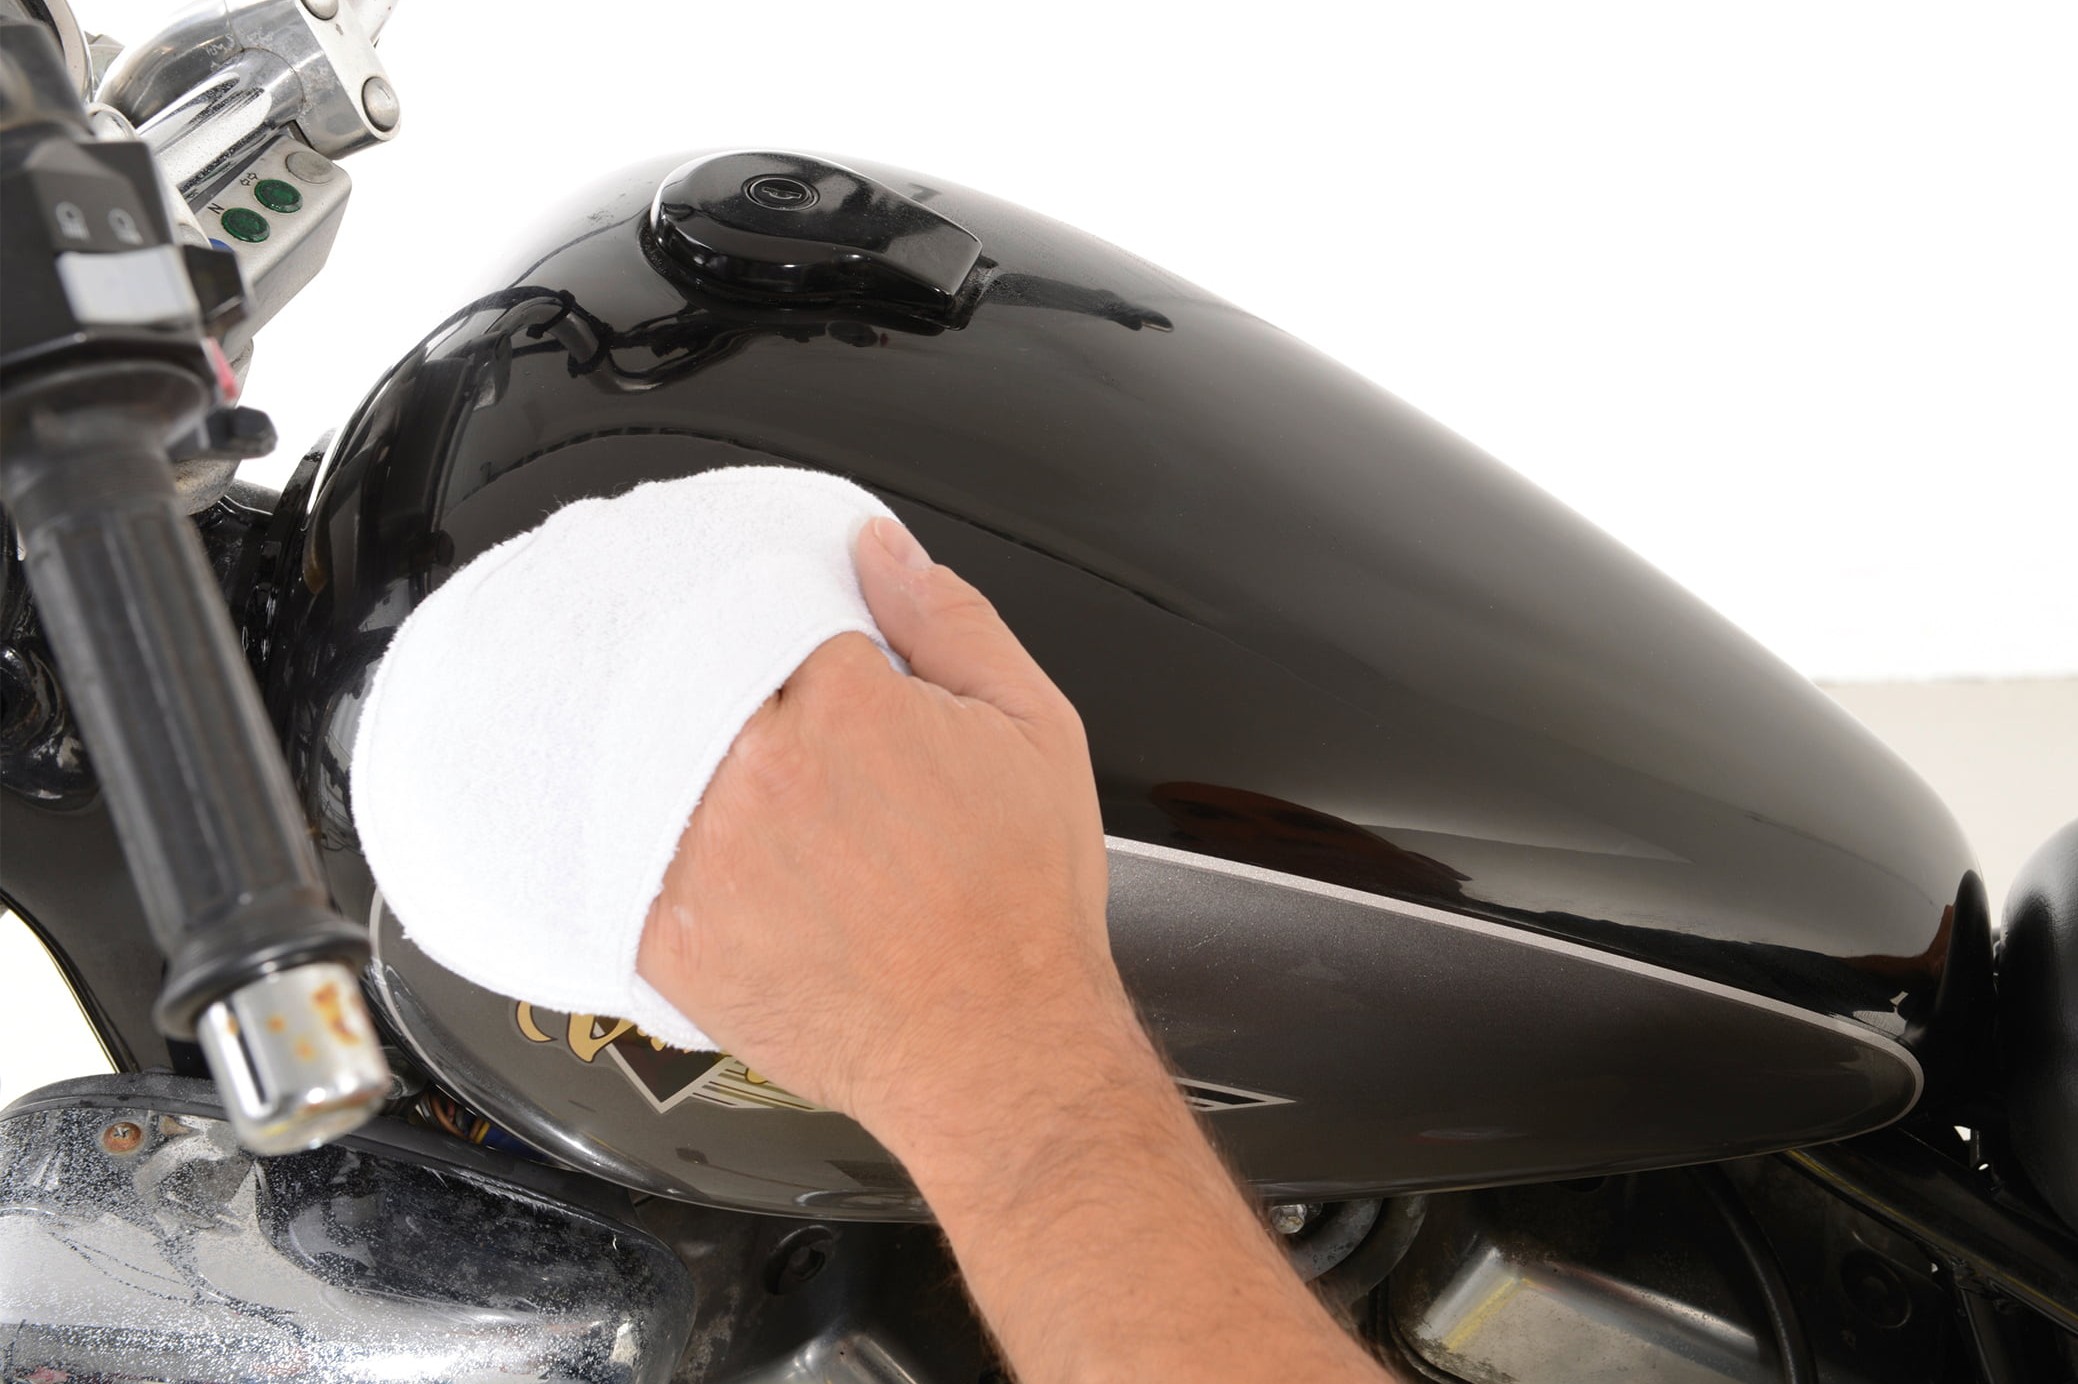
Step 9: Gently work in wax with a polishing pad or cloth
09 – Gently work in the wax
Then buff again using a clean, dry soft cloth with a circular motion, applying slight pressure to "massage" the wax into the paint. And the reward for all your hard work? A fantastic mirror finish – your machine is gleaming again, and a delight to look at!
Our recommendation
The Louis Technical Centre
If you have a technical question about your motorbike, please contact our Technical Centre, where they have endless experience, reference books and contacts.
Please note!
These tips for DIY mechanics contain general recommendations that may not apply to all vehicles or all individual components. As local conditions may vary considerably, we are unable to guarantee the correctness of information in these tips for DIY mechanics.
Thank you for your understanding.


