Carrying out air filter servicing
Even motorcycles need to take deep breaths sometimes. But that's only possible with a clean, well-maintained air filter.
Note: The videos are in German.
- Check and maintenance of the air filters on the motorcycle
- Brief guide to air filters
- Foam filter
- Paper filters
- Permanent air filters
- Air filter maintenance – now let's get started
- 01 – Opening the airbox
- 02 – Cleaning the airbox
- 03 – Cleaning the filter insert
- 04 – Installing the cleaned filter
- 05 – Checking external abnormalities
Check and maintenance of the air filters on the motorcycle
One of the important maintenance items on a motorcycle is the inspection and maintenance of the air filter. Particles of dirt that get into the motor through the carburettor or fuel injection cause increased wear to the cylinders and piston rings, and shorten the service life of the engine unnecessarily.
Sufficient clean air is just as important for a smooth-running engine as clean fuel. The engine doesn't run as it is supposed to unless the air-to-fuel ratio is exactly right. If the air supply is restricted by a blocked, old air filter, the engine performance is reduced and fuel consumption increases. Spark plugs on carburettor engines are subject to fouling because the air-to-fuel mixture becomes richer.
Therefore, you should always keep the air filter clean – and service it in good time. The operating instructions for the vehicle tell you at which intervals the filter should be cleaned or replaced. However, it also depends on the riding terrain and usage. Enduro riders, for instance, who ride off-road more often, have to assess the air filter more frequently, and motorcross riders even have to check it every day.
Brief guide to air filters
There are different types of air filter. They require different types of maintenance and have different replacement intervals:
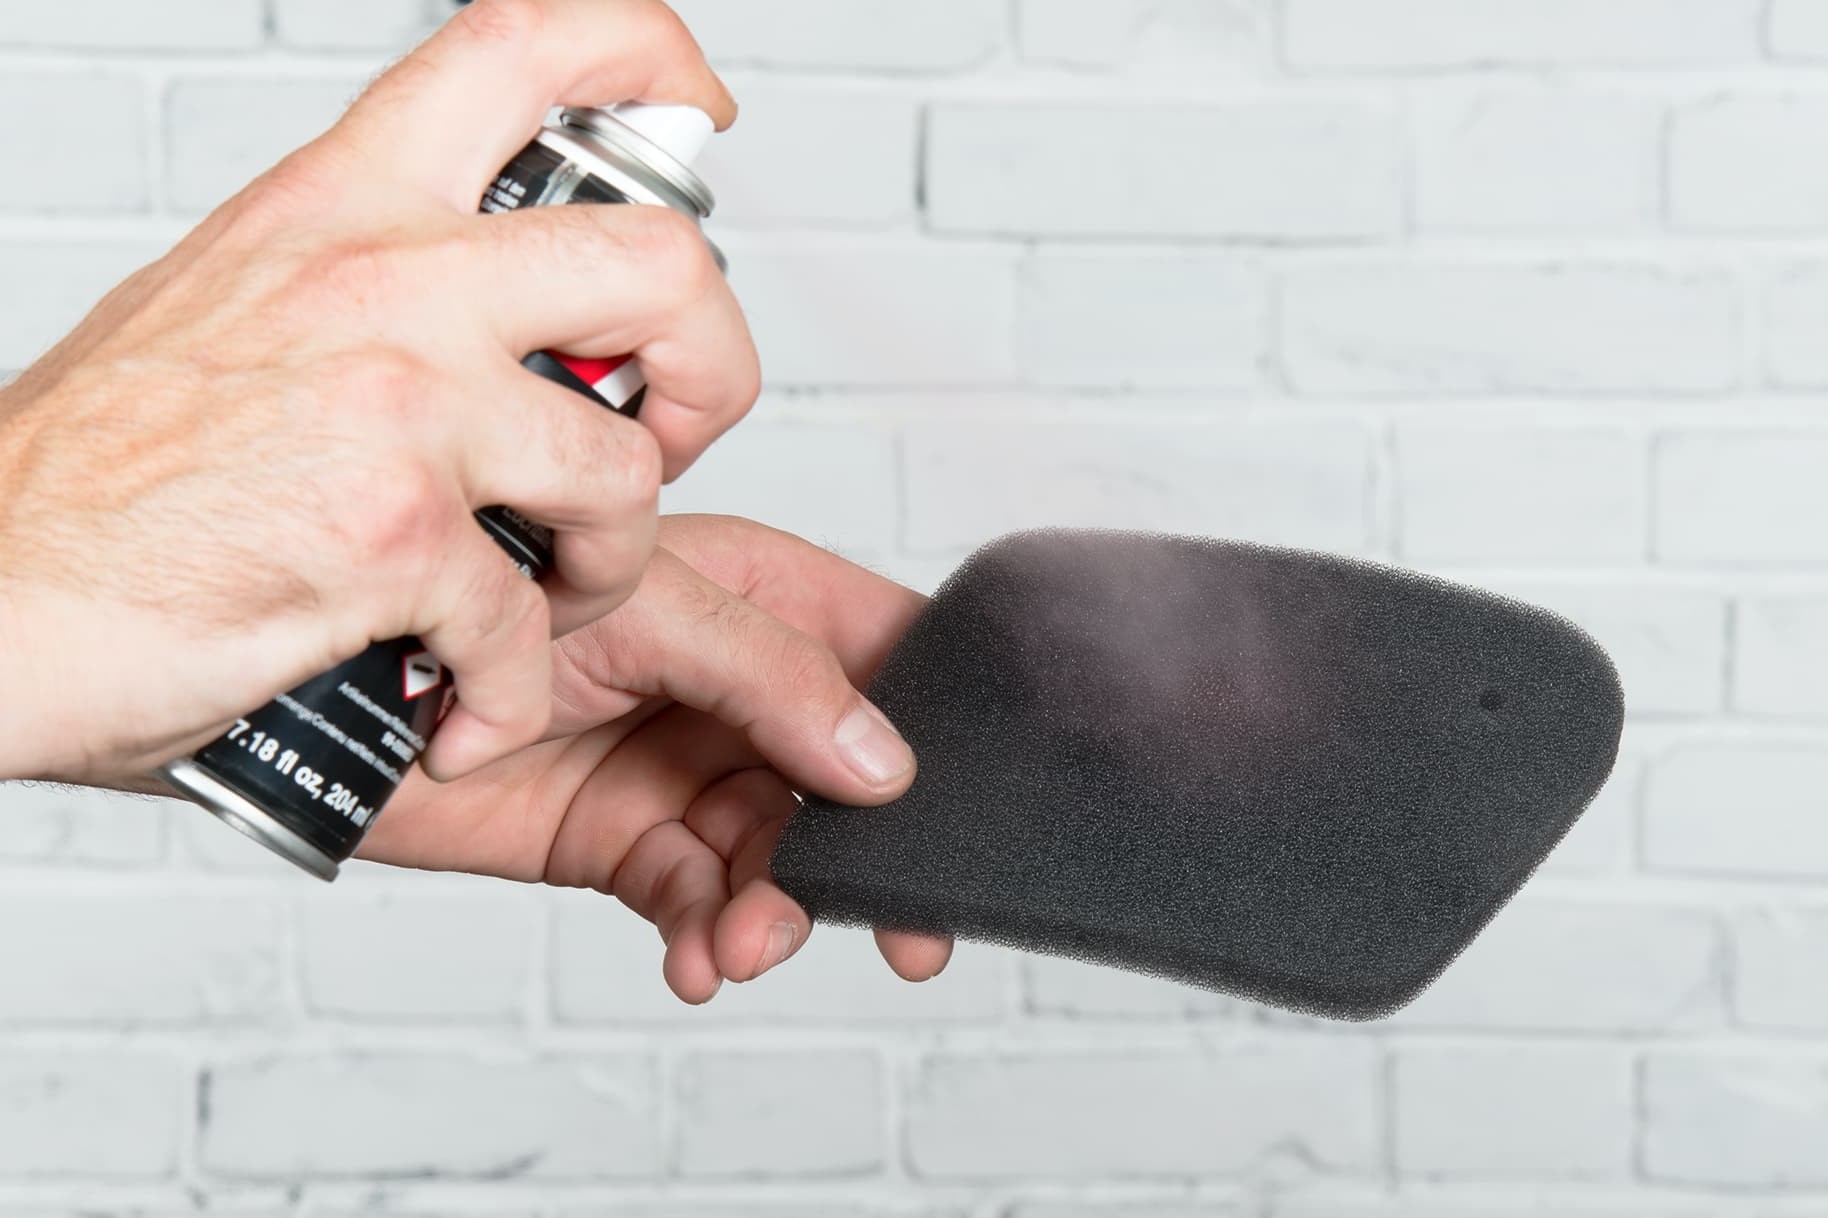
Oiling a foam air filter
Foam filter
Foam filters can be cleaned and reused as long as the foam doesn't start to crumble. The maintenance intervals are generally every 5,000 km.
Cleaning: For cleaning purposes, wash out the filter in dishwashing liquid solution, squeeze it out carefully and oil it lightly with engine oil after drying. For 2-stroke engines, use 2-stroke oil. Only apply a little oil as the spark plugs will otherwise become too oily.
To check the air filter, press it together after oiling it. No oil should drip out. Please do not use cleaners that contain solvents for washing out. They will corrode the foam. Please do not use any unknown foam in order to make your own air filter. Air filters are usually made of special polyurethane foam which is resistant to oil and fuel.
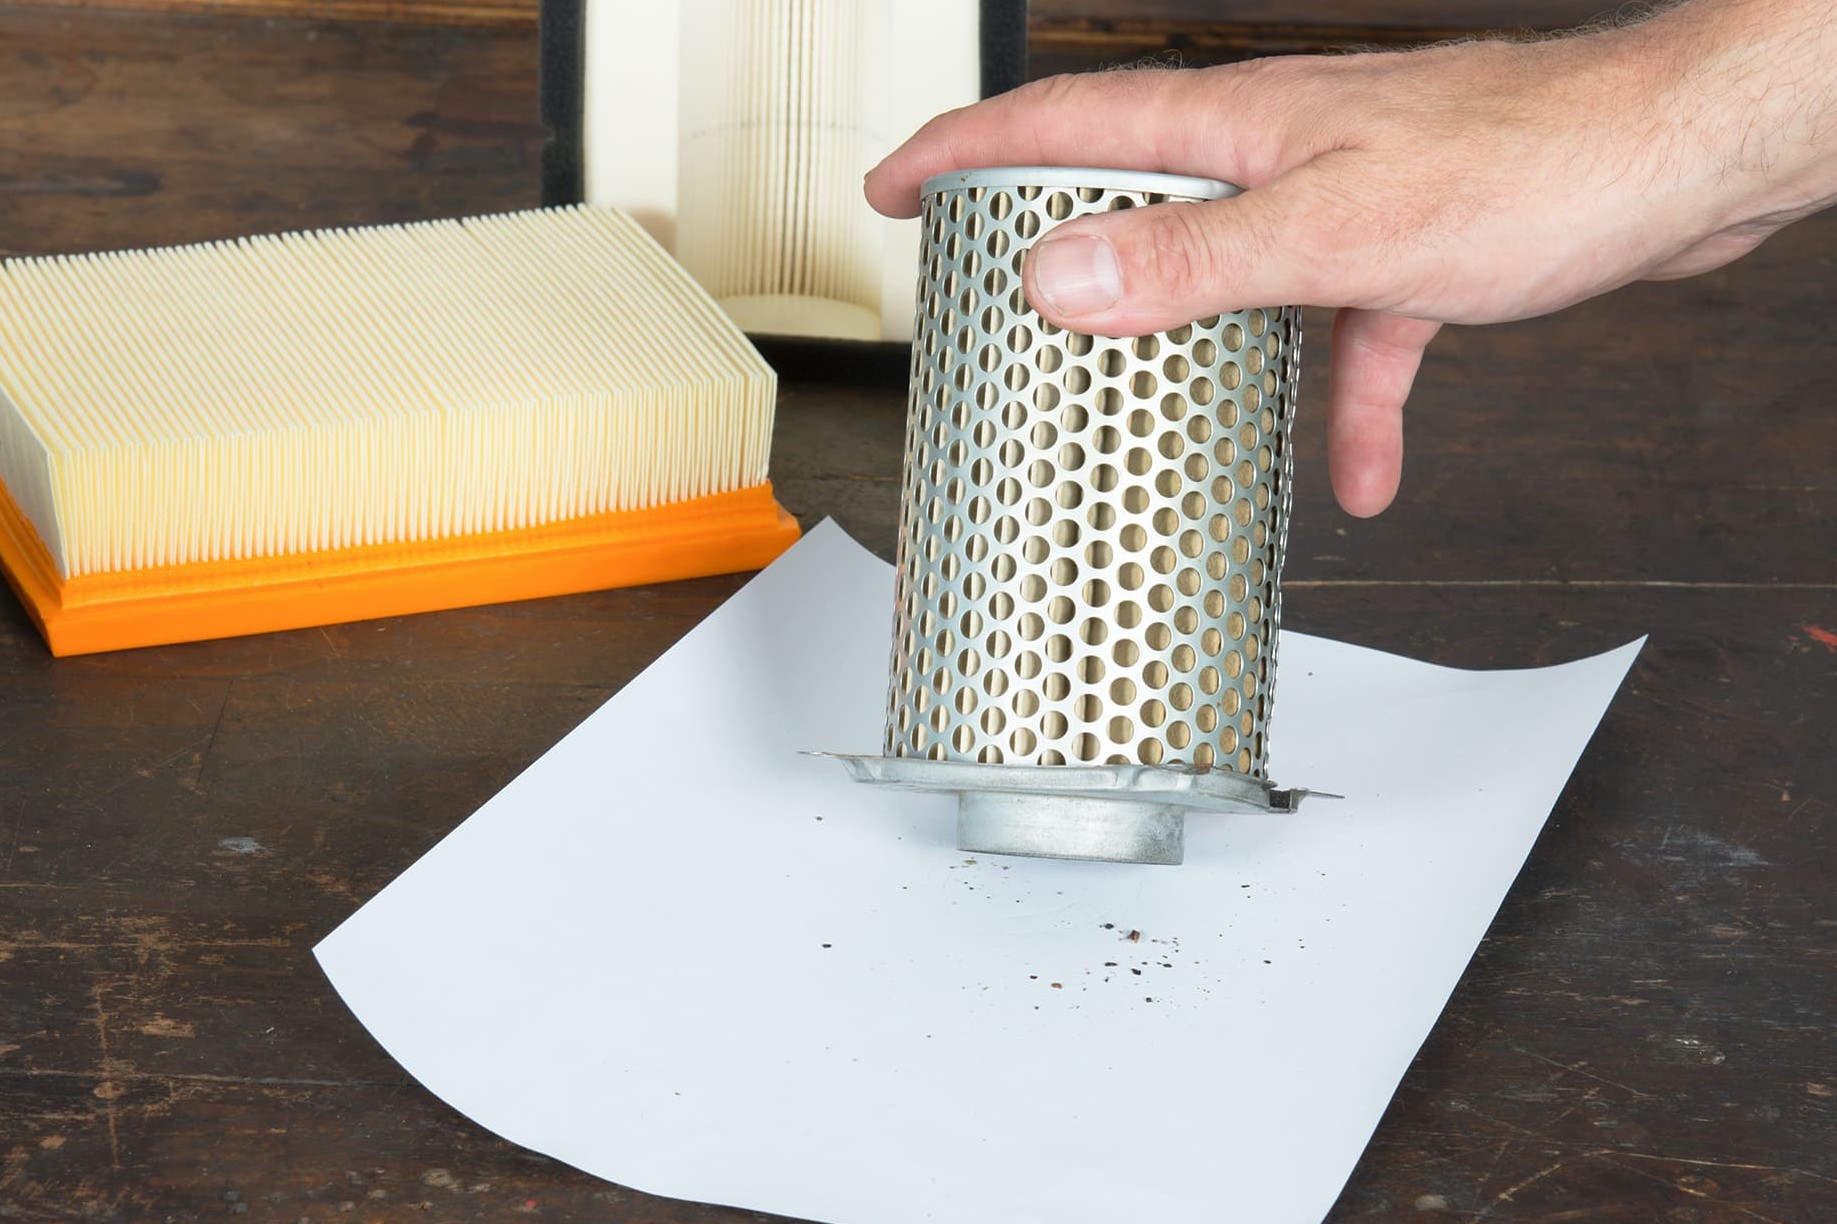
Carefully tapping out a paper air filter
Paper filters
The maintenance intervals for a paper filter are generally between 10,000 and 20,000 km.
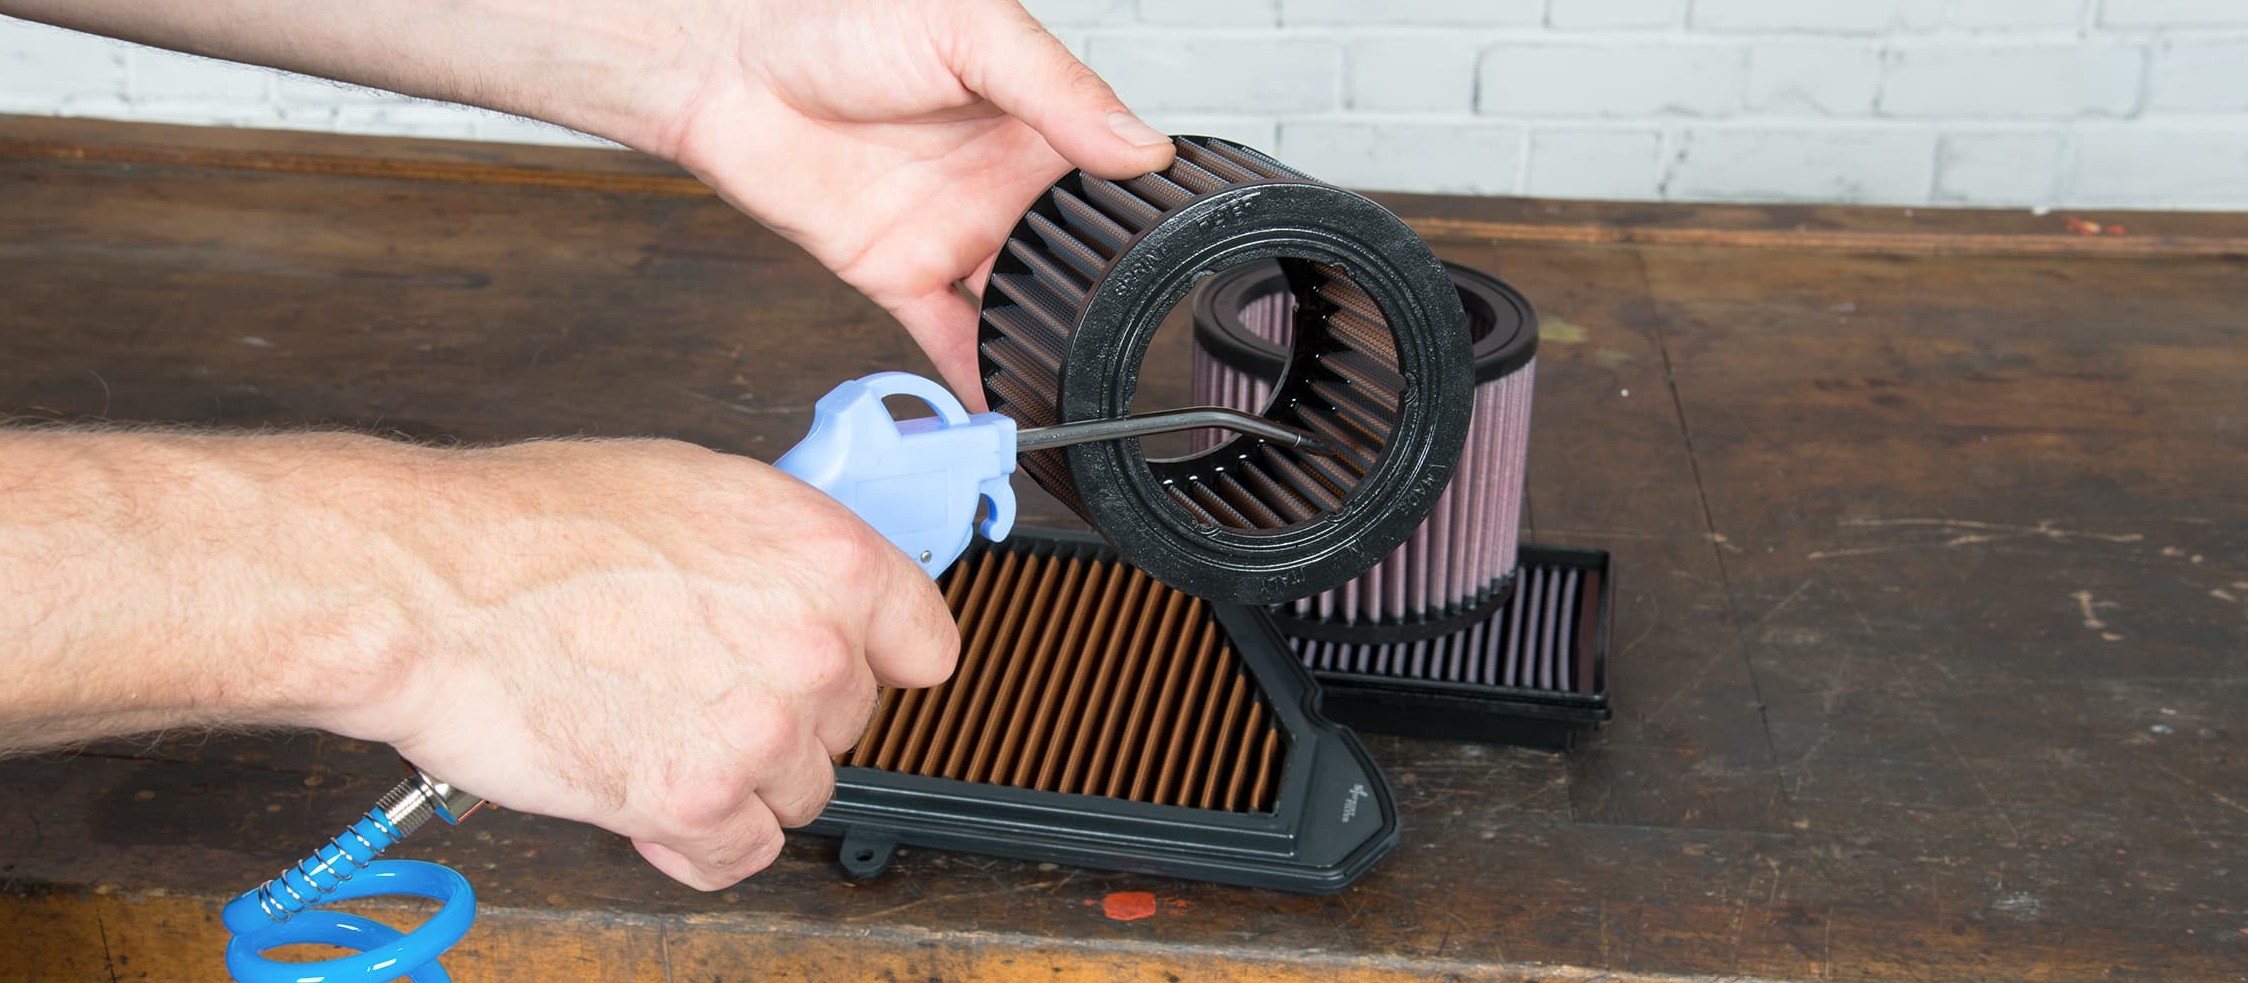
Cleaning: Dry paper filters can be cleaned by carefully tapping them out and blowing them with compressed air from the inside towards the outside. Please do not use a brush or other tools to clean a paper filter as this would destroy the filter paper. Either way, it is better to replace the old filter with a new one, especially as a new paper filter is not at all costly.
If you wish to extend the replacement interval considerably, you can invest in a permanent air filter. These can be reused after cleaning.
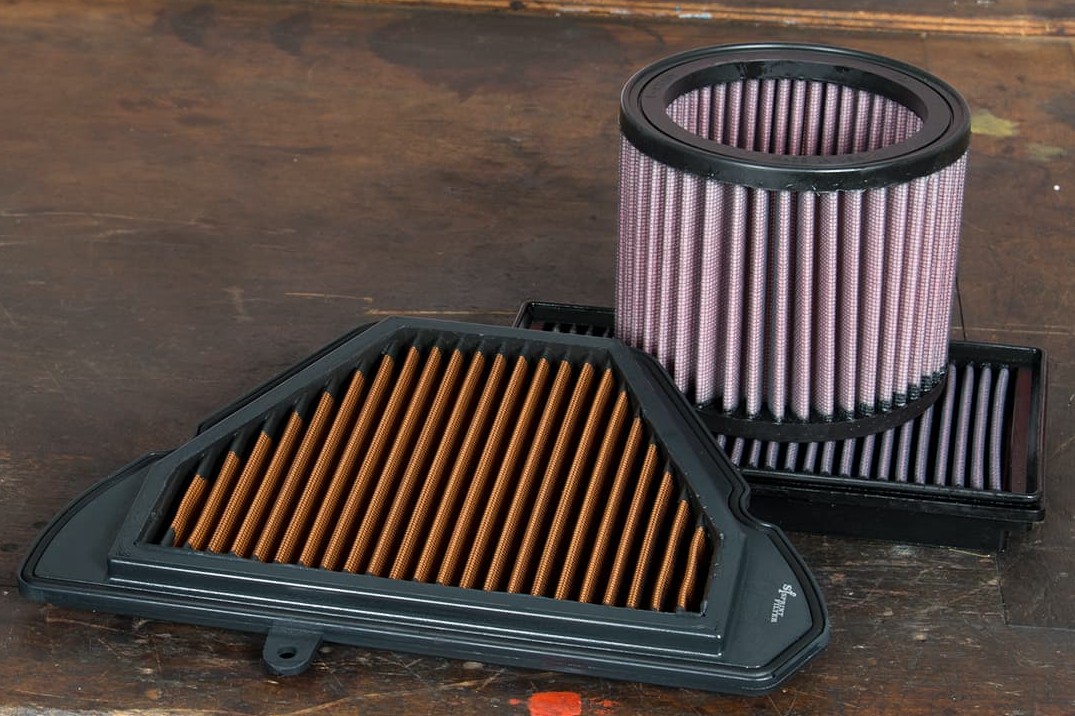
Permanent air filters from the Louis accessories range
Permanent air filters
Permanent air filters are more and more commonly installed in the factory on high-performance motorcycles. However, replacement filters for paper filters are available. Permanent filters have to be replaced around every 80,000 km, but they should be checked and cleaned after 10,000 km at the latest.
They also provide a little more airflow, which in theory is beneficial to the engine performance, and the response of the engine when accelerating usually improves.
Cleaning: K&N, for example, manufactures permanent replacement filters from a special fabric. Once these have become soiled, you wash them out in the manufacturer's special cleaner, oil them lightly with the corresponding special oil, and you can then continue using them. The investment in a permanent air filter thus pays off in the long run.
Dry permanent filters, e.g. those from Sprint, are even easier to clean. They are made up of a special woven polyester fabric, and are cleaned using a brush or blown clean with compressed air. No cleaner or air filter oil is required.
Air filter maintenance – now let's get started
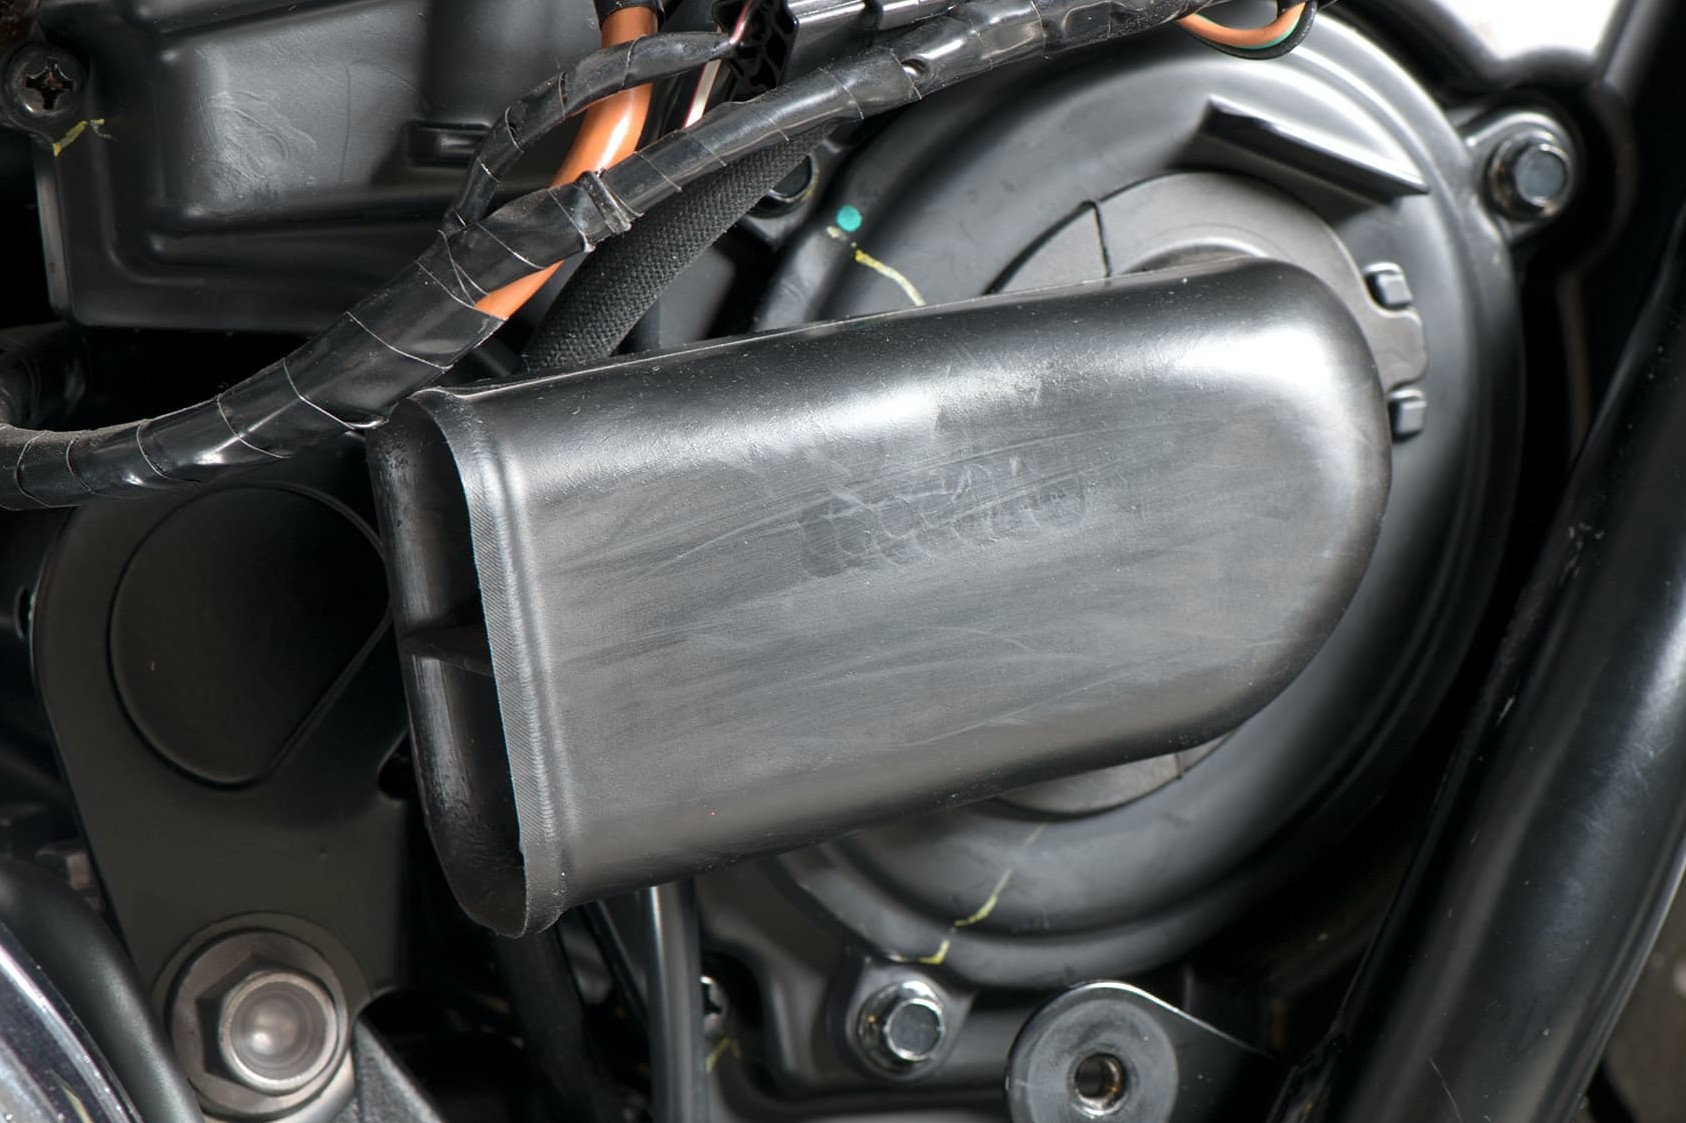
Step 1: Locating and exposing the airbox
01 – Opening the airbox
For maintenance of the filter, the airbox must be open. Depending on the vehicle, it may be located underneath the tank or underneath the seat or side covers. Once you have located it and exposed it, the cover can be removed. Note: Make a mental note of the installation position of the filter or take a photo before removing the filter element.
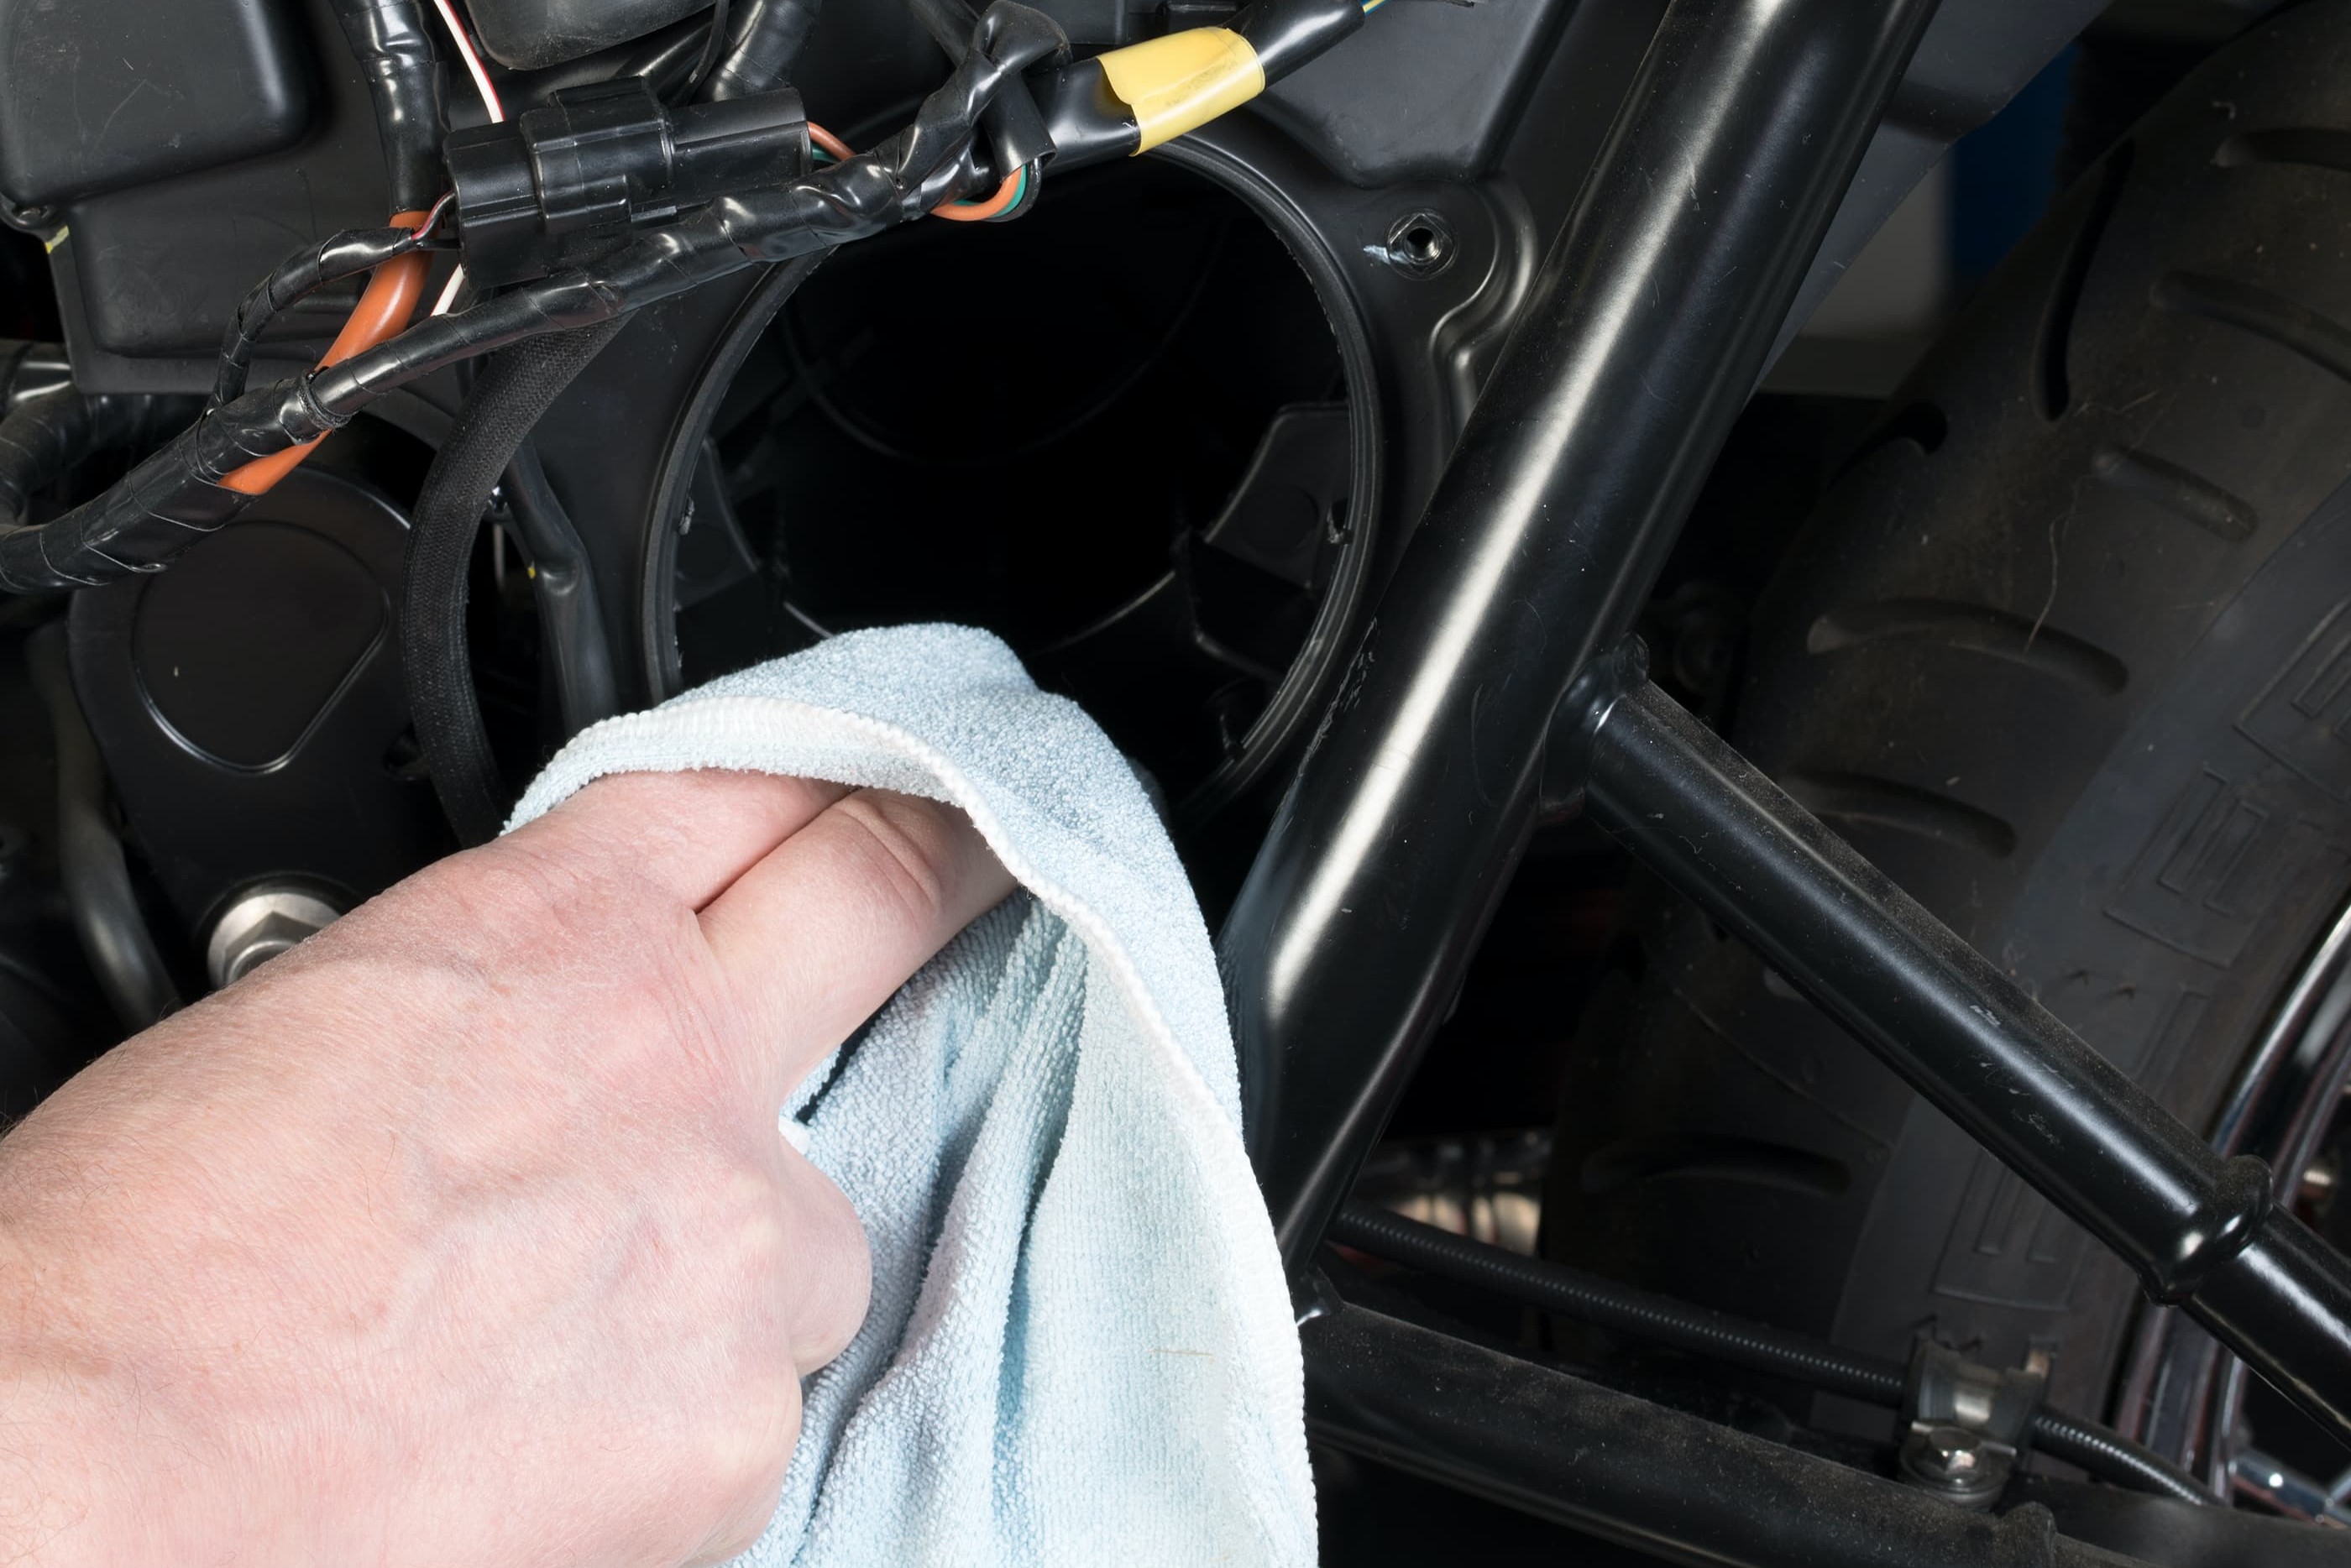
Step 2: Clean the inside of the airbox
02 – Cleaning the airbox
The box is cleaned on the inside, e.g using a vacuum cleaner, and wiped out with a clean and lint-free cloth.
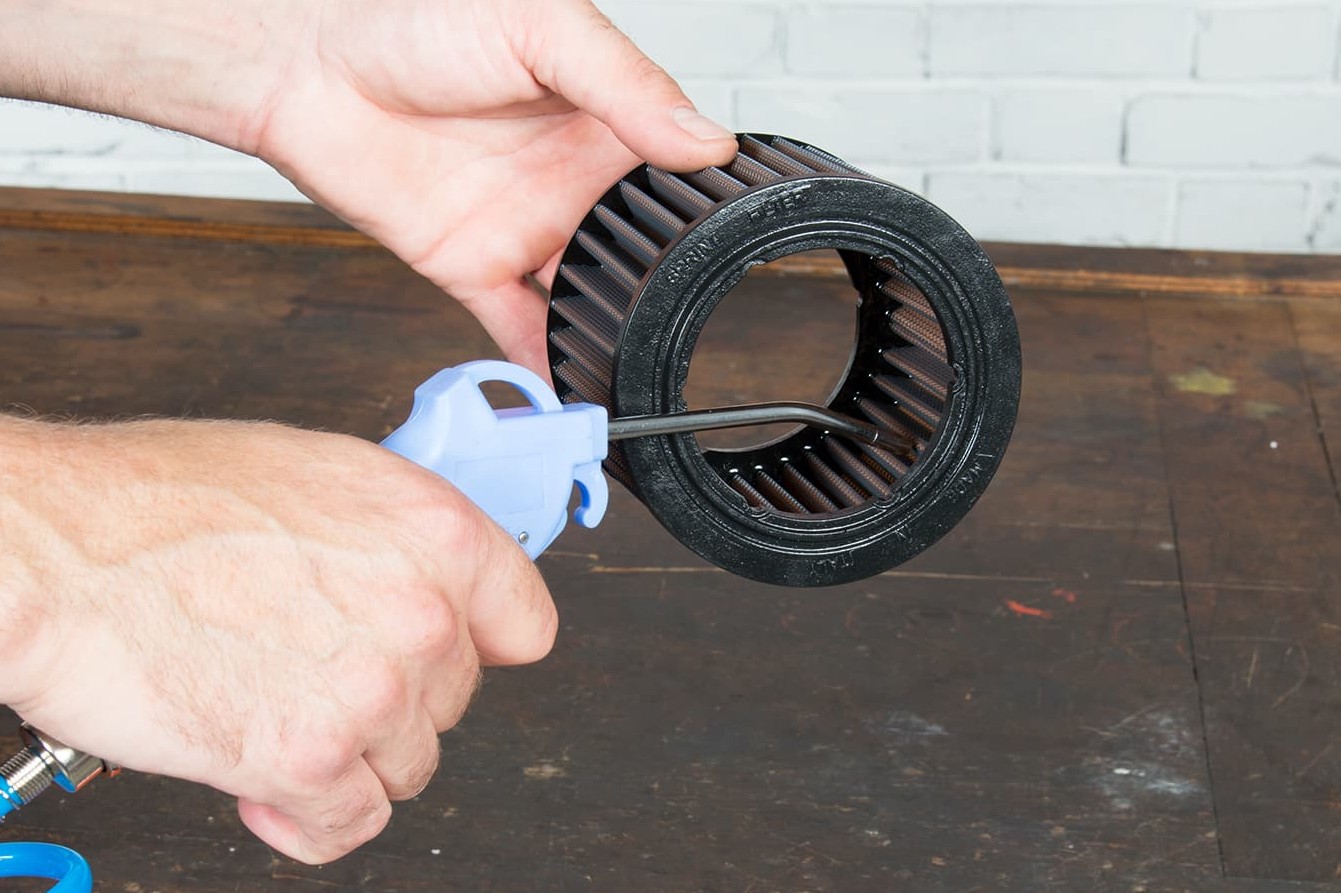
Step 3: Blow out the permanent air filter with compressed air
03 – Cleaning the filter insert
The filter insert is cleaned in accordance with the filter type. In our example we are cleaning a permanent air filter.
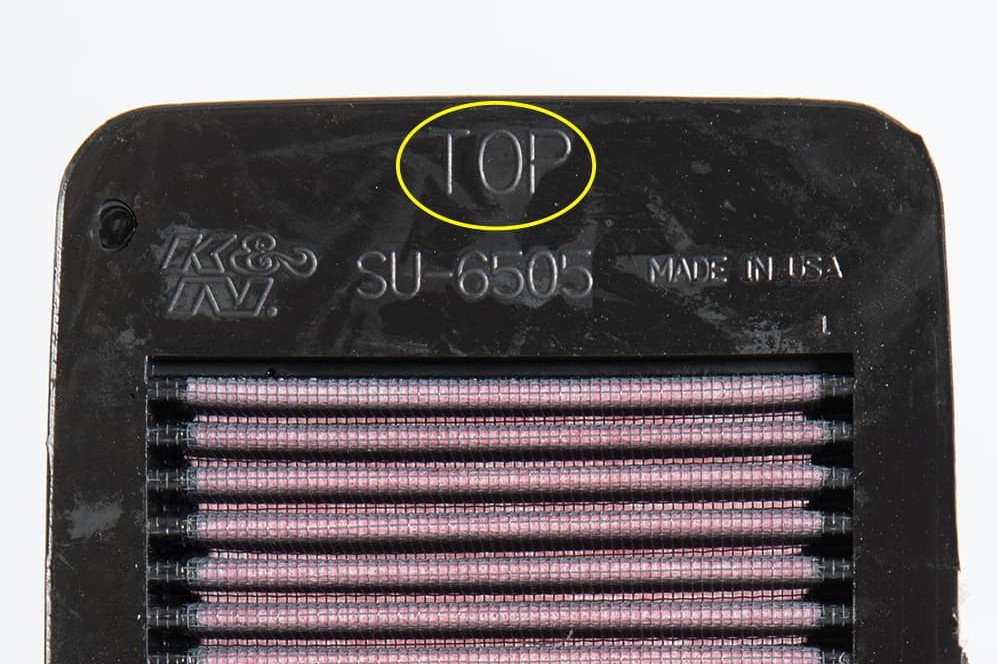
Step 4: Top marking
04 – Installing the cleaned filter
When installing the cleaned filter, you must make sure that it is installed in the correct position. Air filters usually have a TOP marking. The sealing edge must fit with no gaps all around so that the engine cannot draw in any unfiltered secondary air. You can grease the rubber edges a little to trap any dirt.
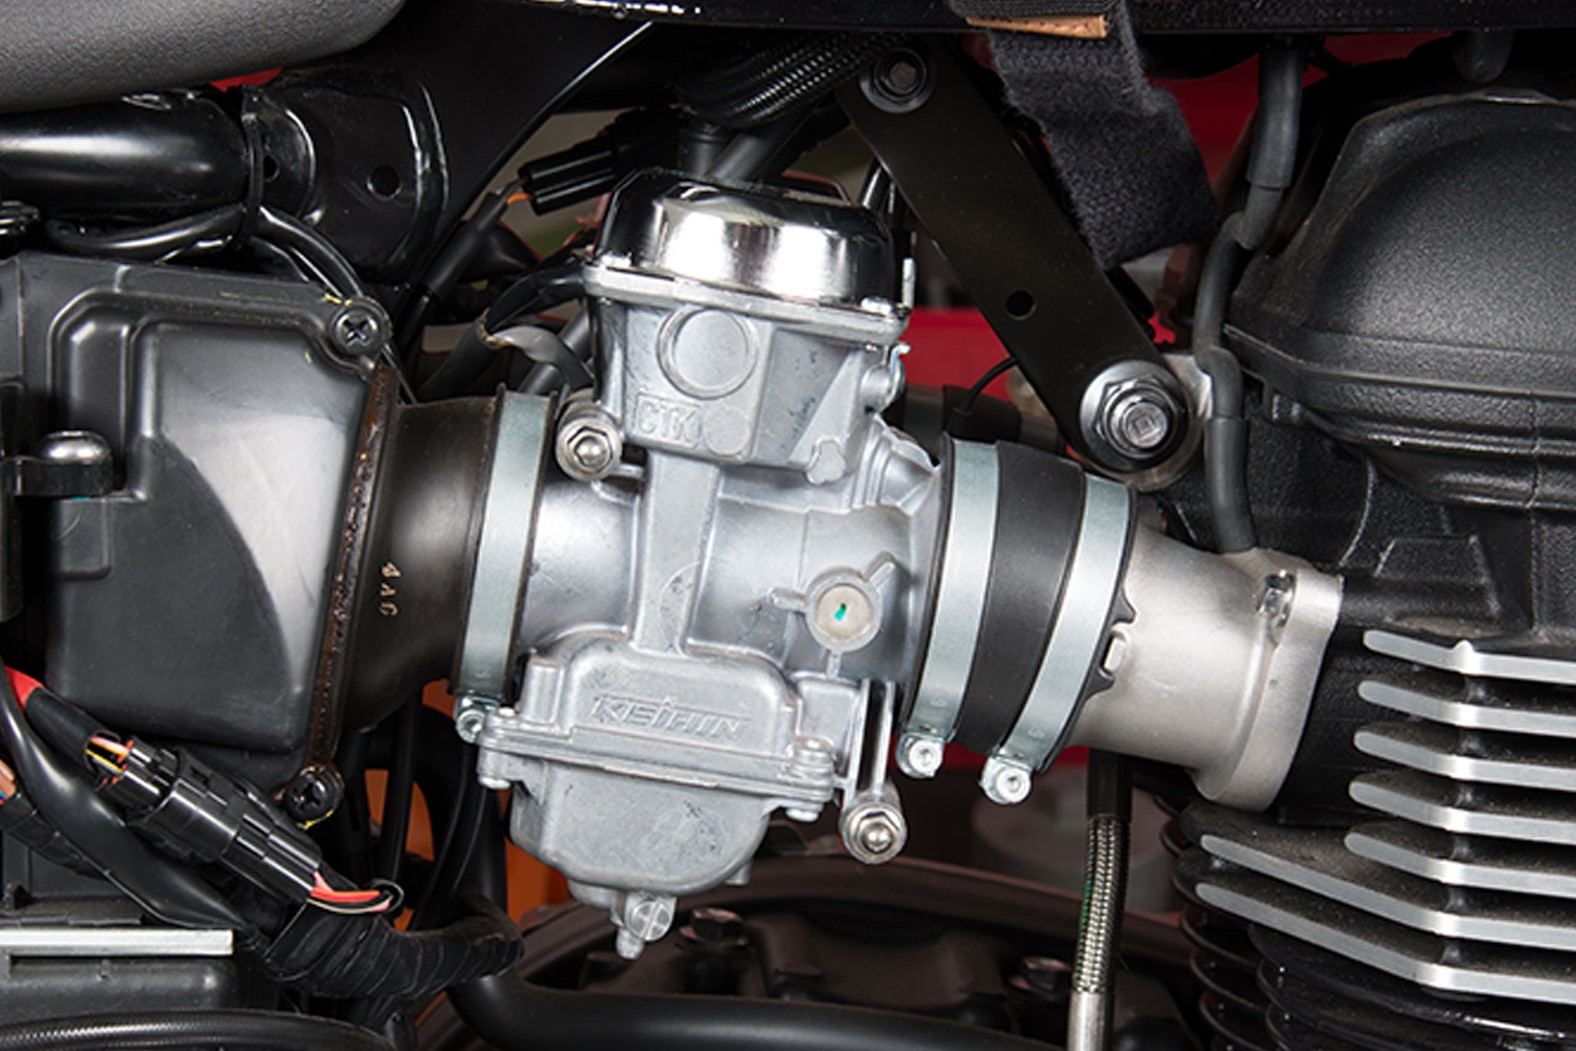
Step 5: Check the intake rubbers
05 – Checking external abnormalities
When servicing the air filter, you should also have a closer look at the environment of the airbox. Have leaves or even cleaning cloths become stuck in the inlet to the box? Is the connection between the airbox and the throttle body exactly as it should be? Are all clamps firmly in place, and the intake rubbers properly in position and free from cracks? Cracked rubbers must be replaced as there is otherwise a risk of the engine drawing secondary air, thus running more poorly which can lead to engine damage in the long run.
The Louis Technical Centre
If you have a technical question about your motorbike, please contact our Technical Centre, where they have endless experience, reference books and contacts.
Please note!
These tips for DIY mechanics contain general recommendations that may not apply to all vehicles or all individual components. As local conditions may vary considerably, we are unable to guarantee the correctness of information in these tips for DIY mechanics.
Thank you for your understanding.


