Polishing motorcycle parts
Whether you’re restoring a modern classic, designing your own custom bike or simply refurbishing a second-hand bike, at some point or other you will inevitably need to polish aluminium, steel or chrome.
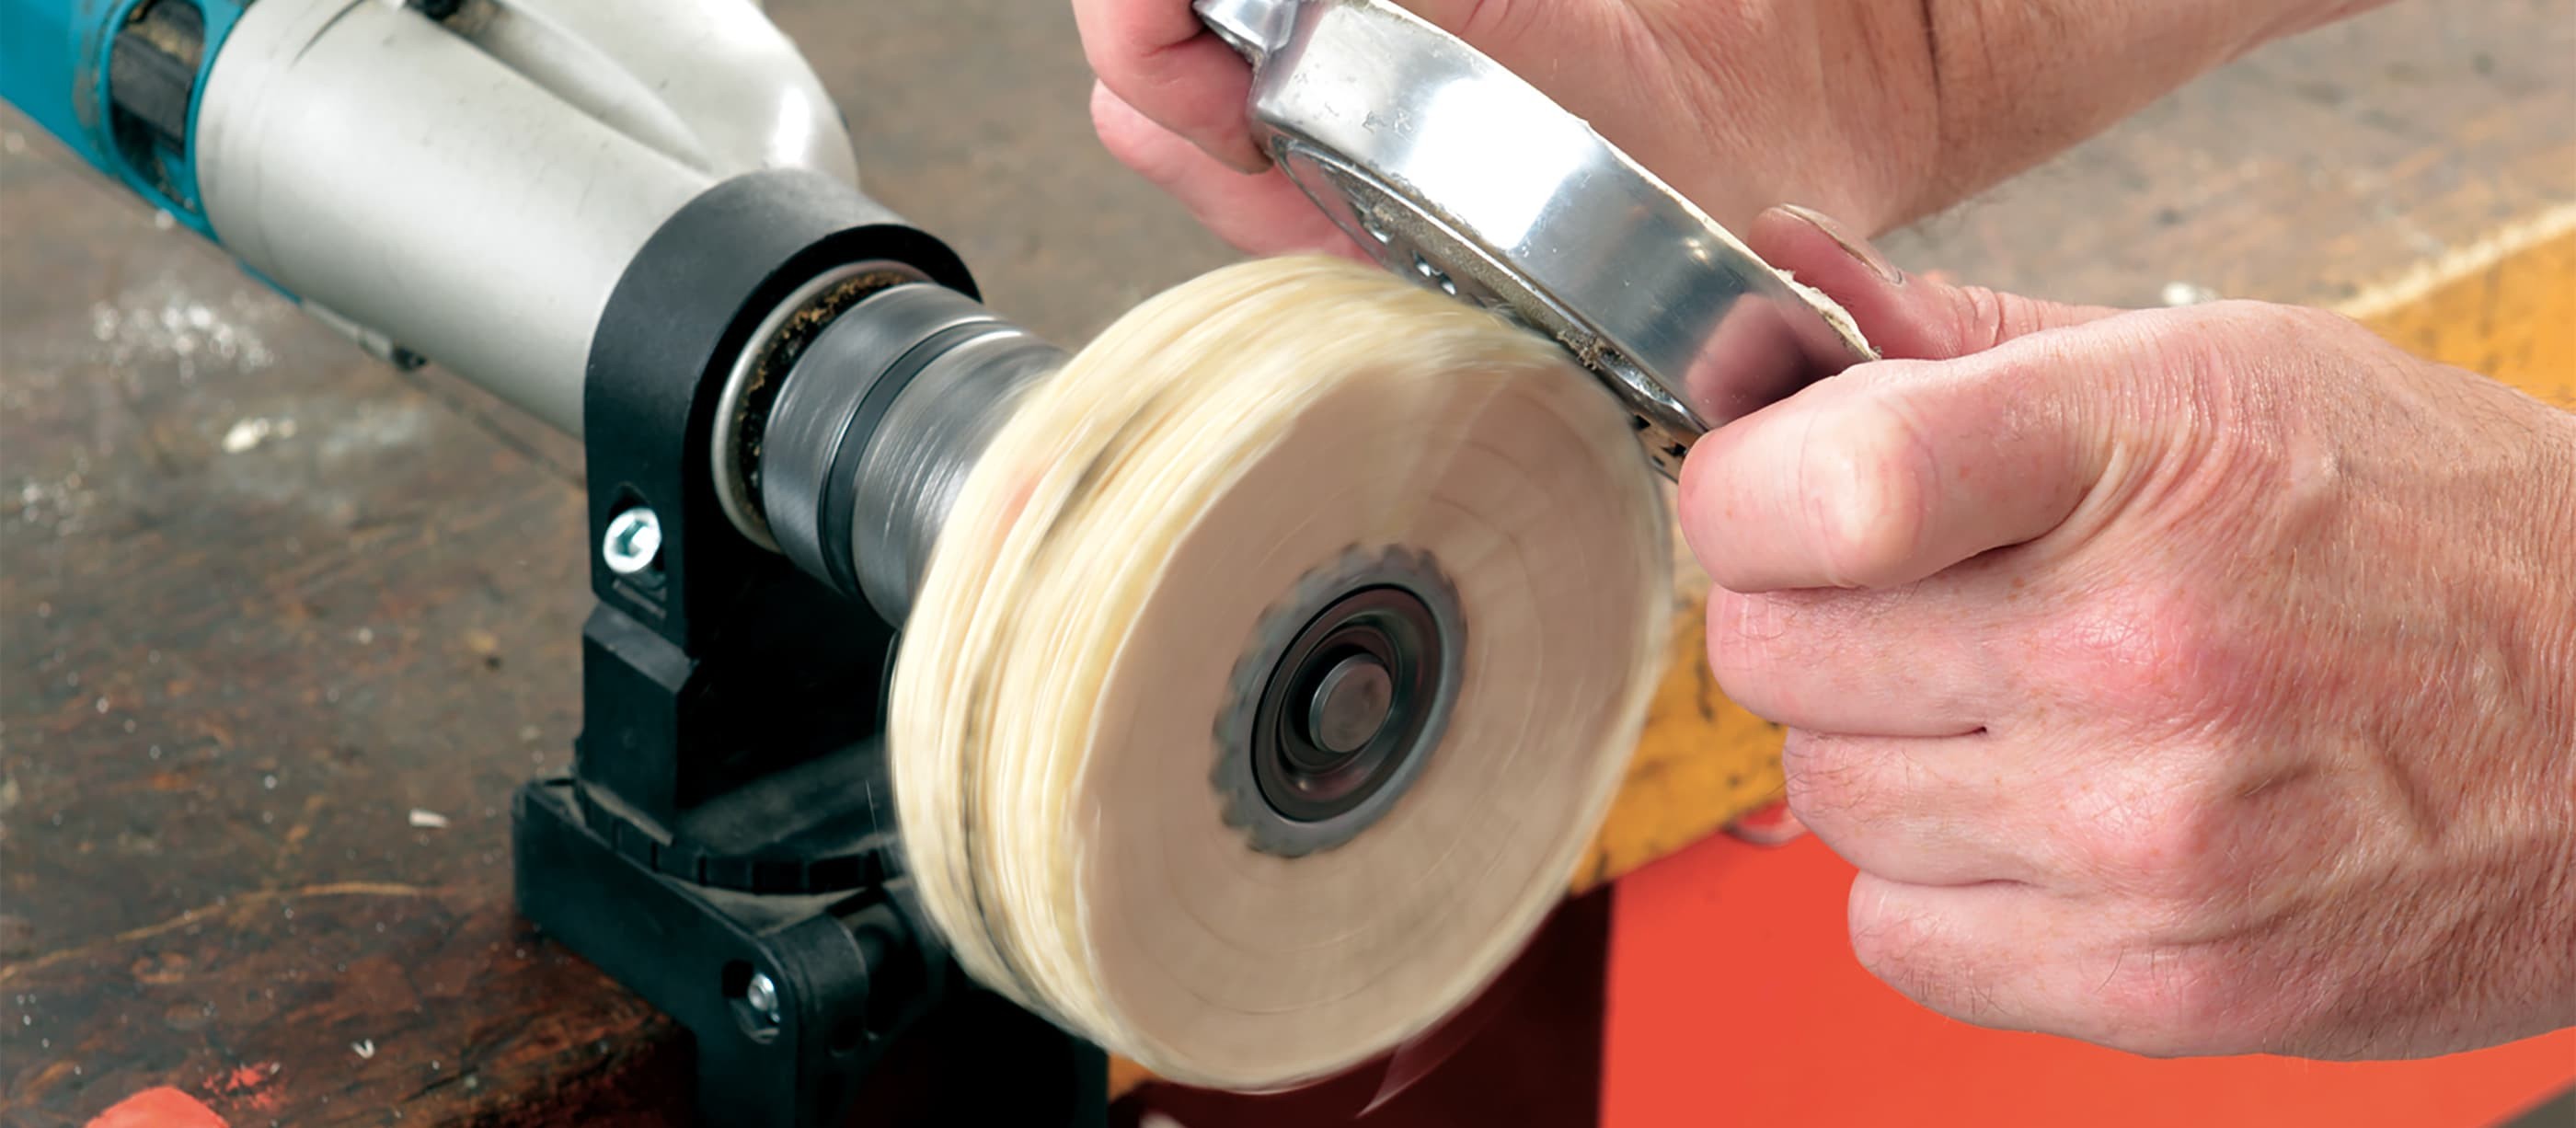
- Polishing metal parts on your motorcycle
- What is important when polishing motorcycle parts
- Engine cover before and after polishing
- Aluminium parts
- Aluminium frames and swingarms
- Steel
- Stainless steel
- Metal sanding and polishing
- Polishing motorcycle parts – now let's get started
- 01 – Stripping the paint
- Remove corrosion and unevenness
- Protect sealing surface by masking
- 02 – Sanding
- 03 – Polishing
- Take up wax with the polishing wheel
- Polishing the workpiece
- Care of polished surfaces
- Polishing plastics
- Our recommendation
Polishing metal parts on your motorcycle
Whether you're restoring a modern classic, designing your own custom bike or refurbishing a second-hand machine, you'll soon discover that highly polished or chromed parts can transform the look of your motorbike. Here we show you what you need to know about polishing motorcycle parts.
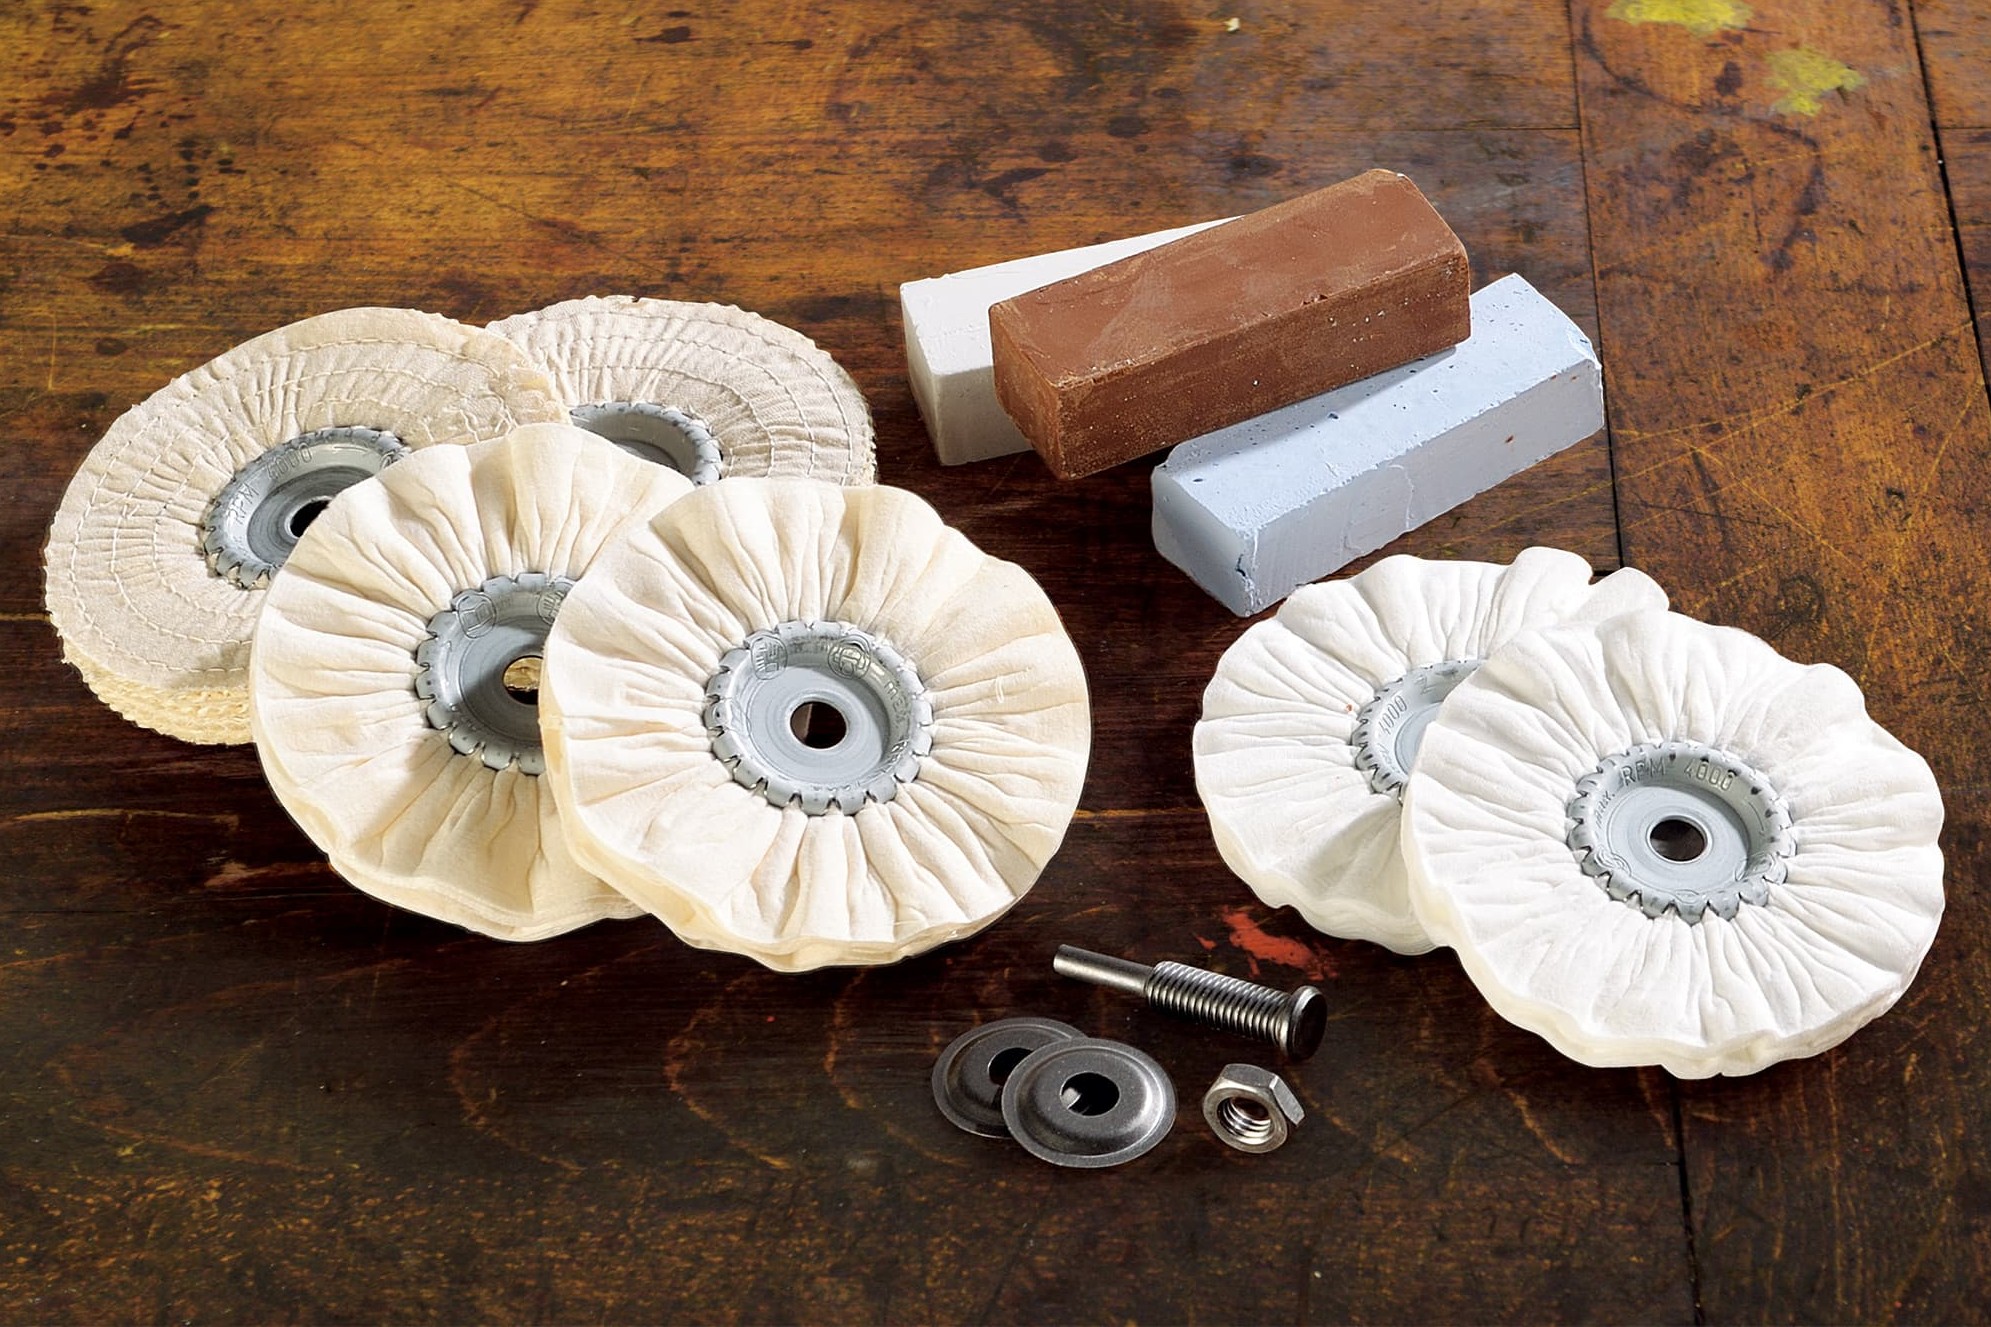
A polishing kit for your power drill produces fantastic results
What is important when polishing motorcycle parts
With a polishing kit for your power drill, you can restore unsightly tarnished and dull aluminium parts to their original splendour, and sometimes even better than new. Similarly, shiny metal covers or stainless-steel screws create a striking contrast against a black-painted engine. Highly polished stainless-steel parts can almost look as if they’re chromed.
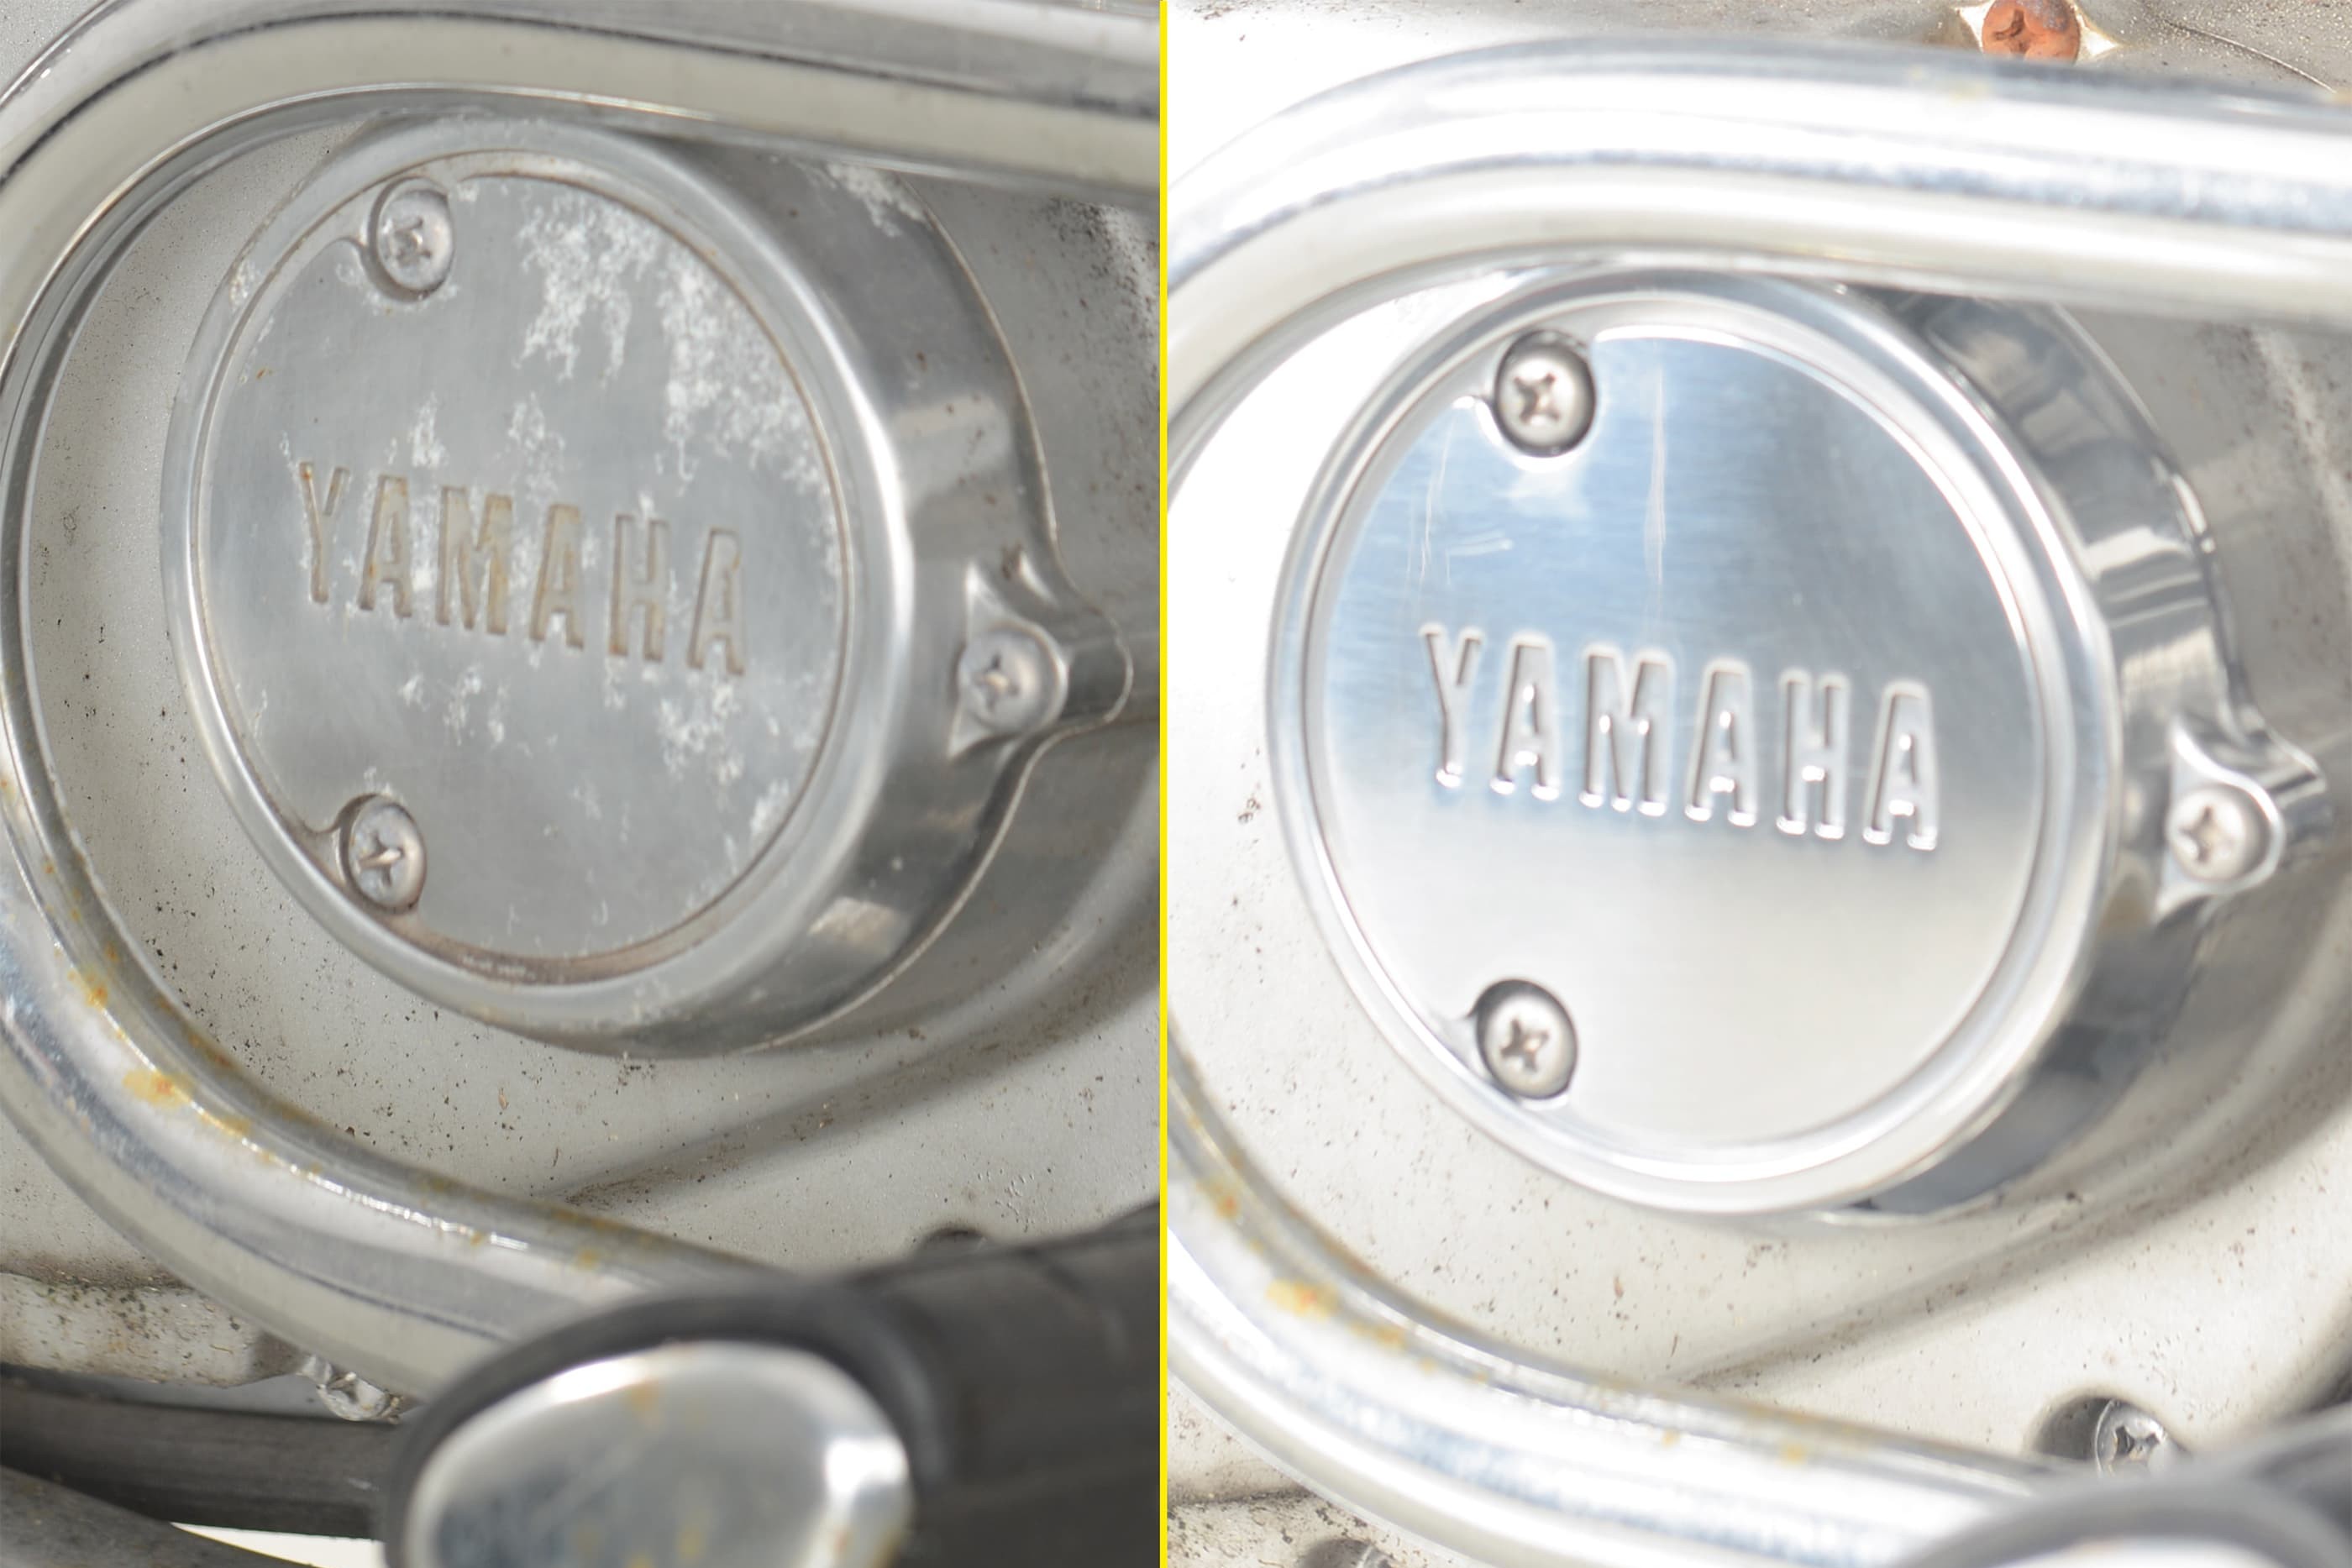
Engine cover before and after polishing
Engine cover before and after polishing
If you're planning to have steel parts professionally chromed, polishing is the most time-consuming, and thus most expensive, part of the preparation work. So if you have a polishing kit and know how to use it, a little bit of elbow grease will make an amazing difference to the way your bike looks. And the pleasure you get from the gleaming results of your work will certainly make all the effort worthwhile!
What type of metal? To do this job properly, you first need do know what sort of metal the parts you want to polish are made of.
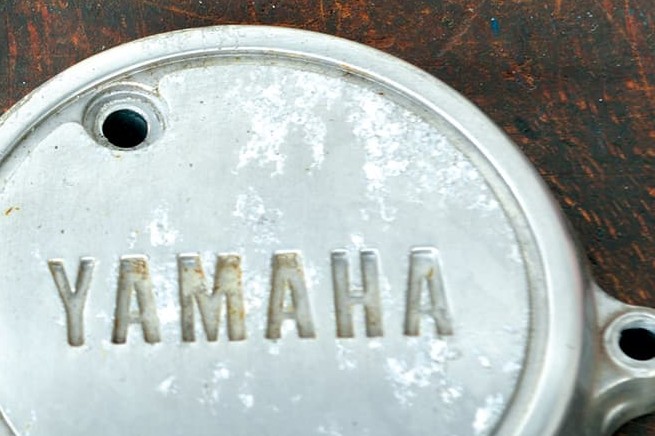
Corrosion gets under clear lacquer
Aluminium parts
Engine cover, fork sliders, controls and levers, rear wheel swingarms and other add-ons made of aluminium can be identified by the fact that they are very lightweight, non-magnetic and often painted. Take a close look at these parts – silver paint on the engine block, or layers of clear lacquer on outer covers are often quite difficult to recognise.
Over the years, corrosion often creeps underneath the paint or lacquer – really NOT a good look! Before you can polish these parts, you need to sand off the paint or lacquer and the corrosion. Corrosion often sits deeper than expected, but it must be removed without trace to prevent it recurring. For more on this topic, see Dealing with Corrosion in our DIY tips.
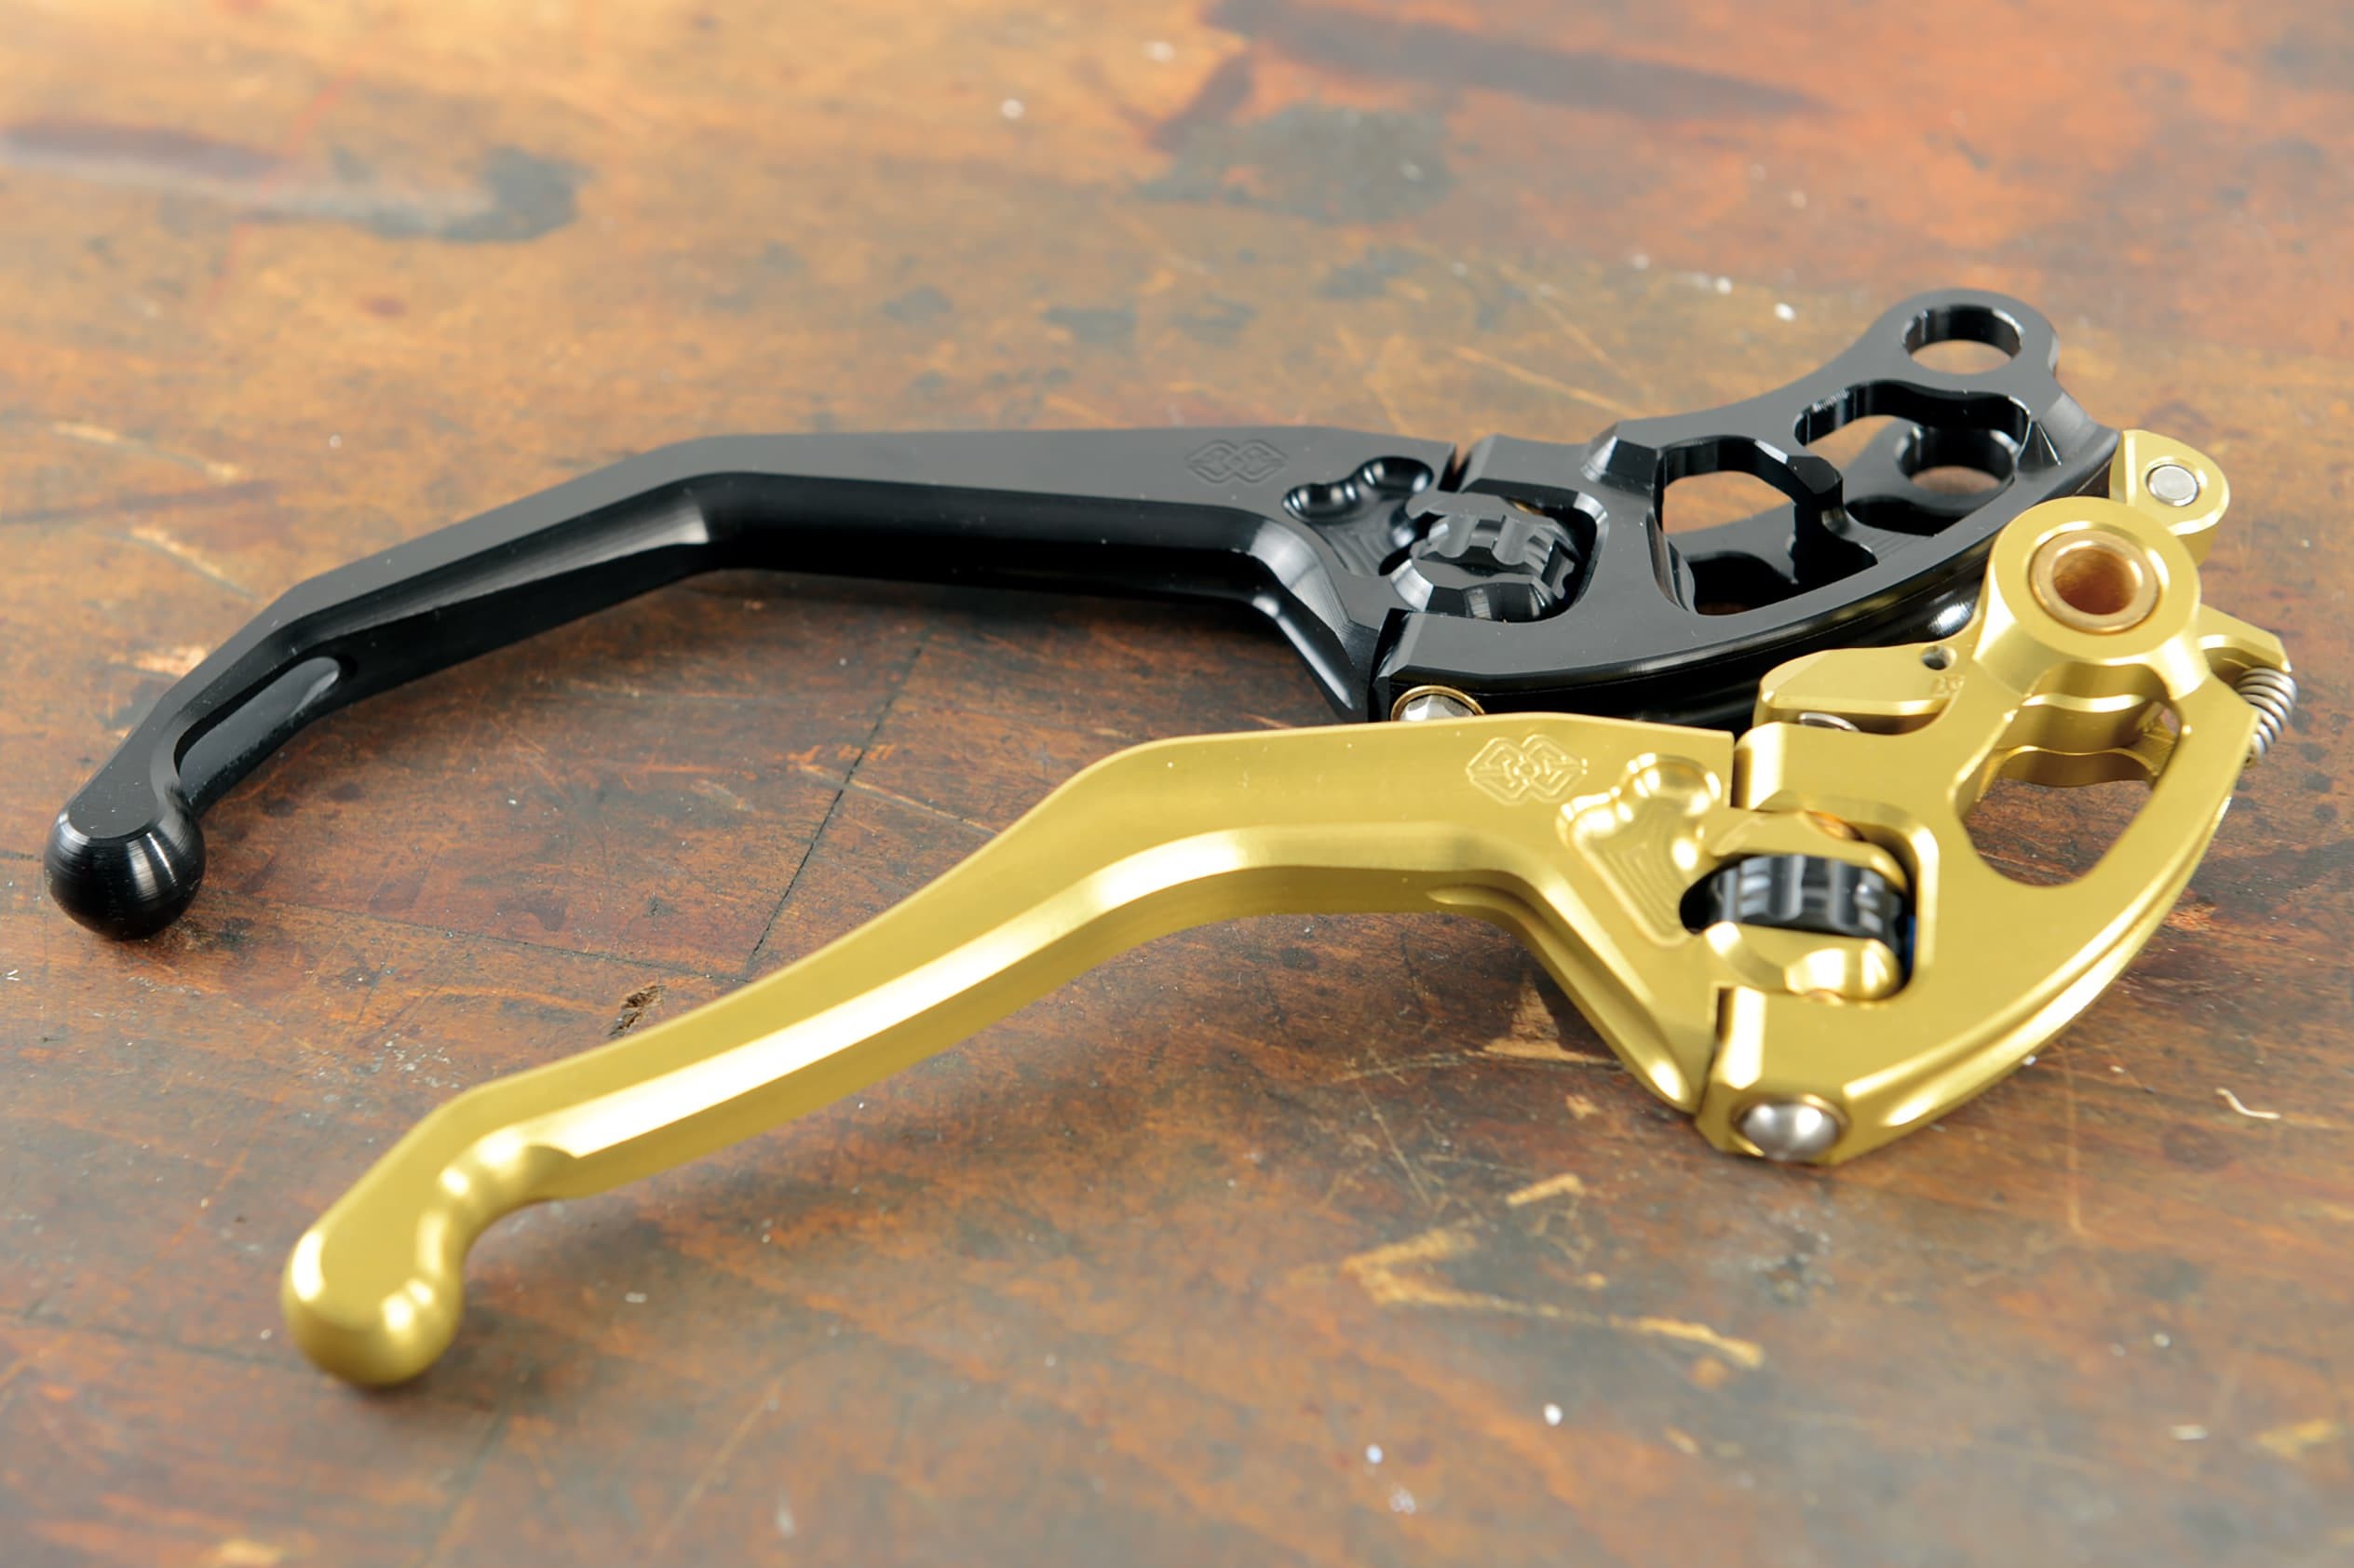
Anodised parts look like this
Colour or silver anodising is also widely used to protect aluminium against the elements or to highlight a specific component. This coating is recognisable by its metallic, slightly matt appearance. Over time, cleaning can make the anodised finish appear dull and threadbare – in which case, it's better to simply sand off what's left of it and polish the component.
Aluminium frames and swingarms
Always take special care when polishing modern aluminium frames and swingarms or other chassis parts (including the wheels), as removing too much metal can weaken these parts.
Important: Never sand down welded joints! Many vehicle safety inspectors in Germany require a special test certificate for a polished frame, so before you start, it’s a good idea to contact your local vehicle inspector to find out whether any special approvals are needed.
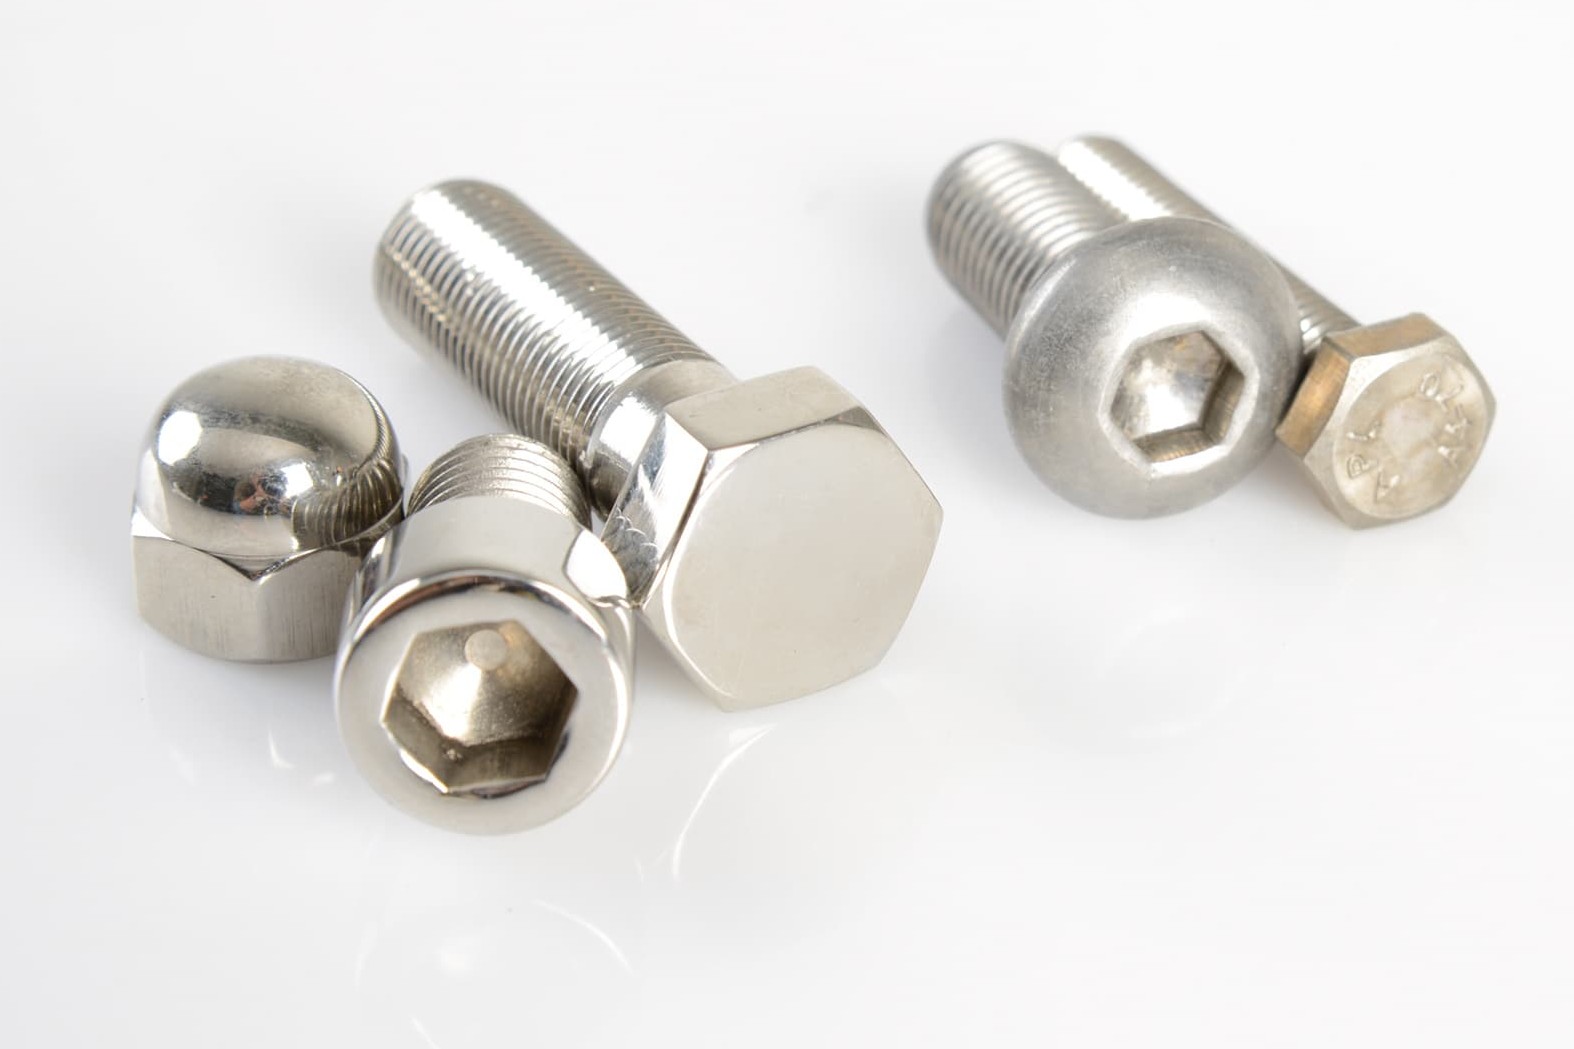
Stainless-steel screws and cap nuts look even better when polished (left in the picture)
Steel
Parts made of steel are distinguishable from aluminium by their heavier weight and because they are magnetic. They always require a protective coating to prevent corrosion. For this reason, chromium plating or bright nickel plating are a good alternative to painting. Chromed fittings in particular offer an attractive contrast to the paintwork, while larger chromed parts (such as the tank) simply look cool. However, since these electroplated coatings do not have any filling characteristics, the parts must be carefully polished before treatment.
This is time-consuming and expensive – so by doing the work yourself, you save money and will not have to wait so long for your parts to come back. However, you really do need to do a perfect polishing job so that the galvanising shop only has to put the parts into the electroplating bath. Frames and swingarms made of tubular steel must not be chromed, but they can be bright nickel-plated. Before you start polishing, check that your vehicle inspection authority will permit any changes you make. It's better to be safe than sorry! Parts that you want to have nickel-plated also need to be very thoroughly polished. Welded joints must not be sanded down!
Stainless steel
Stainless steel is easy to distinguish from ordinary steel, as it is only slightly magnetic, if at all, and it does not normally rust. Polishing can give it a finish similar in appearance to chrome. However, you need a lot of elbow grease for this task, as stainless steel is extremely hard. For particularly good results, use a special stainless steel polish.
Metal sanding and polishing
Sanding and polishing are both jobs that create dirt and dust. A lot of fluff comes off new polishing mops at first – this is normal. So it might be wise to either work outside or prepare an indoor space so that the dust cannot cause any damage, i.e. by covering shelves with a plastic sheet from your local DIY store and clearing away anything that might be harmed by dust.
Important: Wear suitable work clothes and, most importantly, always wear a dust mask and protective glasses/goggles! For polishing you will need a workbench with a vice (or screw clamps), a power drill, a clamping device for the drill and a polishing kit and some brake cleaner – as well as wet/dry sandpaper with assorted grits 80 – 600, and maybe an angle grinder with a grinding disk for the preparatory work.
Polishing motorcycle parts – now let's get started
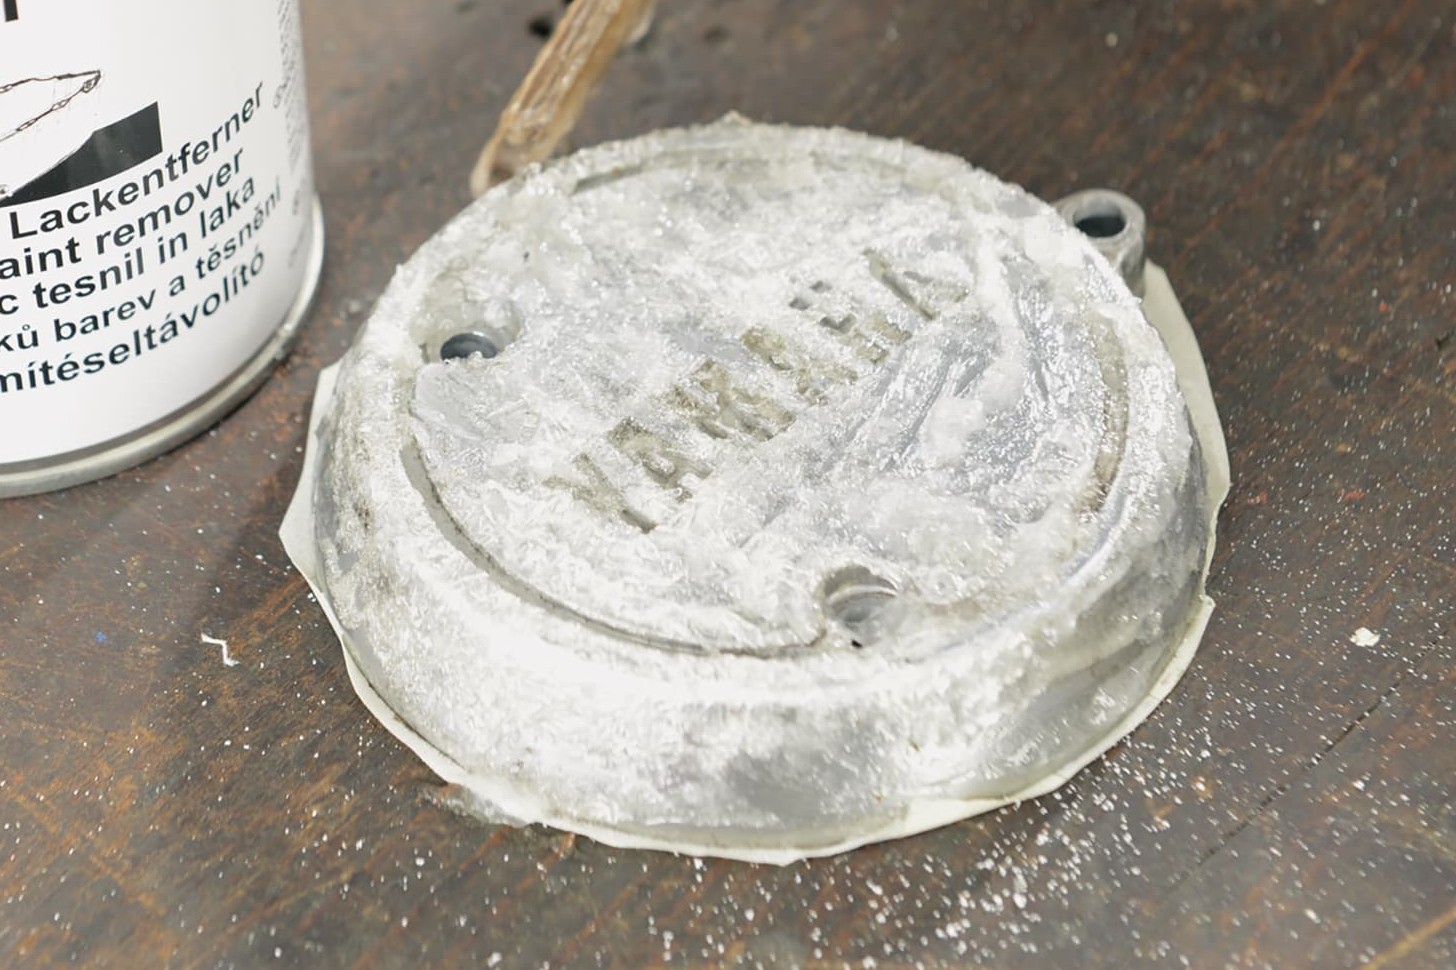
Step 1, Fig. 1: Stripping the clear lacquer
01 – Stripping the paint
If you want to save yourself the time-consuming job of sanding to remove old paint and corrosion, you can always go to a professional sandblasting firm. As well as conventional sandblasting, there are now a whole range of more gentle processes, right through to dry-ice blasting. And don't forget: any engine parts treated by sand/glass bead/walnut shell blasting must be very thoroughly washed before they are installed! It is crucial that no blast material is allowed to get into the engine. We do not recommend blasting an entire engine with conventional blast material – even if you do tape over all the delicate parts – only dry ice is suitable for this task.
If you only need to remove a layer of paint, you can also have this done by a paint-stripping workshop, who will remove the paint chemically or thermally.
You can also strip individual and small parts yourself using a good professional gasket and paint remover.
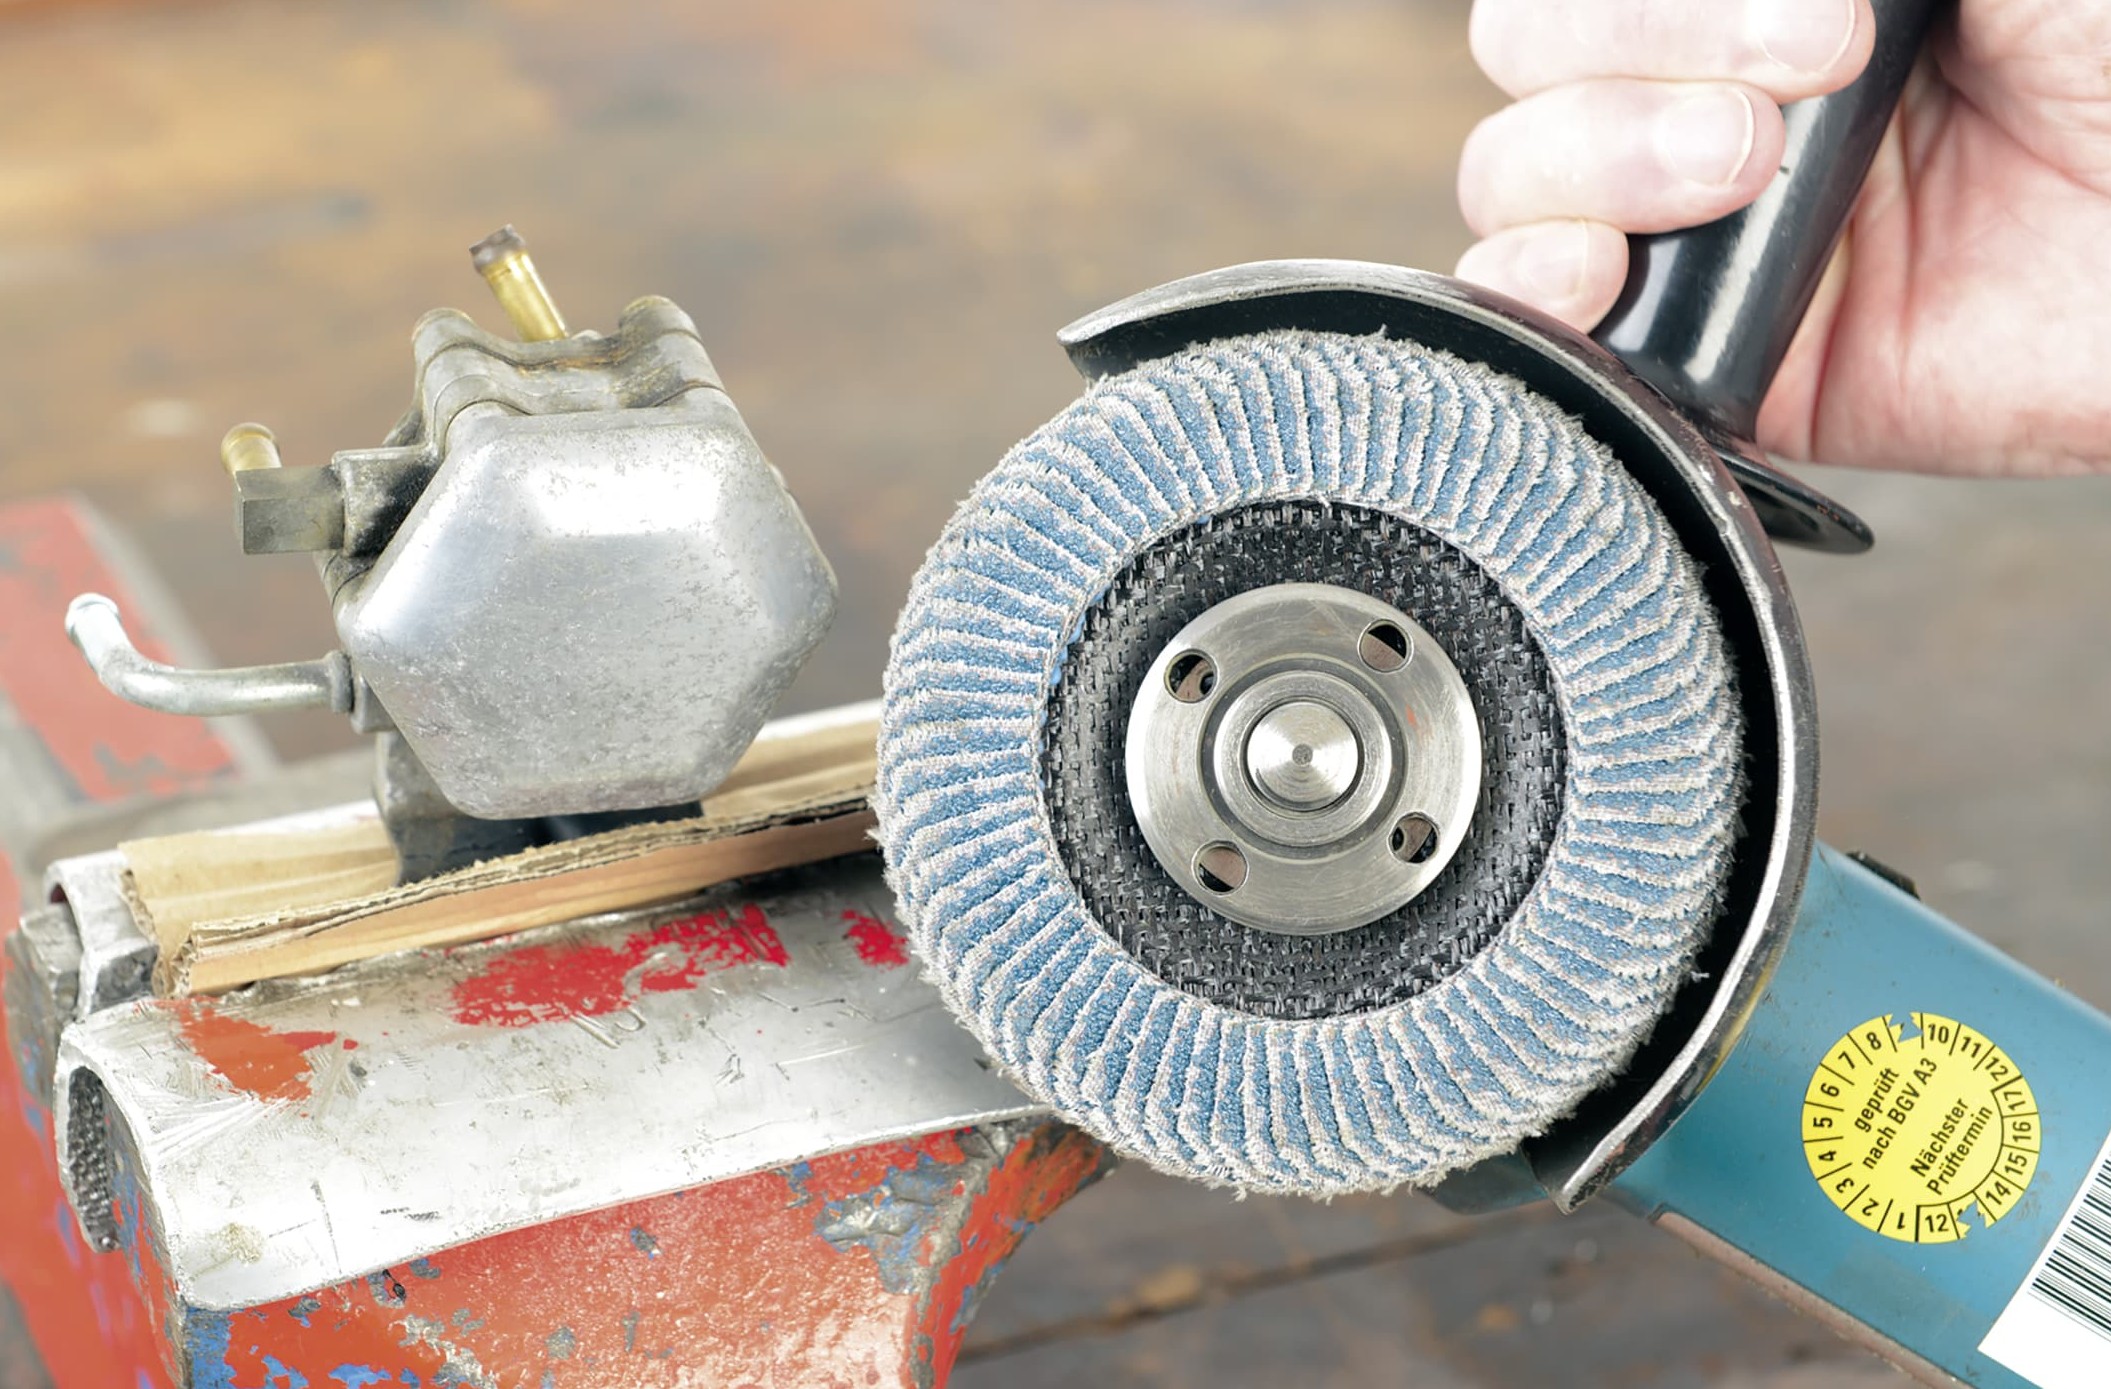
Step 1, Fig. 2: An angle grinder may be needed for removing corrosion and unevenness in the surface
Remove corrosion and unevenness
If you don't want to use a paint-stripping/blasting firm, and you haven't got a suitable paint remover, you can also sand away the paint and rust.
The quickest way to get good results is to use an angle grinder fitted with a flap wheel, but this is only suitable if there are deep scratches/grooves or heavy corrosion. Always wear a facemask when using an angle grinder.
Difficult-to-reach areas or small parts can be manually sanded down with wet/dry sandpaper or with a "Dremel" – wet sanding helps prevent dust formation. Choose the grit of your sandpaper carefully, depending on the surface you’re sanding. The coarser you begin, the longer it will take you to achieve a fine finish. On the other hand, if you start too fine, it will take forever to remove deeper imperfections.
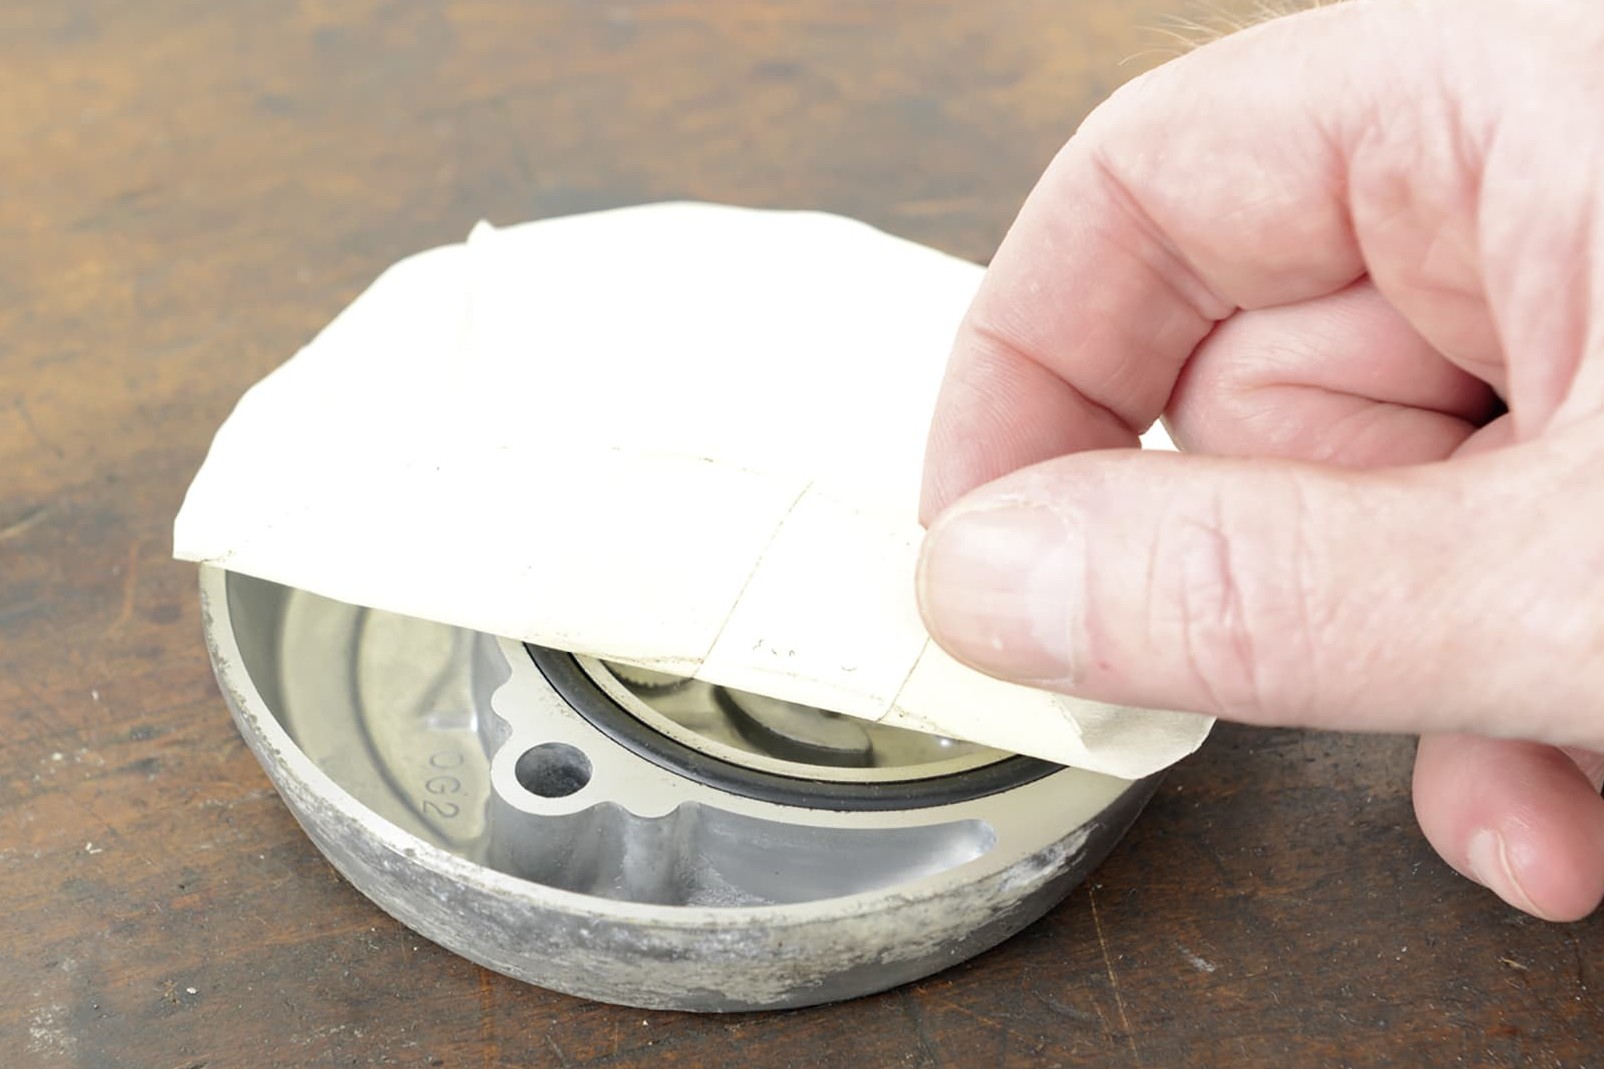
Step 1, Fig. 3: Mask off sealing surface for protection
Protect sealing surface by masking
Sensitive sealing surfaces or inner surfaces of the component should be protected before you start sanding by covering carefully with masking tape!
To sand down the component, first clamp it in a vice or fix it to the bench with a screw clamp so that you can work safely. Use wood, cardboard or special clamping jaws to protect aluminium parts against the sharp edges of the vice or screw clamp.
Take care not to weaken load-bearing parts by removing too much metal. Always sand cross-wise to achieve an even surface, never in just one direction or for too long in one place. Especially when working with an angle grinder, take care not to make any hollows or grooves!
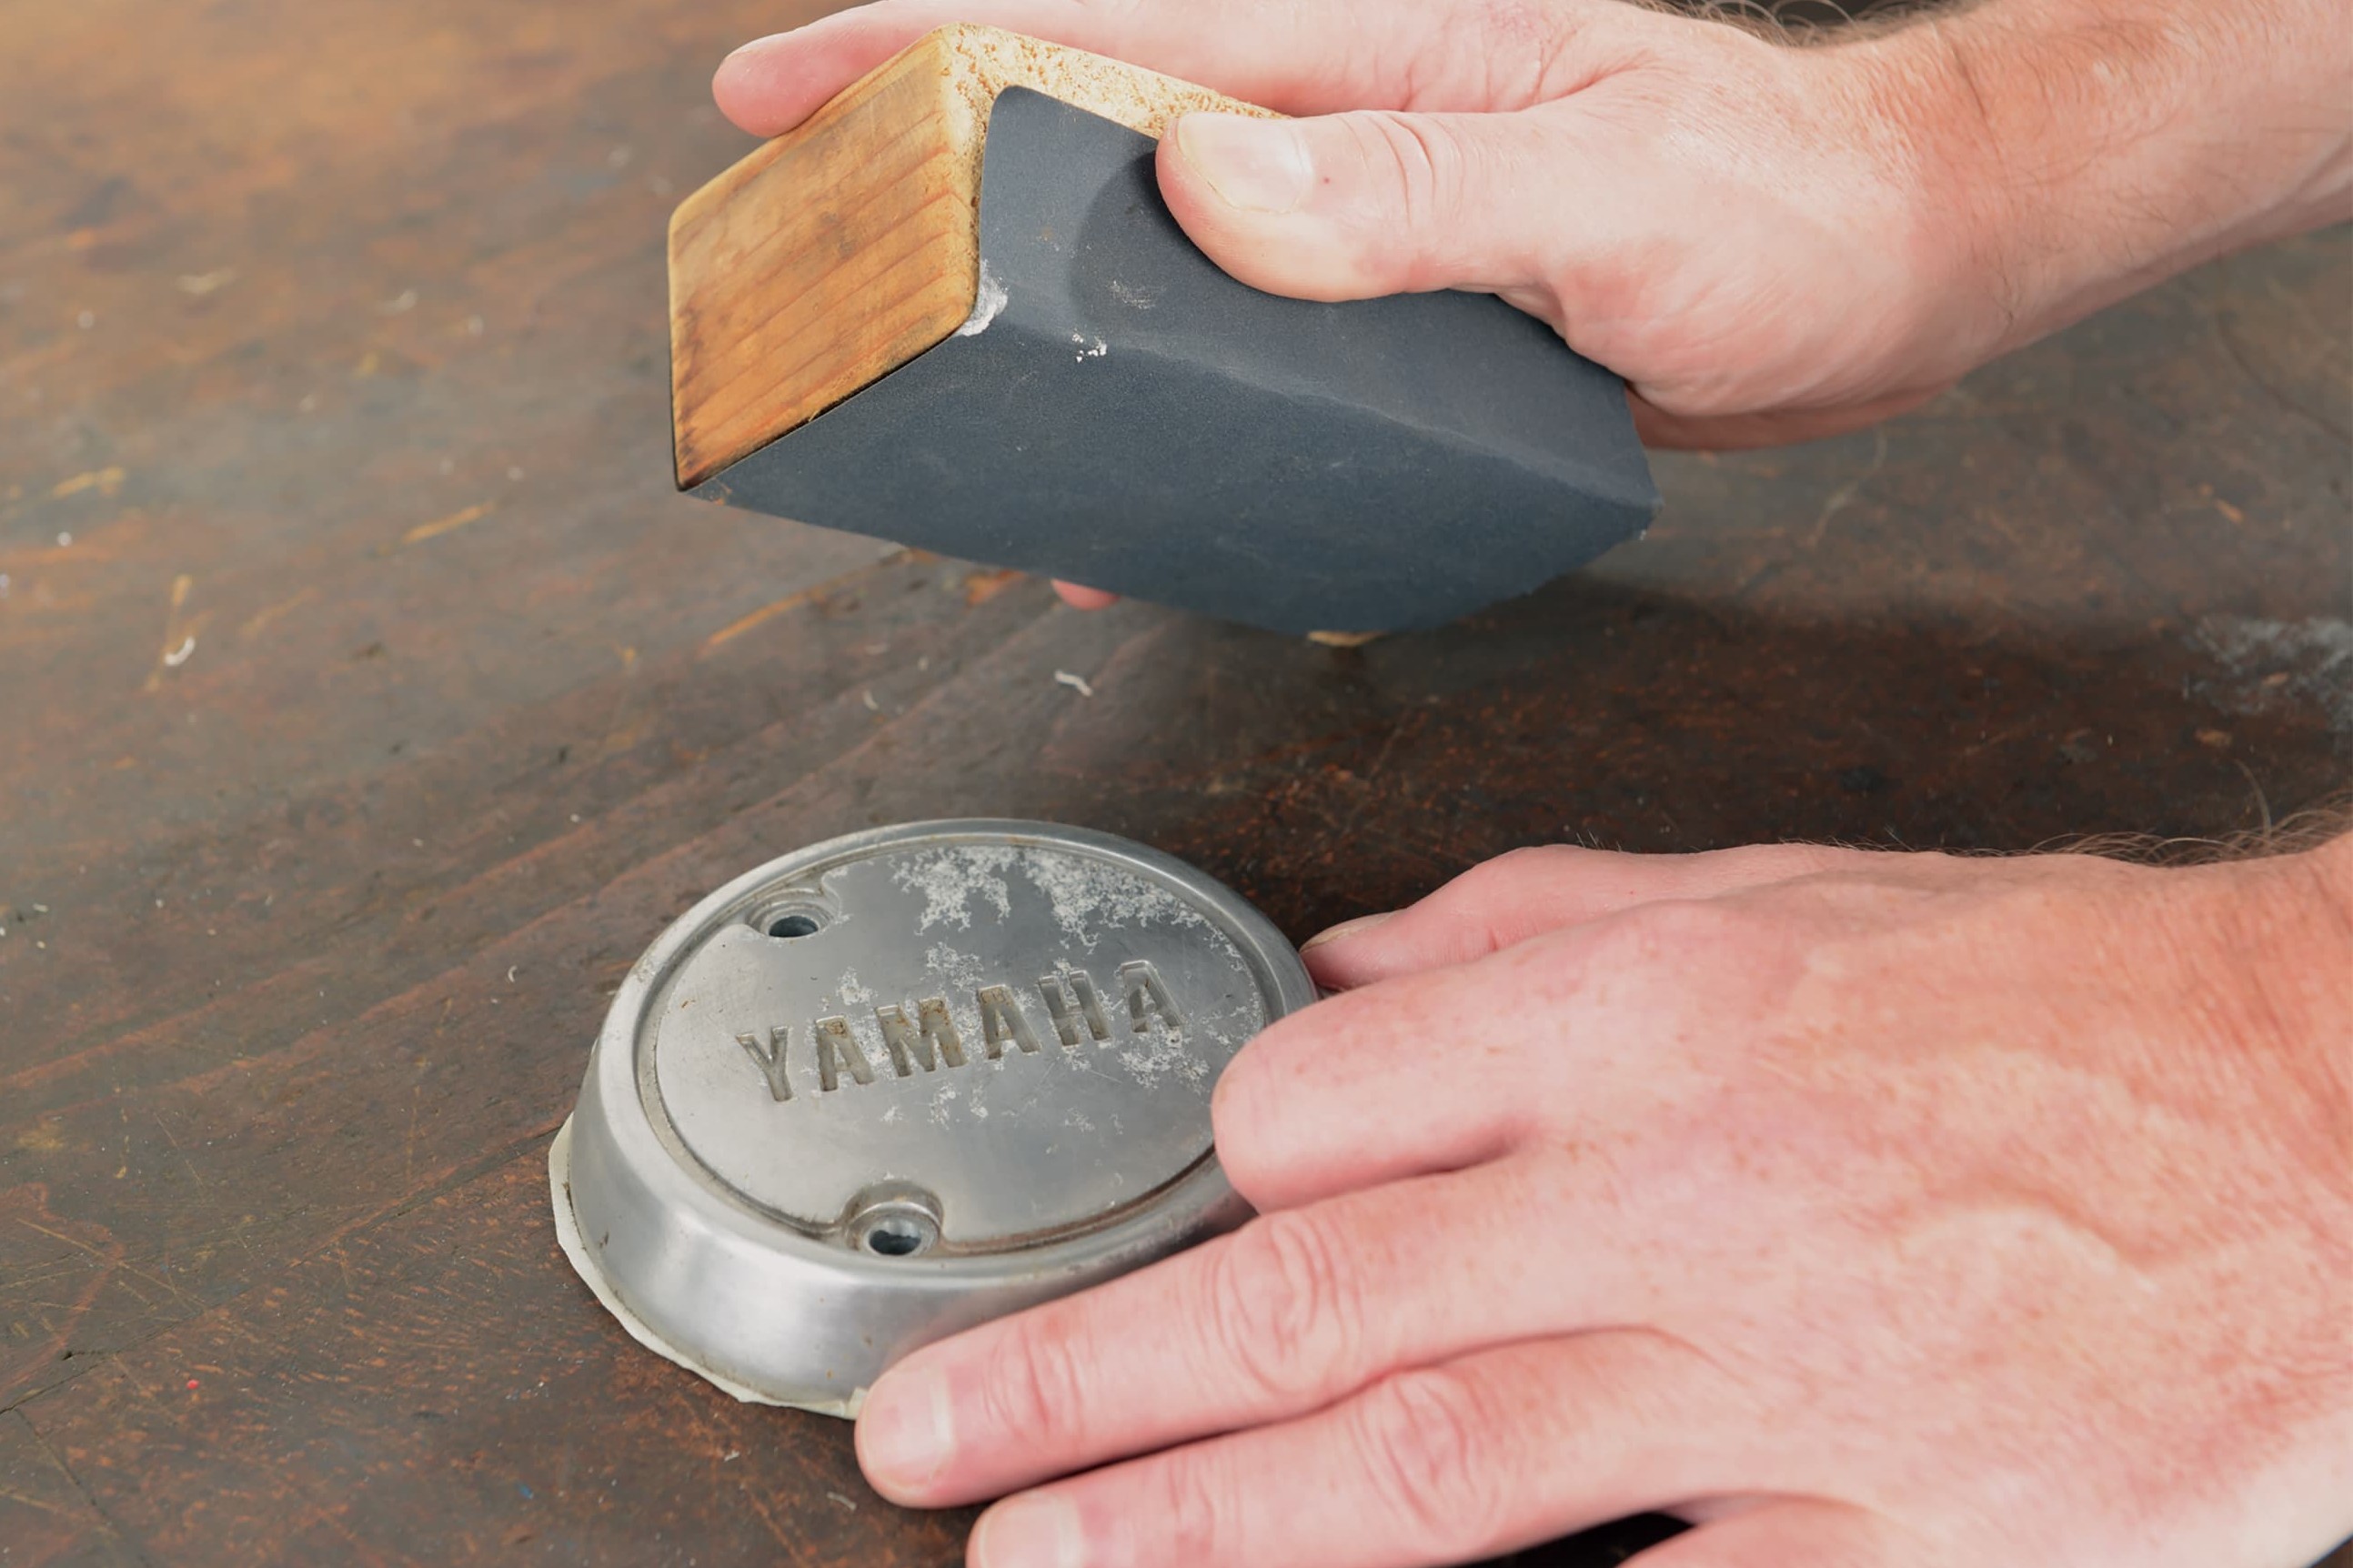
Step 2: Sanding block and sandpaper for smoothing
02 – Sanding
After coarse sanding to get rid of corrosion and paintwork, you need to fine-finish the surface with wet sandpaper to get it nice and smooth. Only a properly smoothed part will look good because a polished surface really shows up any imperfections. You need to take care on fluted parts to avoid creating "hollows" – the best way to do this is to use a sanding block.
Finish off with very fine 320 grit wet sandpaper – or better still 600 grit. You should end up with a surface that is very slightly rough from the sandpaper, but smooth and even enough for you to now polish.
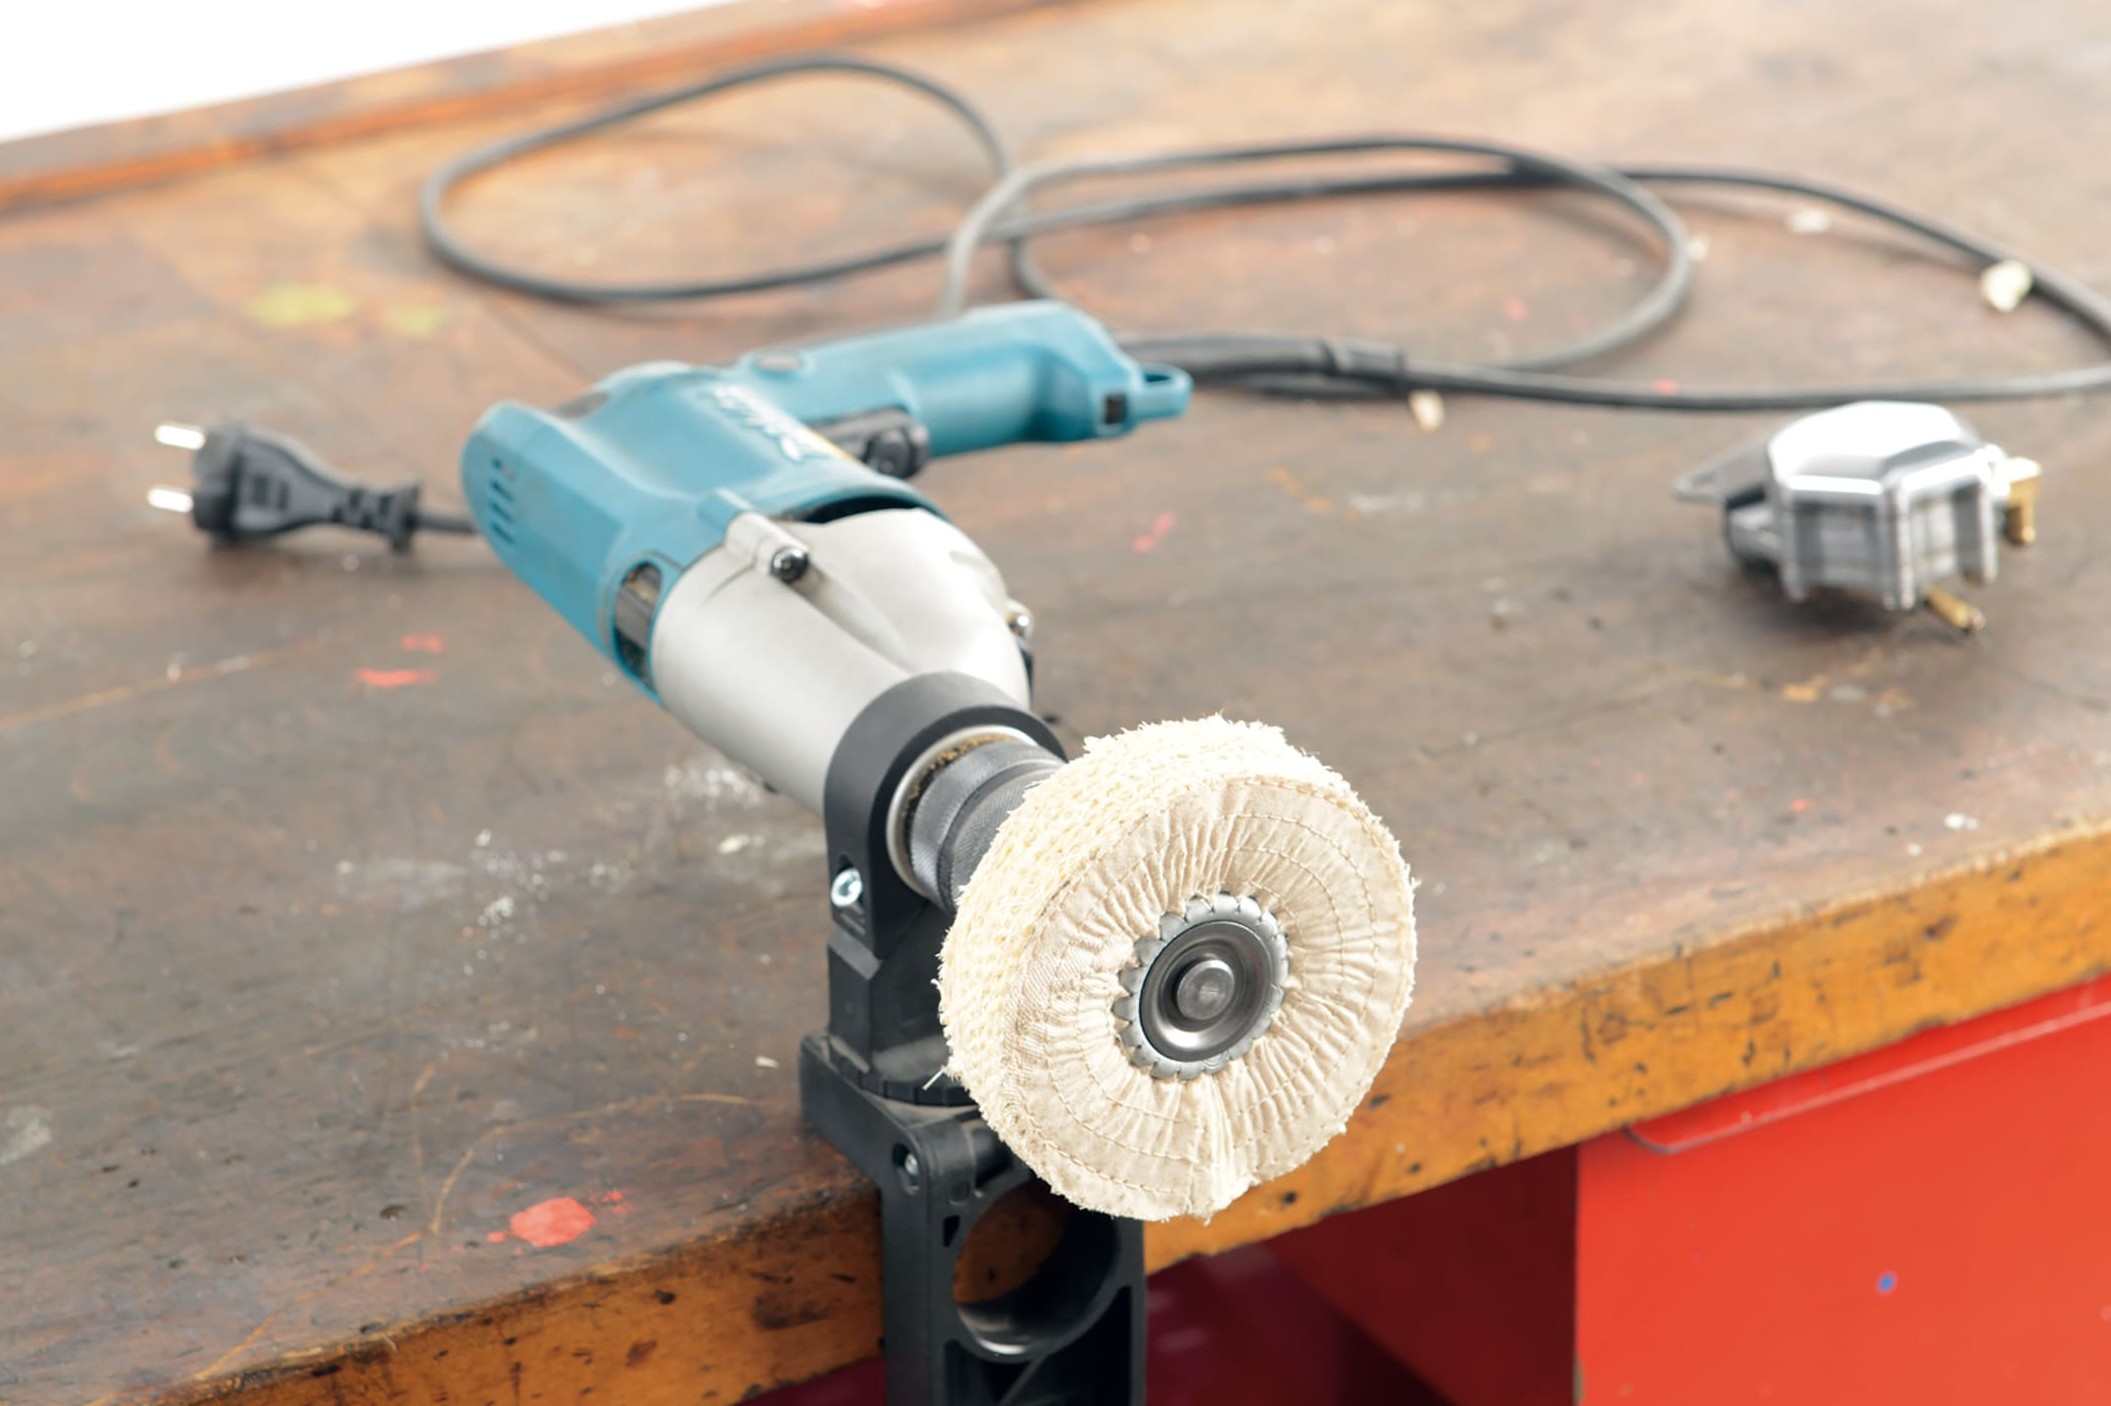
Step 3, Fig. 1: Clamp the drill to the workbench
03 – Polishing
Put a polishing mop on the spindle and insert in your power drill. Start with the coarse sisal cutting mop. You can either fix the power drill to your workbench using a special clamp or clamp the part to the table.
To be on the safe side, cover the chuck with a thick layer of masking tape so that there is no risk of it damaging the part if there is any accidental contact.
Important: Always wear a facemask and protective goggles when polishing. Also remember that the metal you’re polishing will get very hot!
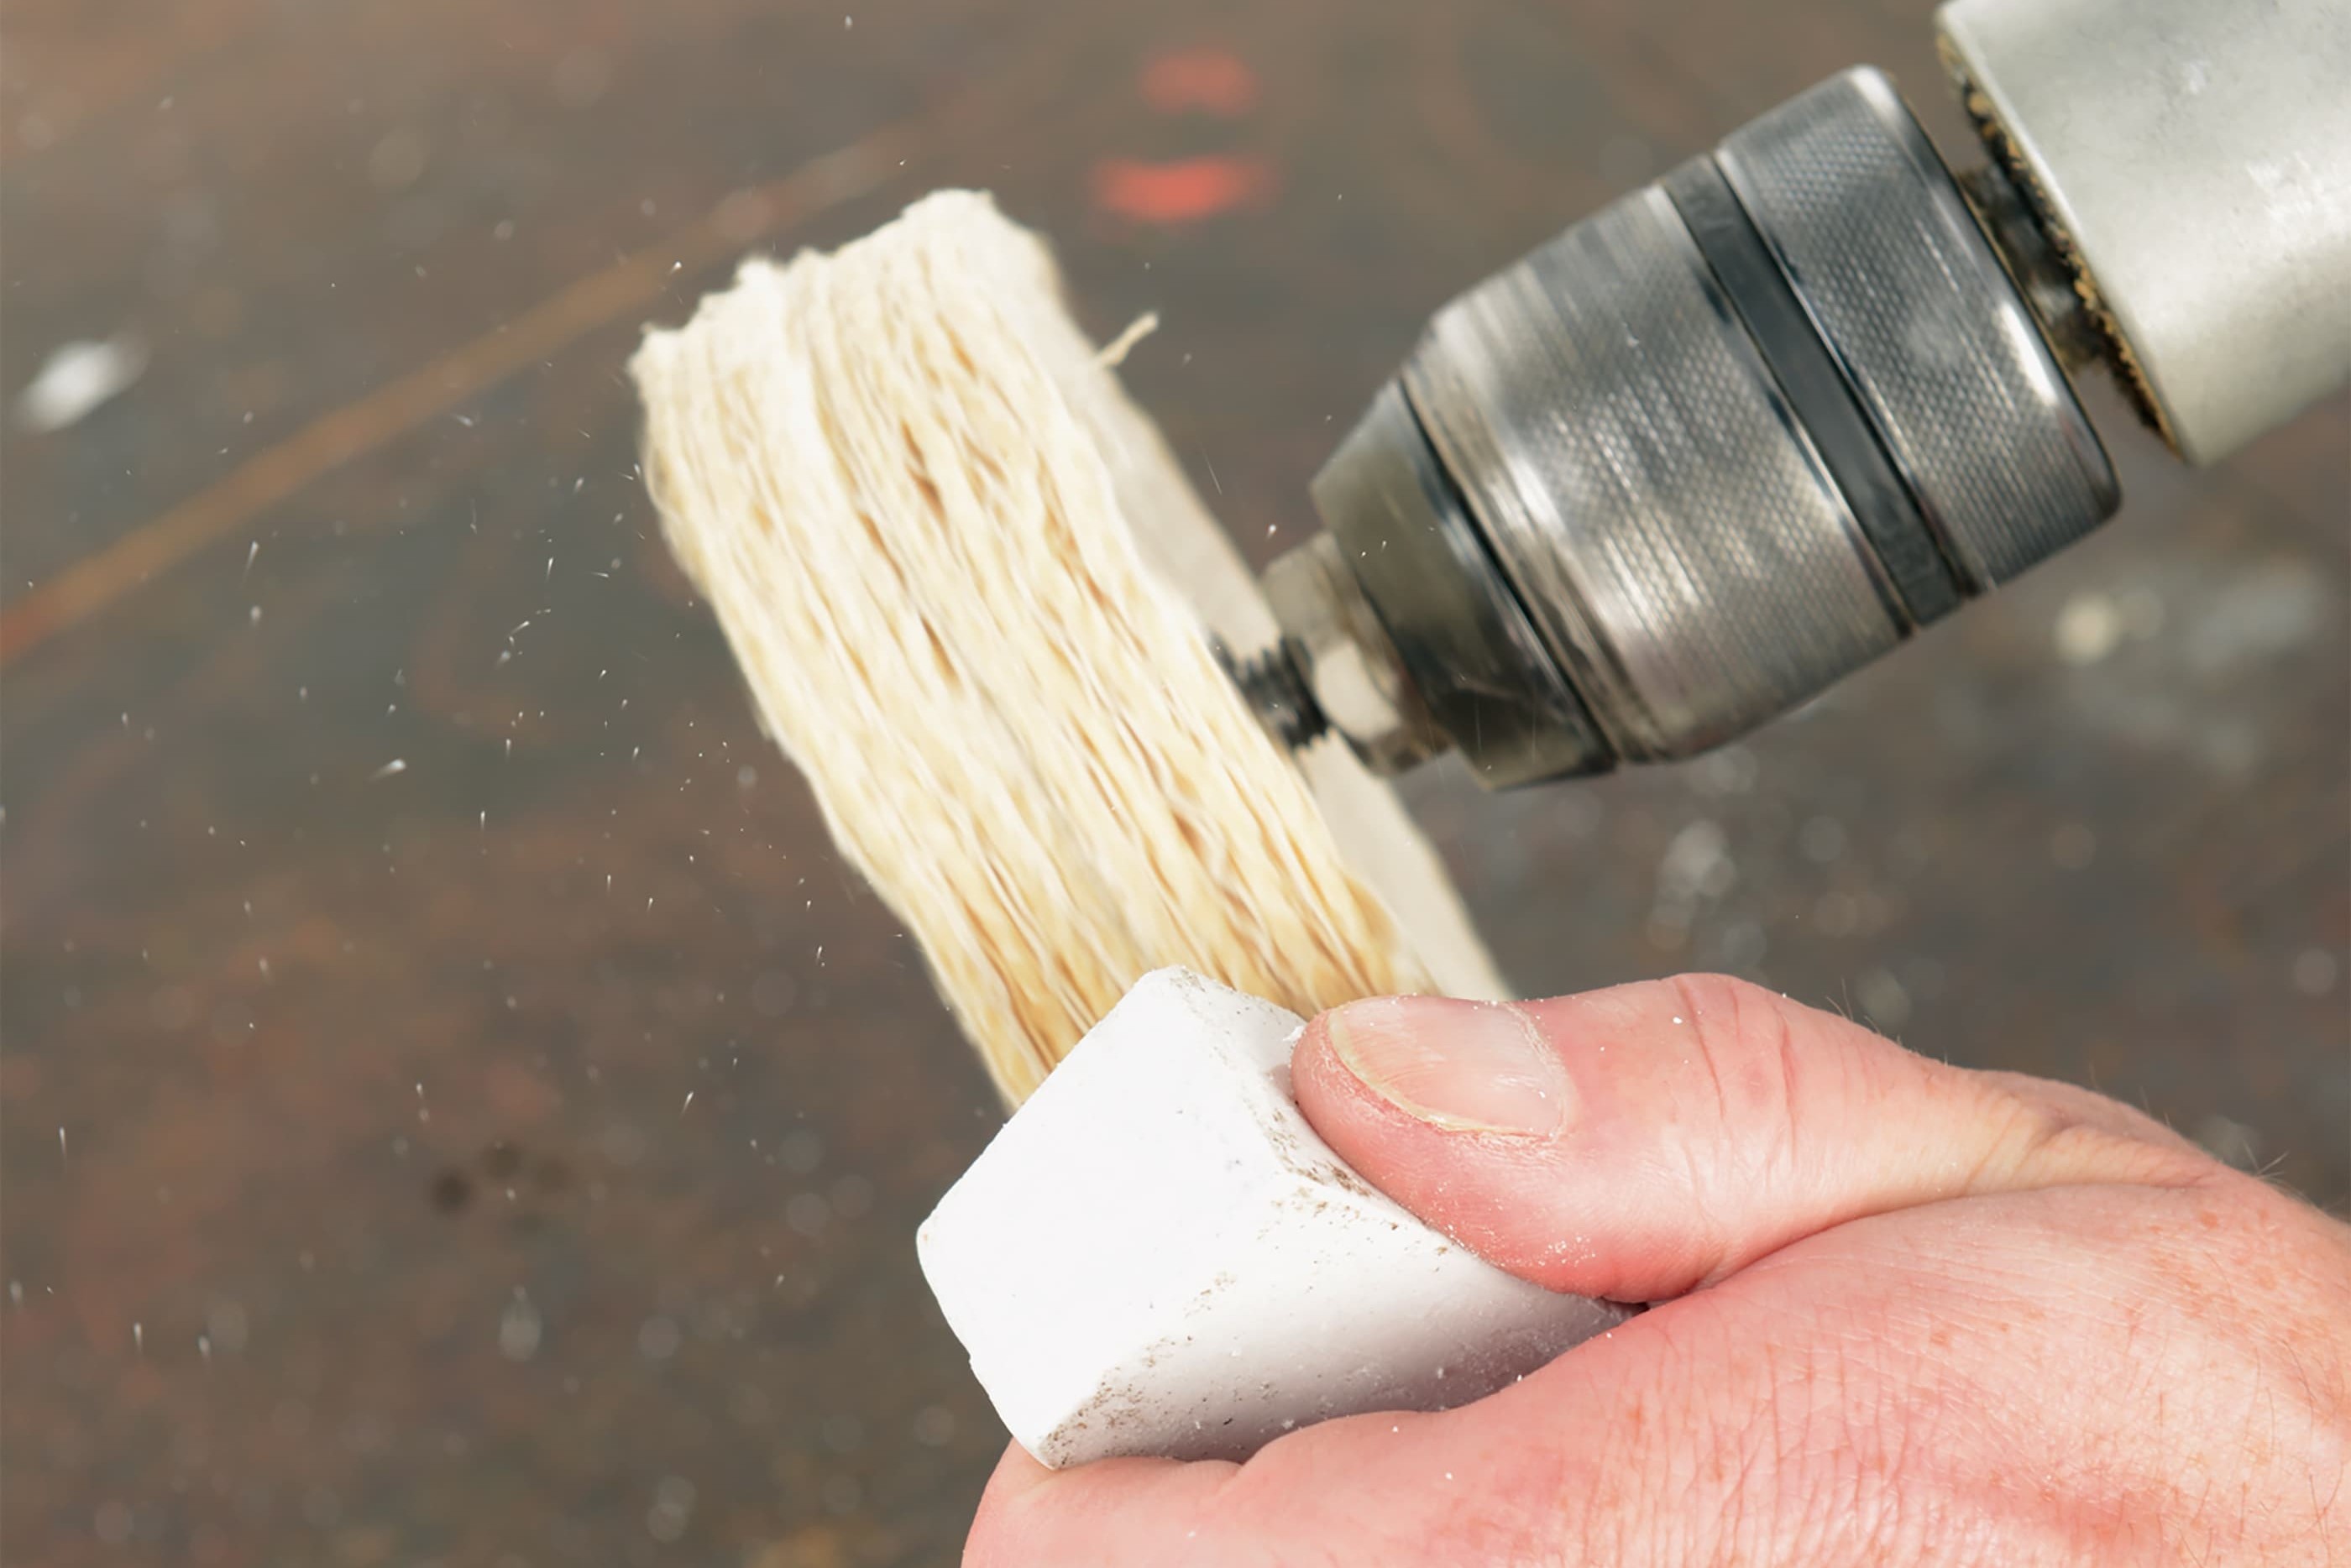
Step 3, Fig. 2: Apply wax to rotating polishing mop
Take up wax with the polishing wheel
Press the pre-polishing wax against the rotating cutting mop until you see it change colour – which indicates that it has taken up enough wax to start work.
This is easiest to do when the wax is not too cold, and ideally at room temperature. Place it near a radiator for a while if necessary. You'll find that the new mop will leave fluff behind at first, but that's normal.
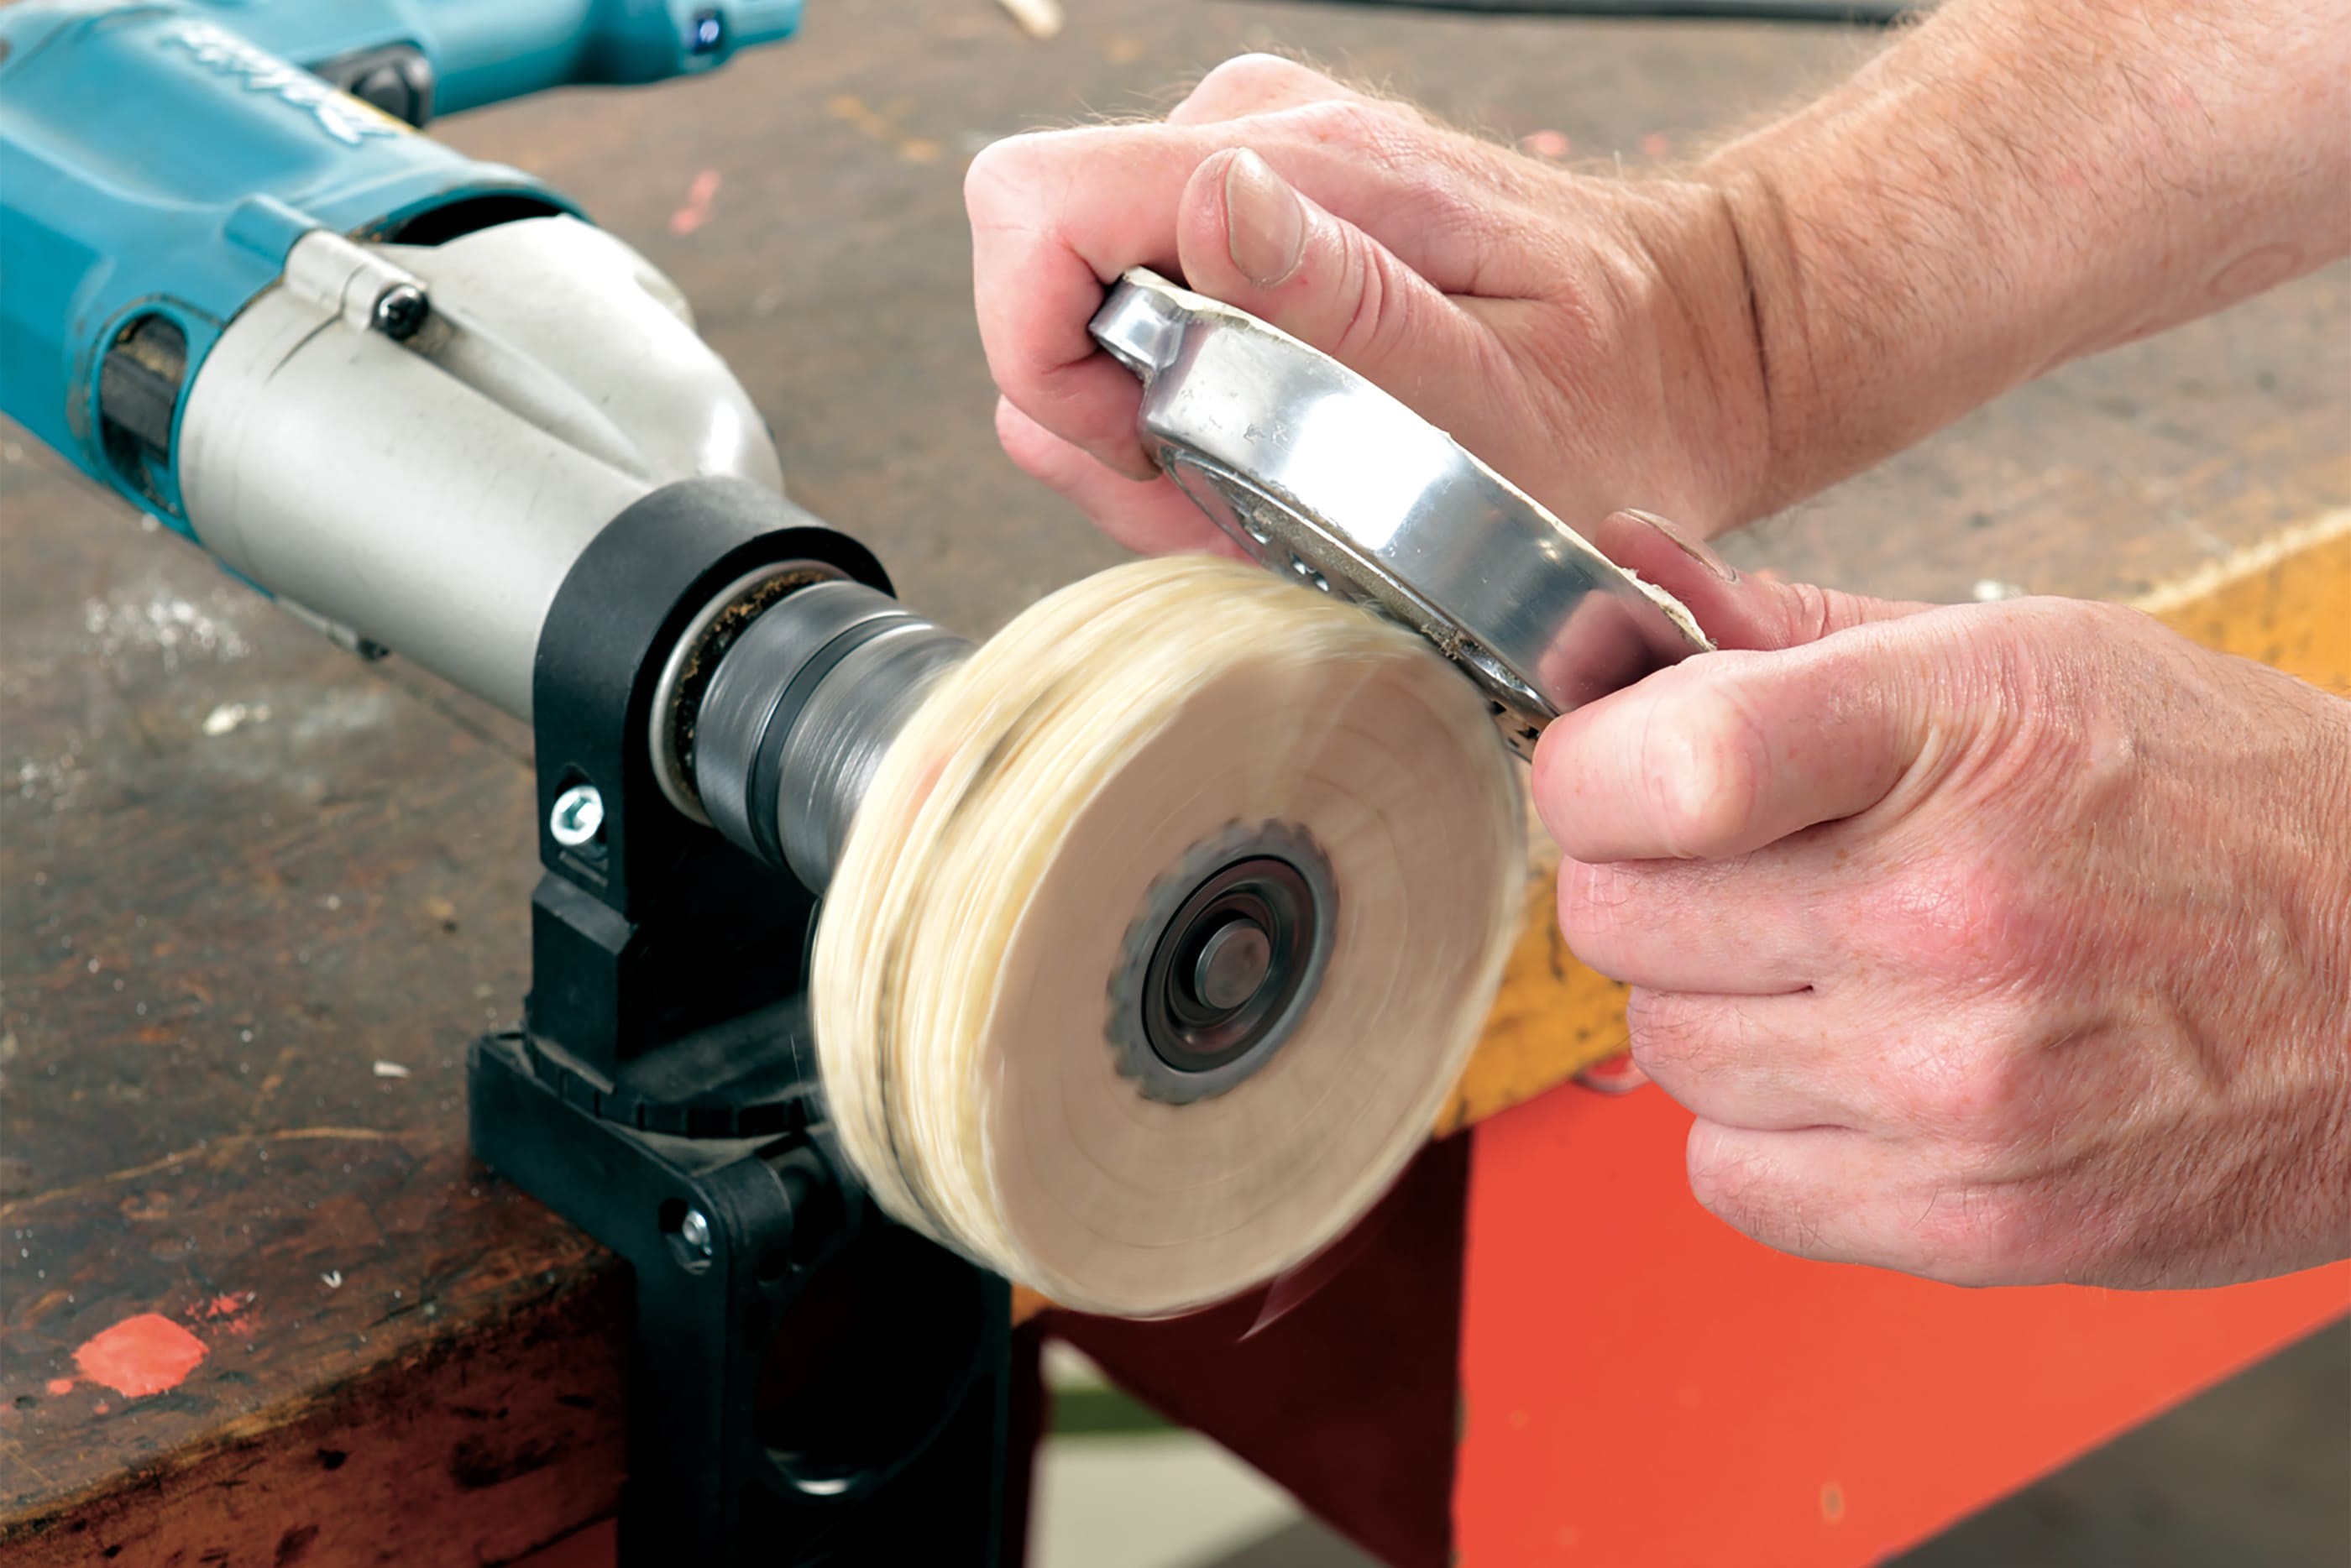
Step 3, Fig. 3: Hold the part against rotating mop to polish
Polishing the workpiece
Once the mop has taken up wax, you will only need to press it briefly against the wax to top up later. Polish at a medium to high speed (2,500 – 3,000 rpm), applying light pressure and with circular movements.
To avoid making hollows, work outwards from scratched areas in a spiral. Clean with brake cleaner and check the result. If the surface looks even, switch to the medium (cotton) mop and the relevant wax for smooth polishing.
Finally, clean the part again with brake cleaner and then switch to the finest cotton mop and the fine-polish paste for the bright finish.
Important: Only use your polishing set, comprising mops and wax, for one type of metal. For example, a mop used to polish stainless steel should never be re-used on aluminium – you would not get a bright finish.
Care of polished surfaces
Unpainted aluminium parts can be cared for with aluminium polish, especially after riding in the rain. Water spots and "rust bloom" are best treated by waxing, or possibly wiping down with an oily cloth. Clear protective lacquers do not adhere well to the smooth surface – if you then get "corrosion worms", you need to remove the lacquer and re-polish. Aluminium parts can also be chromed if you want to avoid this maintenance work. Expertly applied three-layer chrome plating (layers of copper/nickel/chromium) works well even on thermally stressed engine covers – provided the surface is clean and free from pores.
Aluminium that has pores, or which was previously deeply discoloured, is not suitable for chrome plating – there is too great a risk of the surface blistering fairly rapidly. The question of whether or not to chrome aluminium ultimately comes down to style. Classic and old-school motorbikes and machines with "pure technology" styling often simply look better with the authentic warm tone of untreated aluminium. Polished stainless steel is very low-maintenance. Any fine scratches, watermarks or discolourations (on exhaust systems) can be removed with stainless-steel polish, e.g. from Autosol.
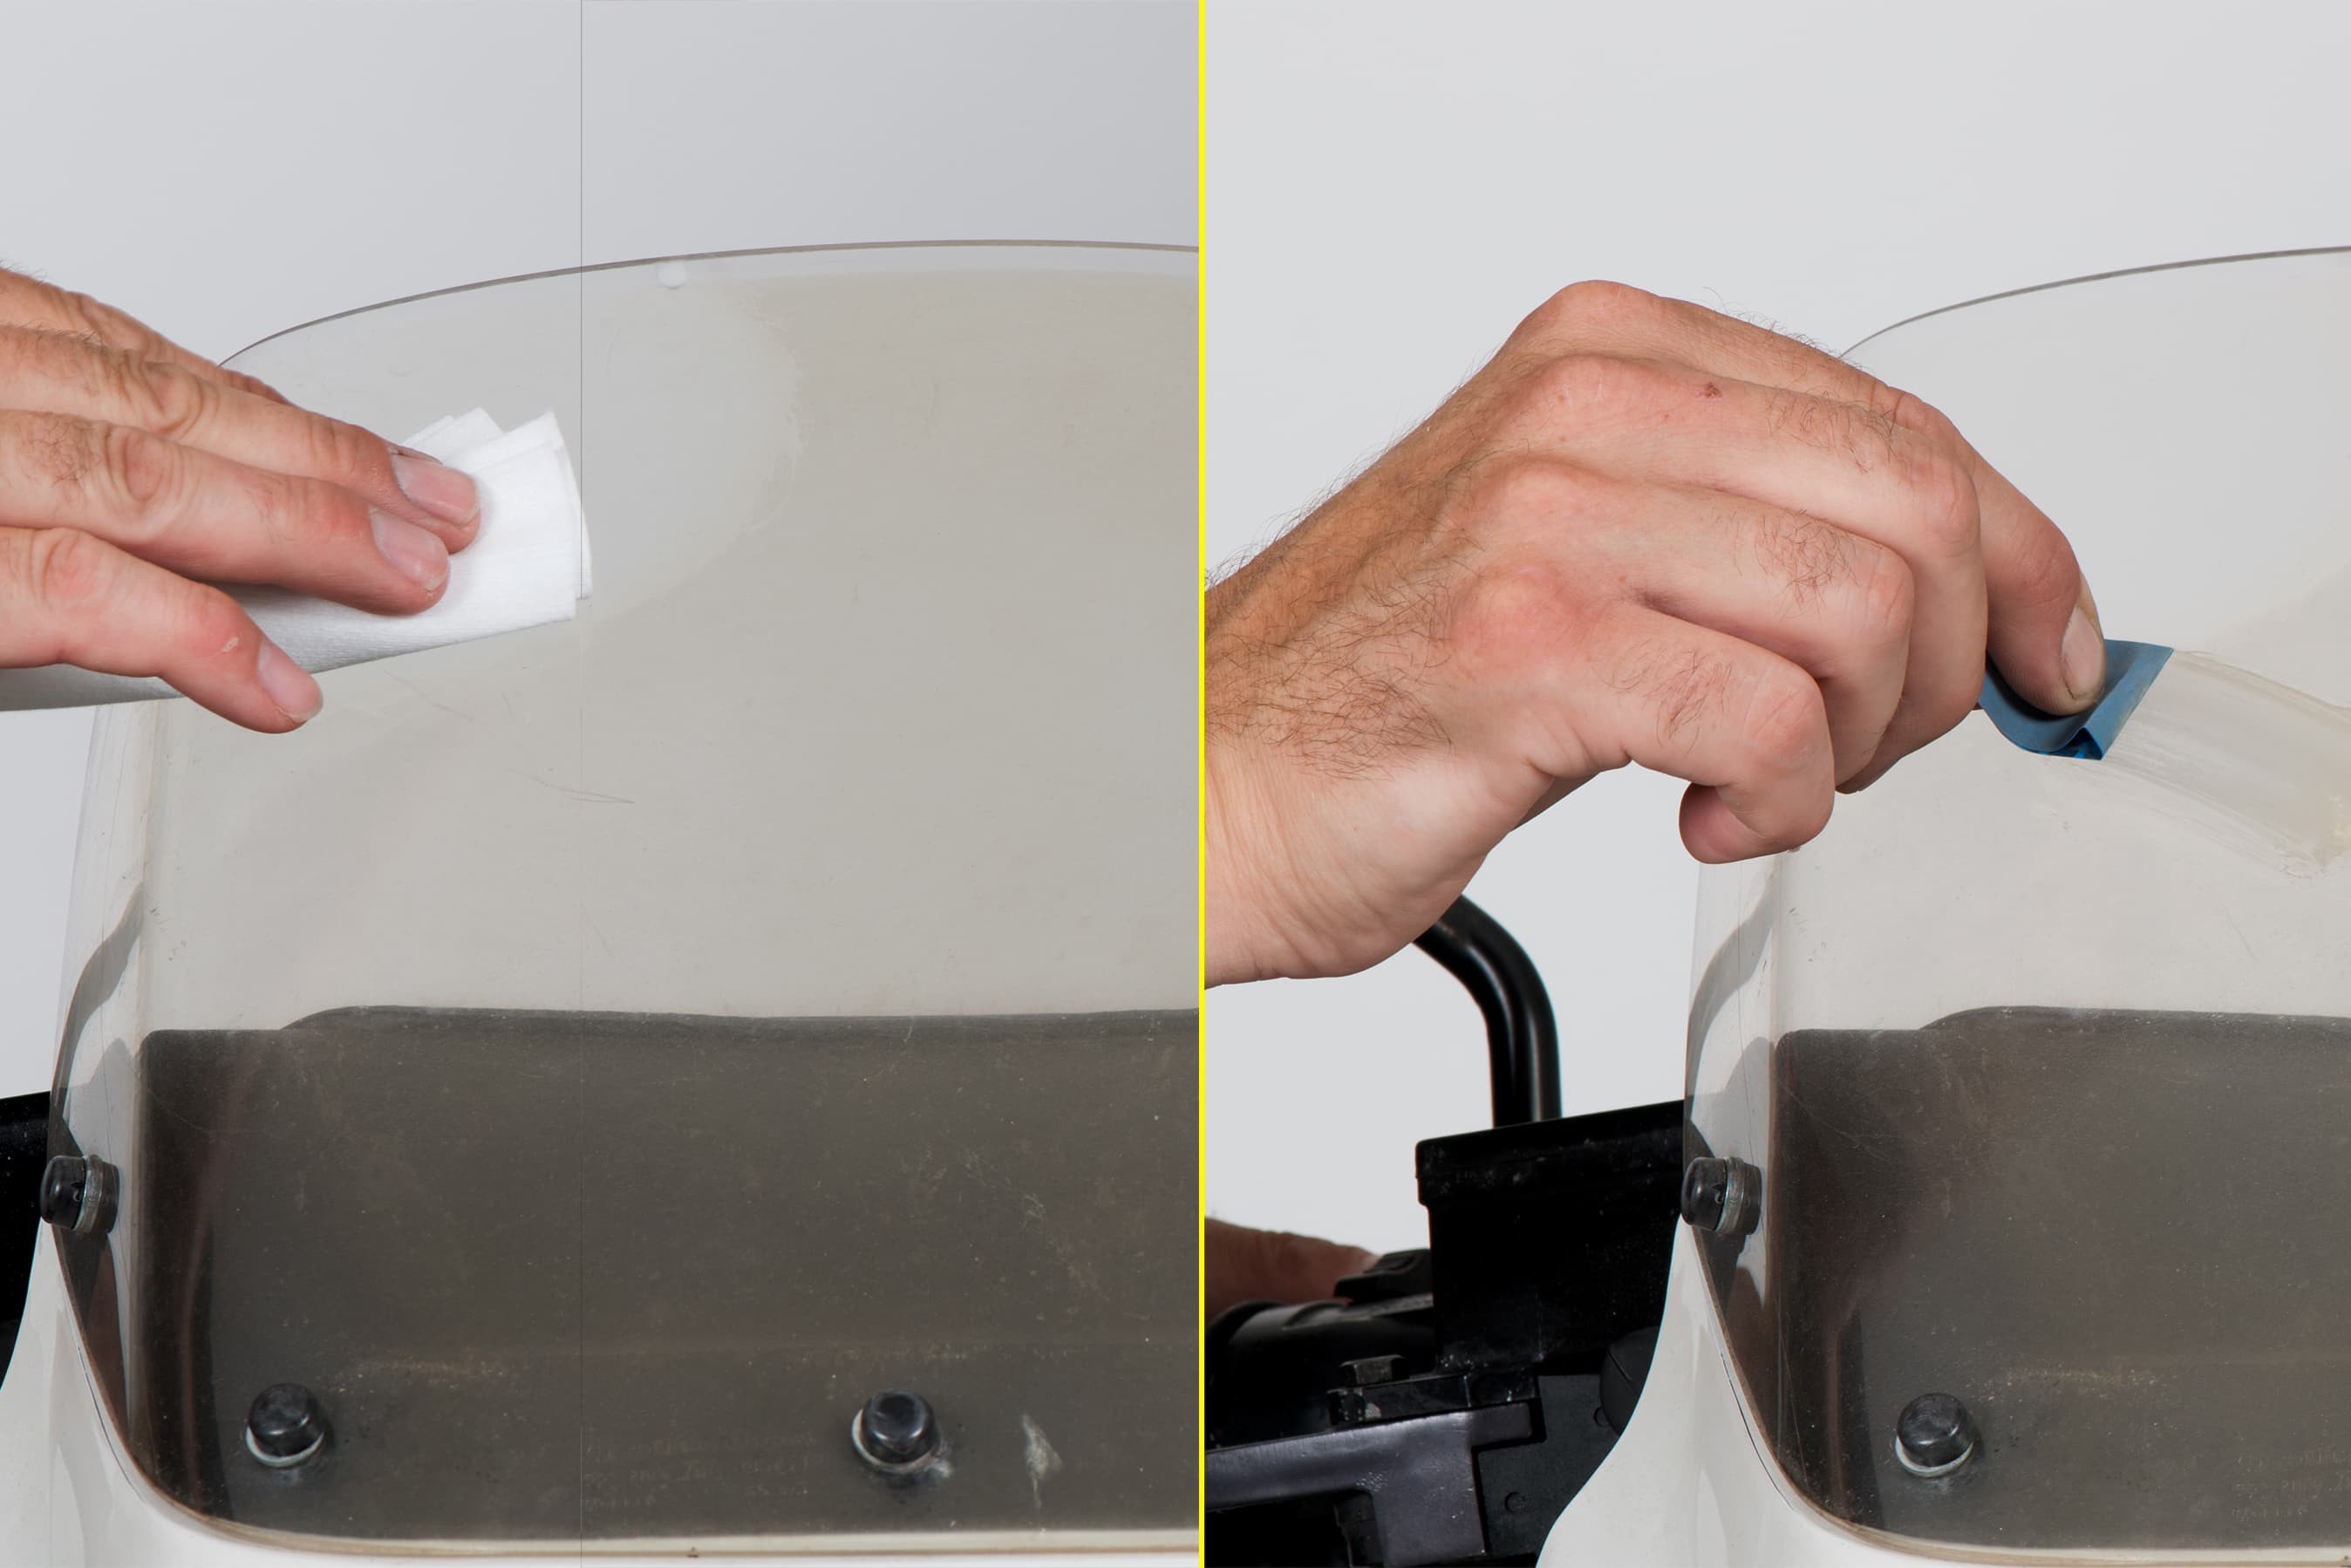
Wet-sand, if necessary, and polish vigorously with acrylic scratch remover
Polishing plastics
It’s not only metals that can and must be polished at regular intervals. The same applies to plastic surfaces. With through-coloured (not painted!) fairing elements, it’s mainly about appearance, but with windshields and headlight lenses, safety is also a factor.
First of all, you need to give the surface a thorough clean. Any deep scratches can be wet sanded with special sandpaper (1500 grit) and water. Then you apply some acrylic scratch remover and polish the scratched areas for 2-3 minutes, pressing hard, with a soft, clean cotton cloth or wadding. If the scratches are very deep, you will need to apply the acrylic scratch remover and polish the plastic several times.
Important: Never polish printed, painted or coated surfaces.
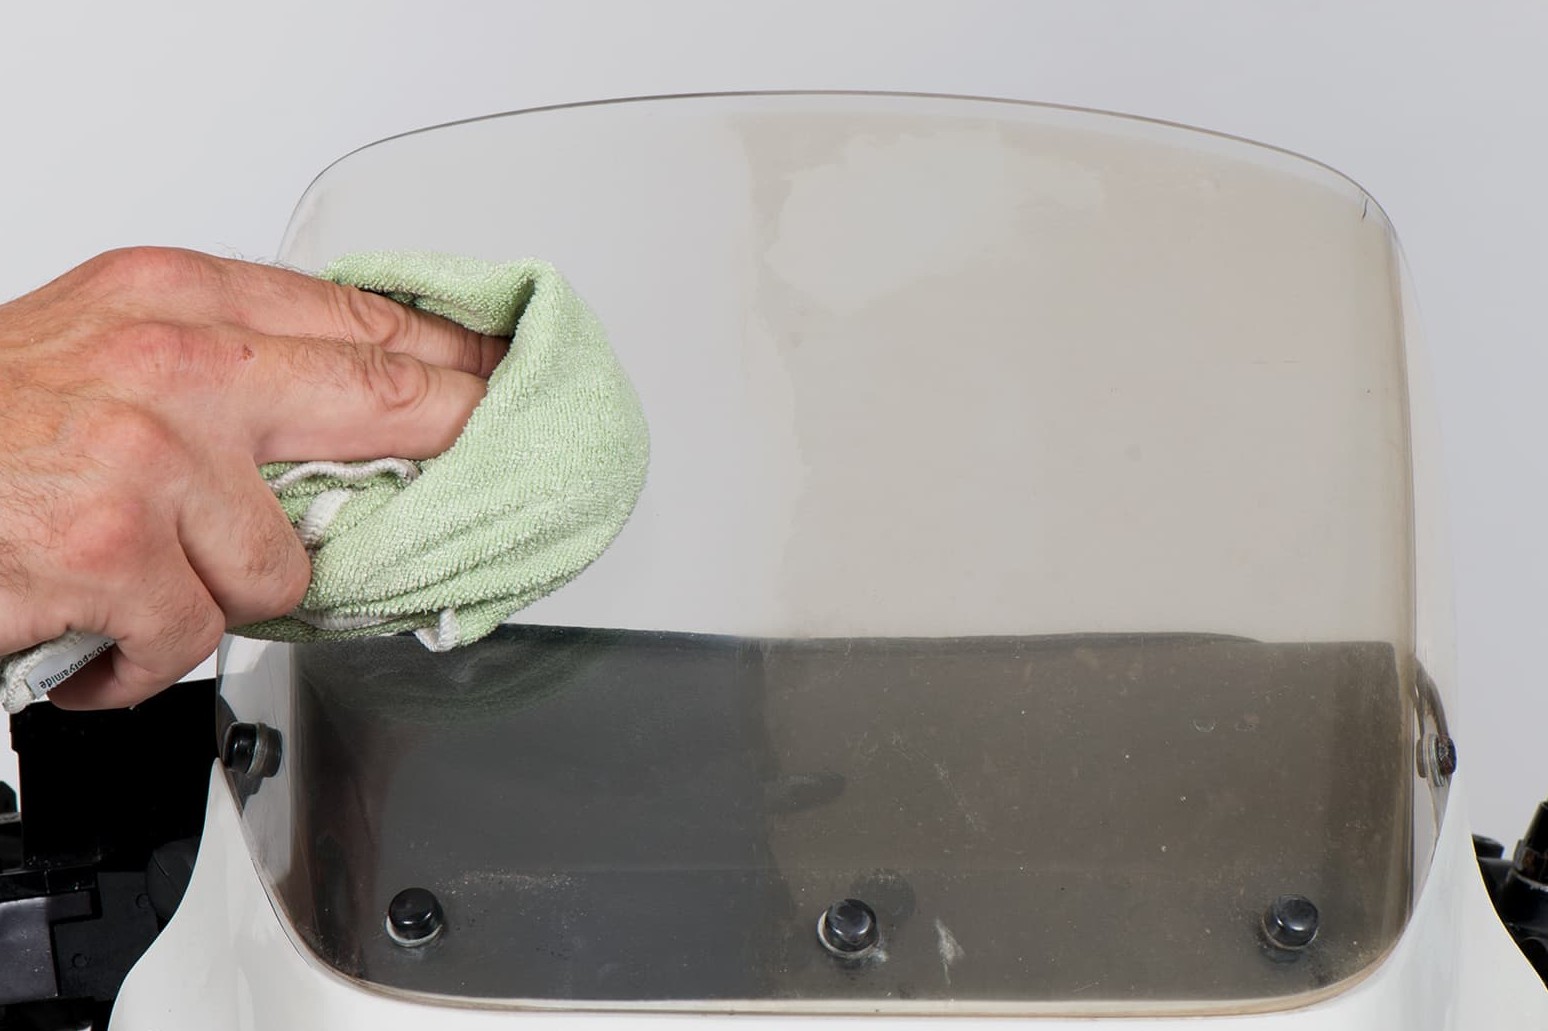
Remove any residue
Remove any paste residue with a rag.
Our recommendation
The Louis Technical Centre
If you have a technical question about your motorbike, please contact our Technical Centre, where they have endless experience, reference books and contacts.
Please note!
These tips for DIY mechanics contain general recommendations that may not apply to all vehicles or all individual components. As local conditions may vary considerably, we are unable to guarantee the correctness of information in these tips for DIY mechanics.
Thank you for your understanding.


